Ingredients
-
7g active dry yeast1 envelope
-
780g all purpose flourAbout 6 cups, can substitute bread flour
-
17g Diamond Crystal kosher saltAbout 2 Tbsp, any salt will work as long as it's measured by weight
-
1/2 cup extra-virgin olive oil
-
For Topping
-
1/4 cup extra-virgin olive oil
-
2 Tbsp rosemaryFresh or dry
-
3 cloves garlicMinced or sliced
-
Enough to sprinkle on top flaky salt
Directions

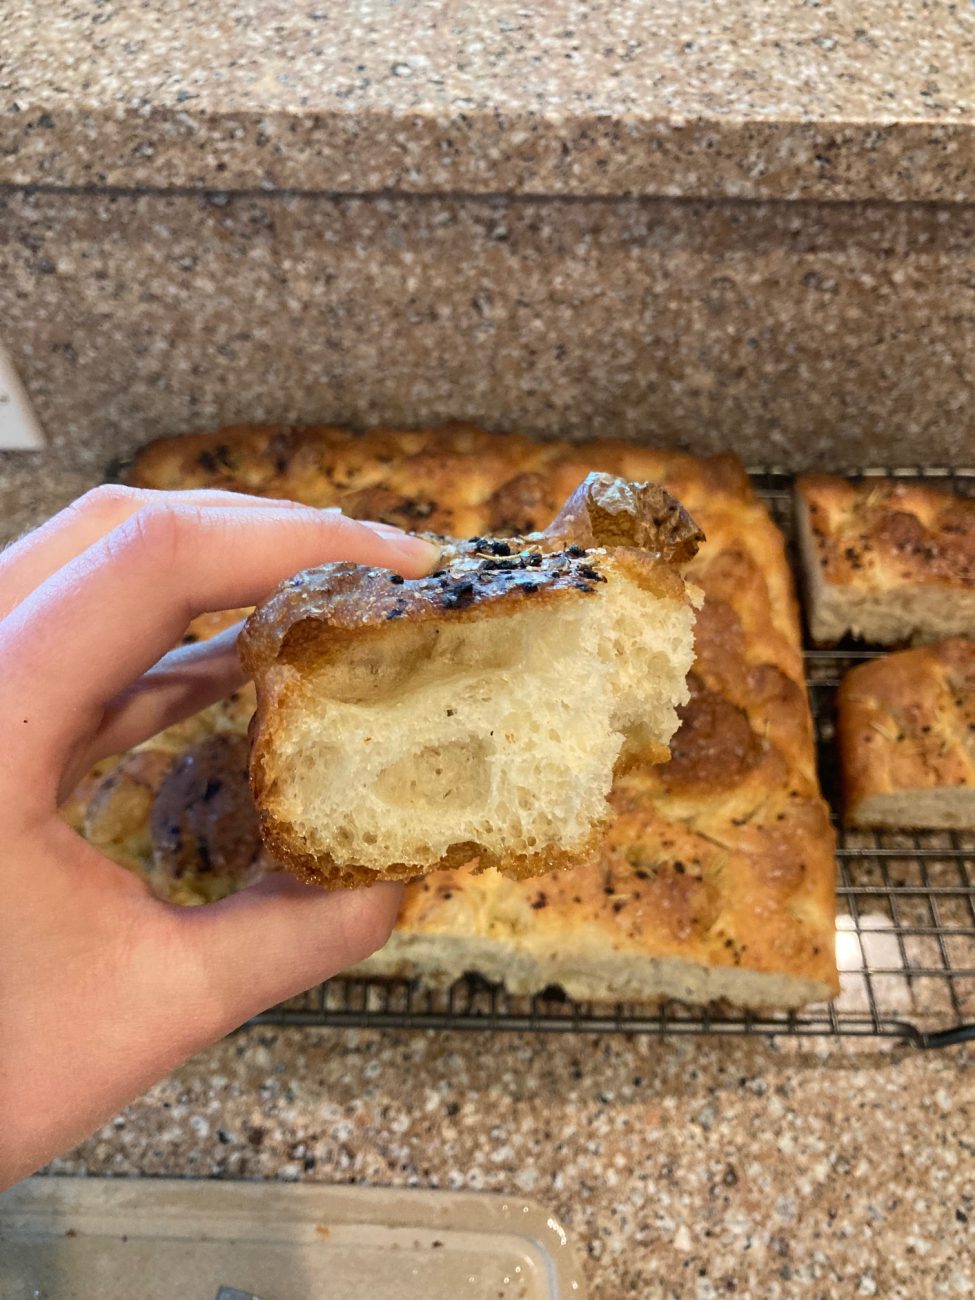
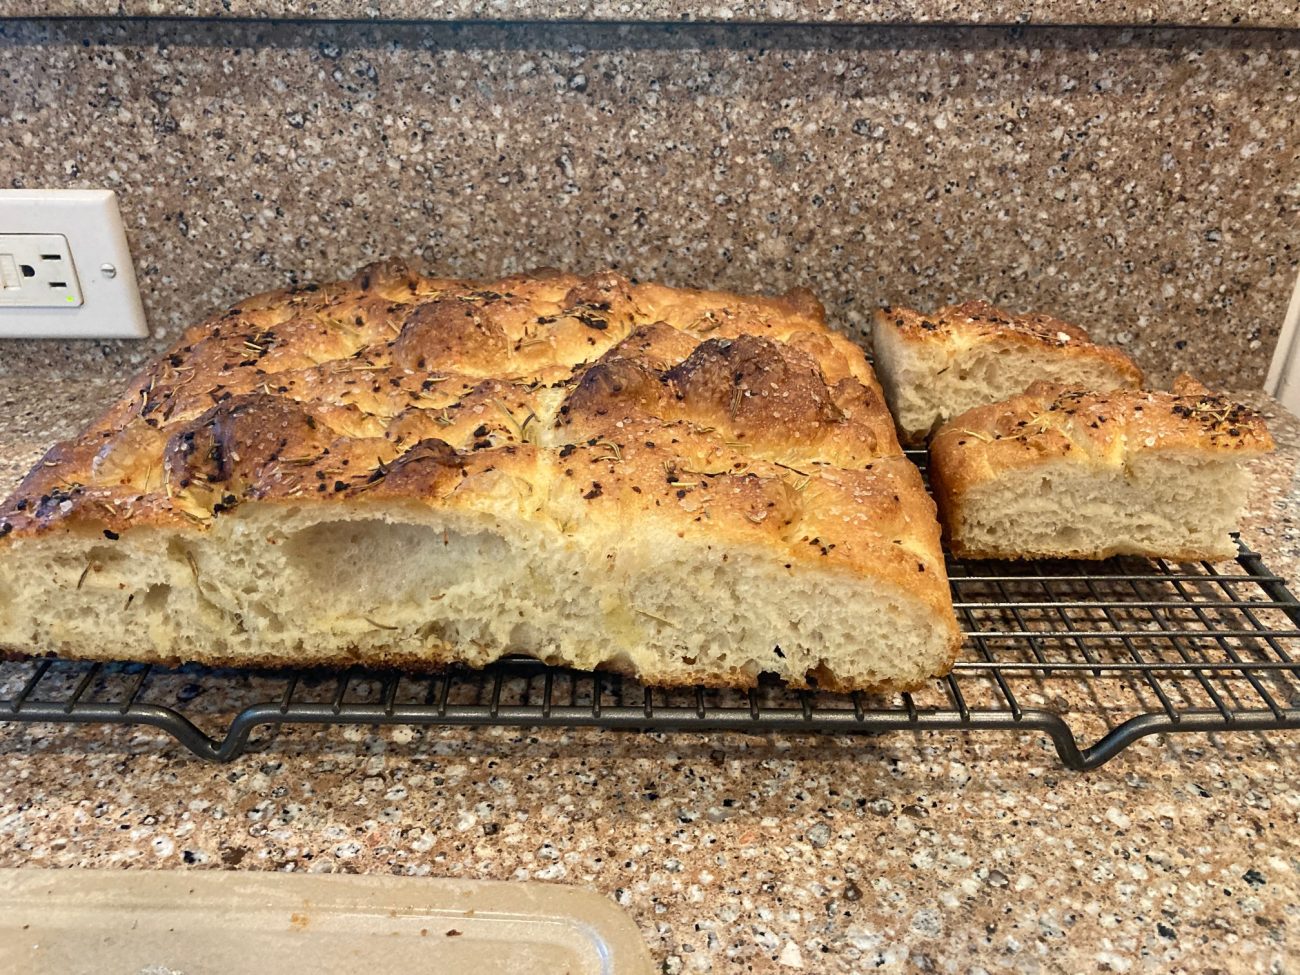
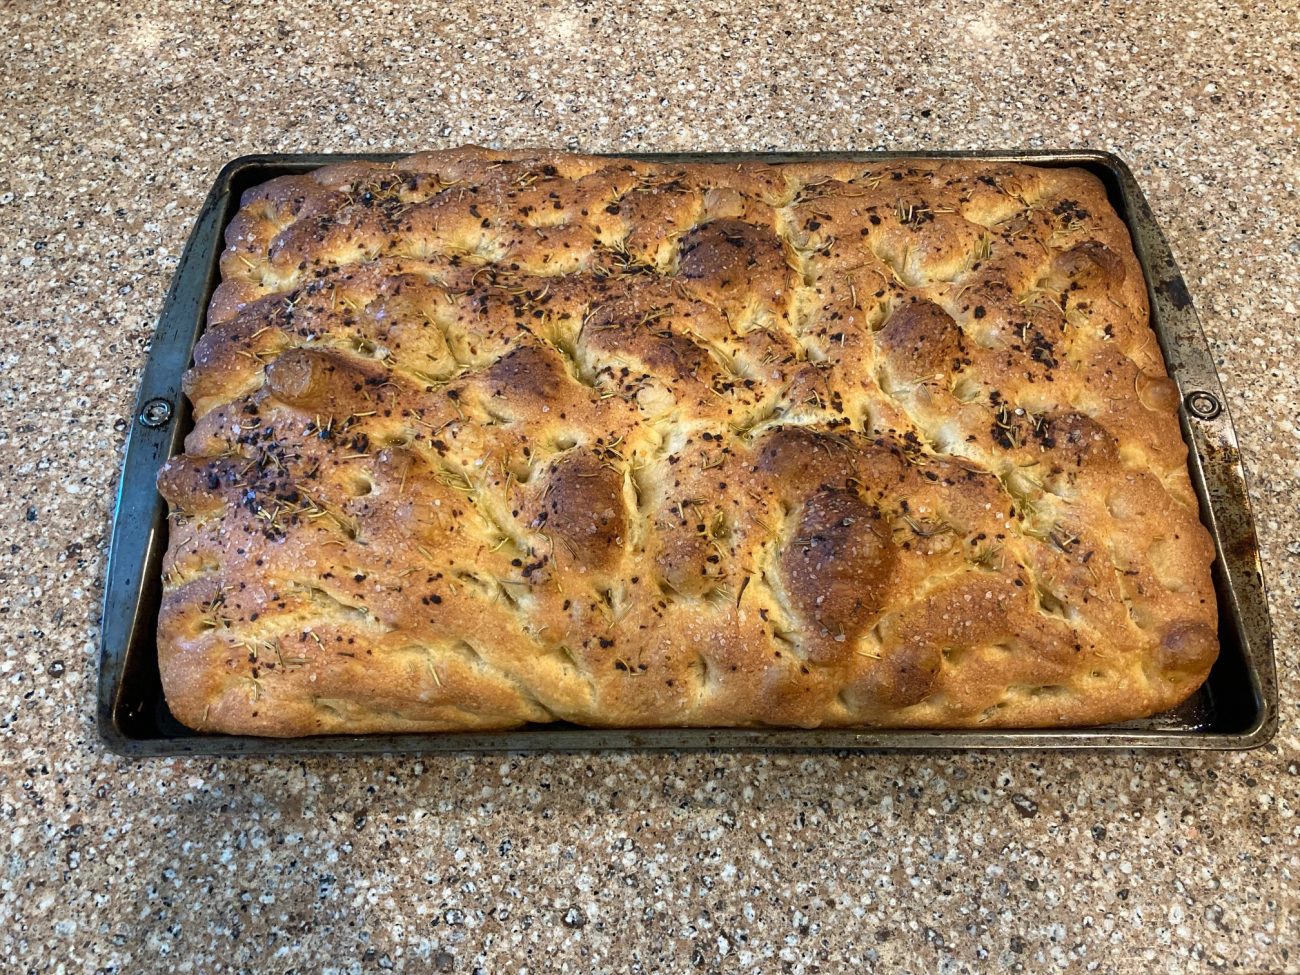
This focaccia bread is one of my most popular recipes for my family. It is probably my dad’s favorite recipe that I have made. Focaccia bread is a thin Italian bread characterized by copious amounts of olive oil and a dimpled surface. The dimples catch the olive oil and make a delicious crust. The bread is perfectly crispy, salty, and chewy. It’s not a perfect authentic focaccia, purely because it’s a little too tall, but this way it can be eaten plain or sliced in half to make into a sandwich. It is definitely worth the time it takes to make.
Steps
|
1
Done
|
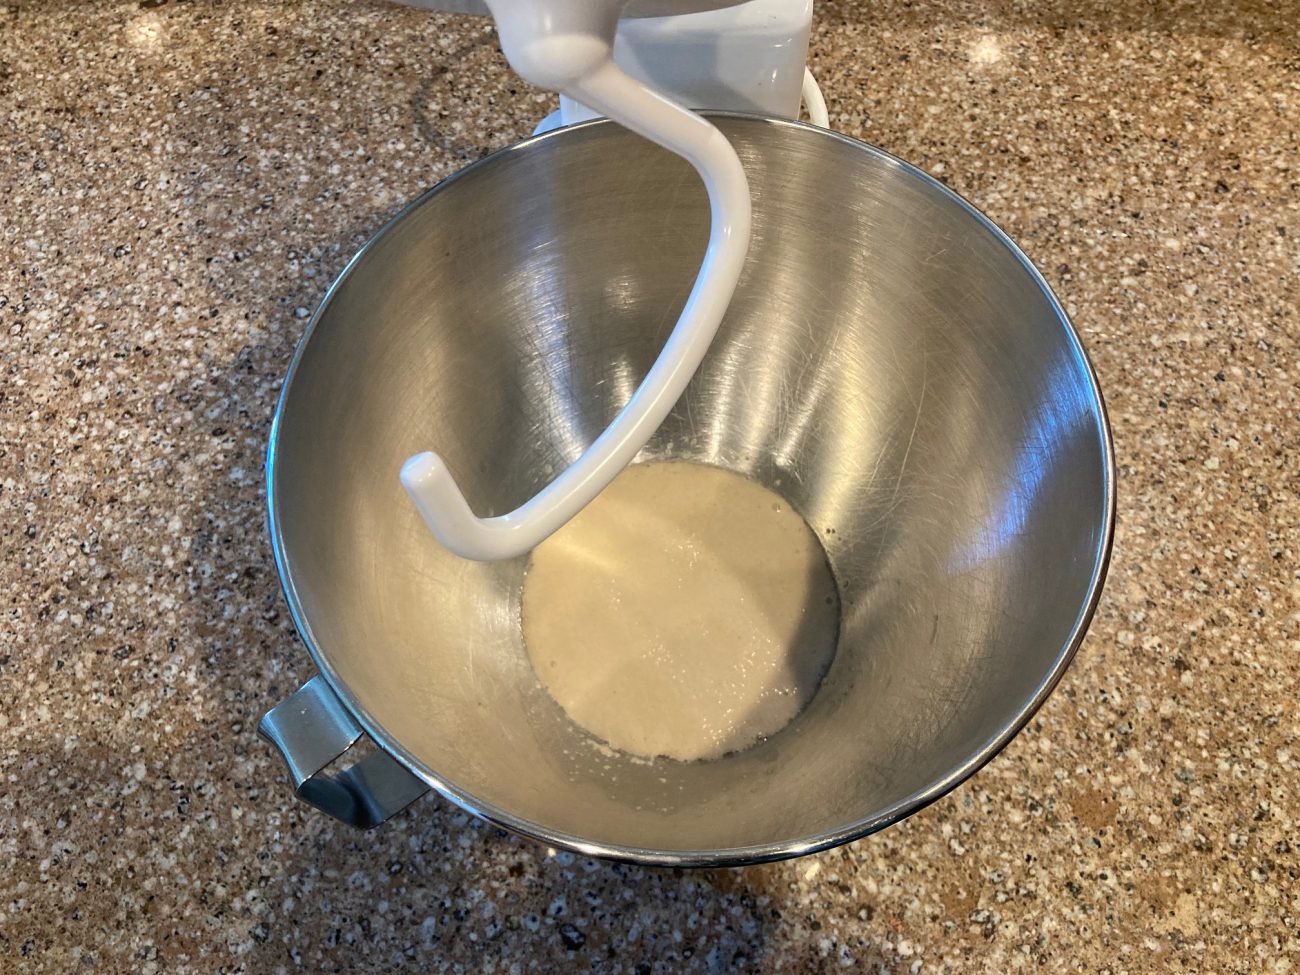
Warm 1/2 cup of the water until about 105F (not more than 115), pour into the bowl of a stand mixer and whisk in the yeast. Leave to bloom (5-10 min). |
|
2
Done
|
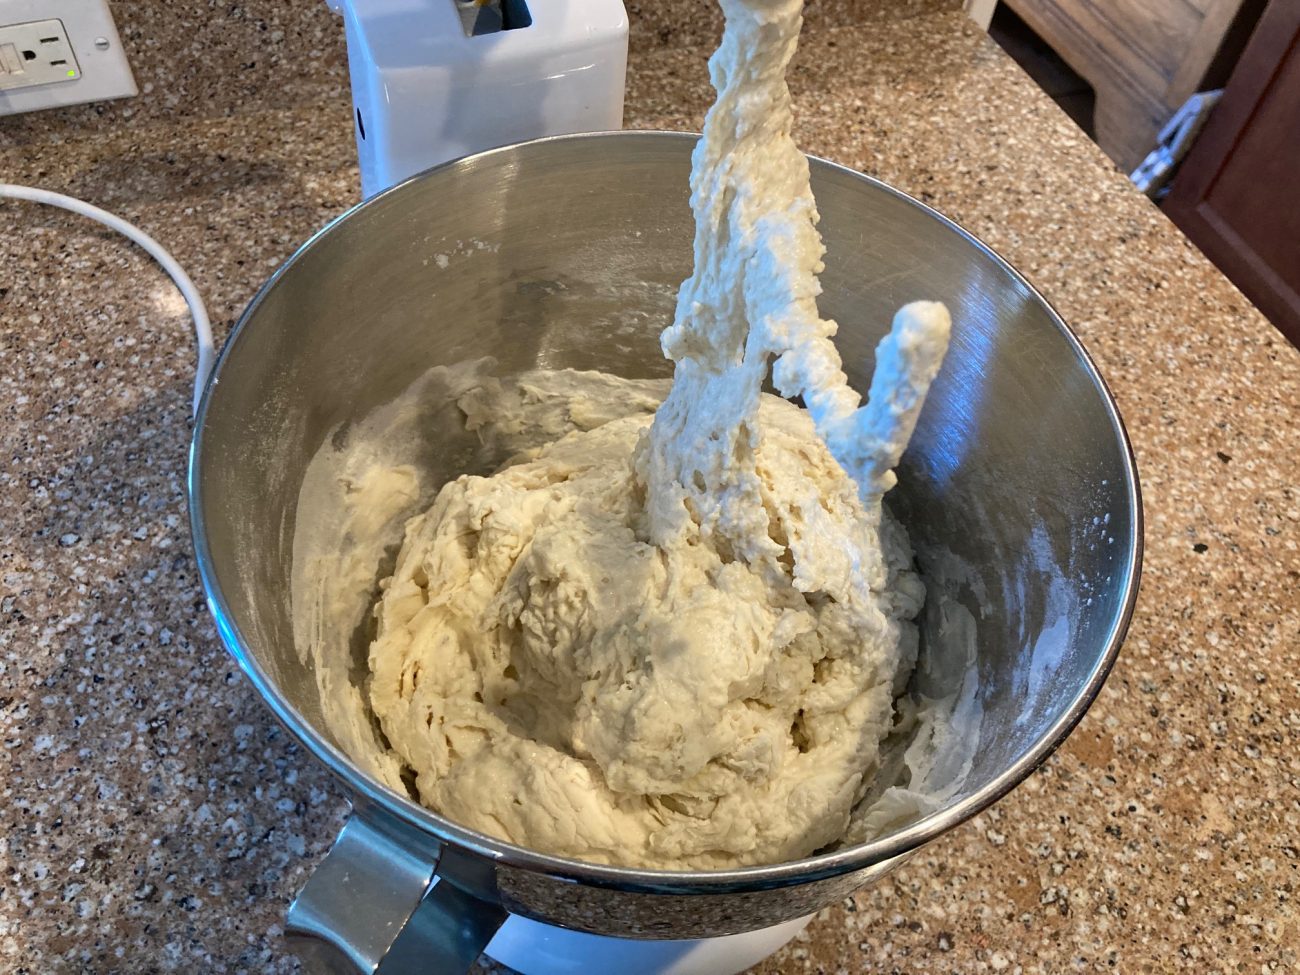
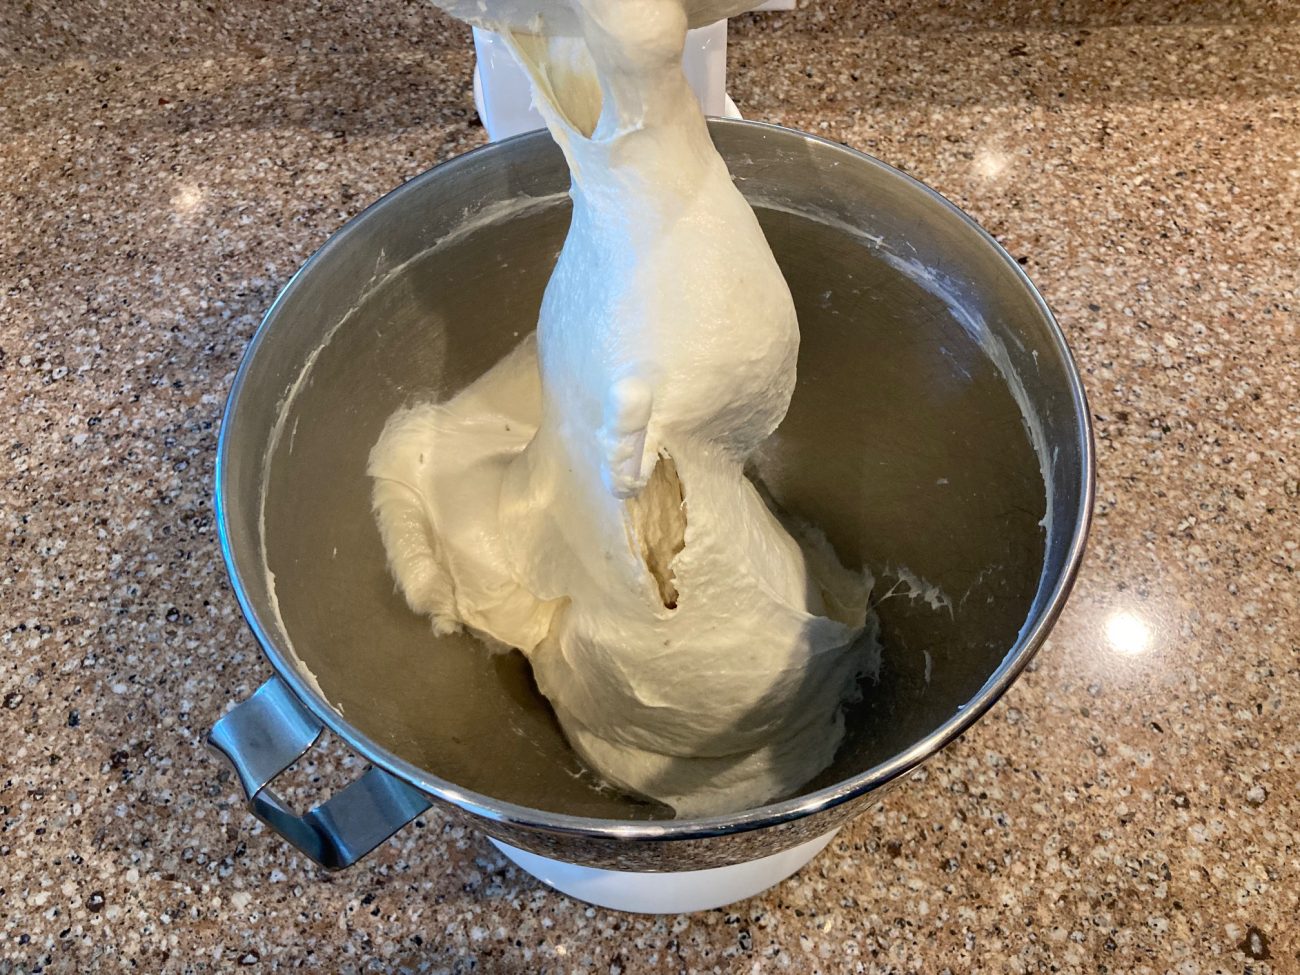
Attach the dough hook to the mixer and add another 2 1/2 cups of water of water to the yeast mixture. Add the flour and salt, mix on low until it comes together into a loose dough. Increase the speed to medium high until the dough is smooth and wraps around the hook (about 5 min). |
|
3
Done
|
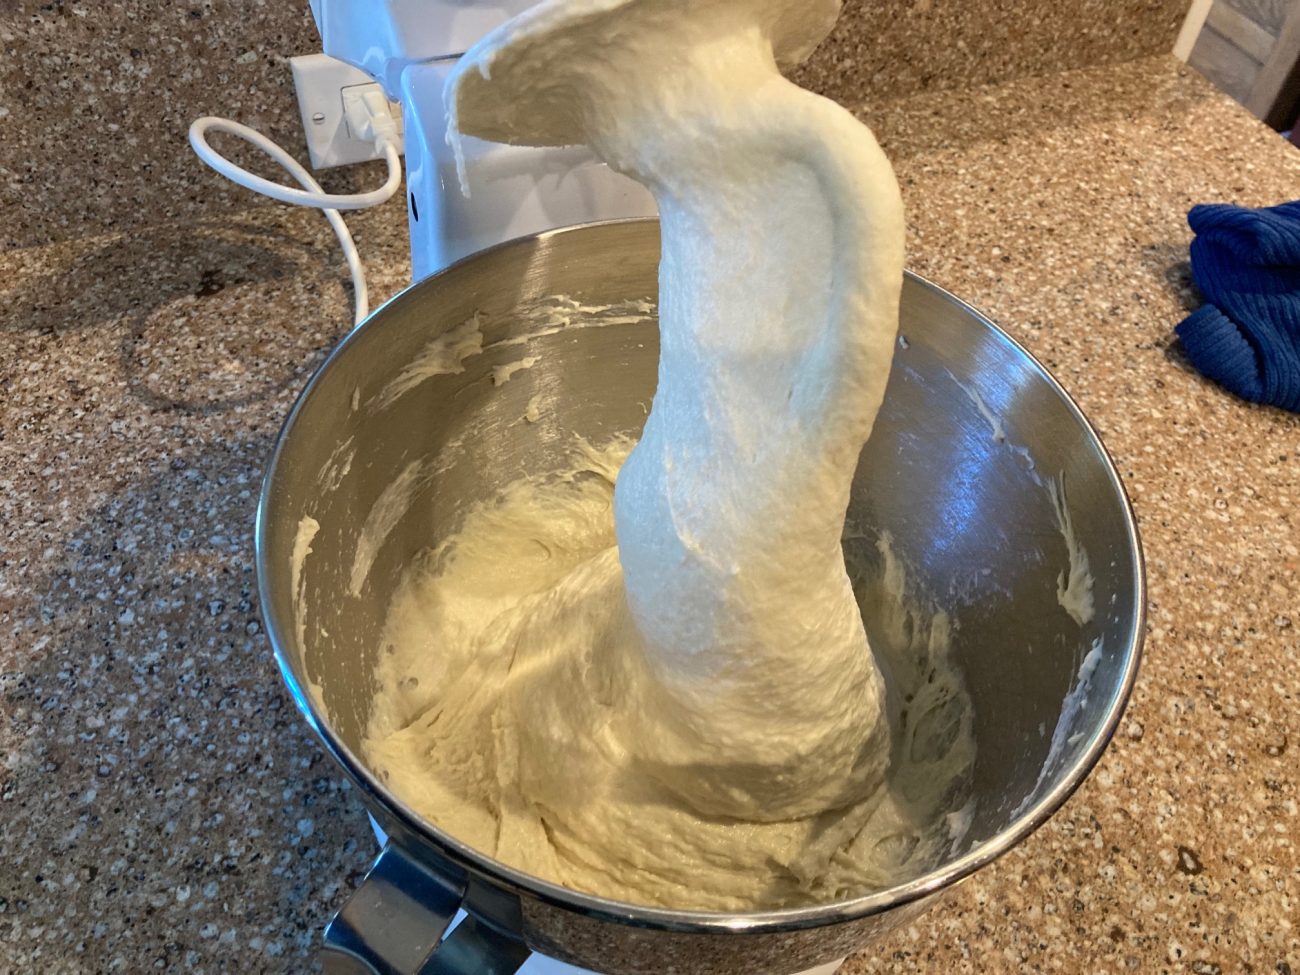
Turn off the mixer, cover the bowl with plastic wrap or a damp towel and rest the dough for 10 minutes. Mix the dough on medium high again until dough is very smooth, elastic, and pulling away from the bowl (10-15 min). Focaccia is a high hydration dough, the dough will look very wet but do not add more flour. |
|
4
Done
|
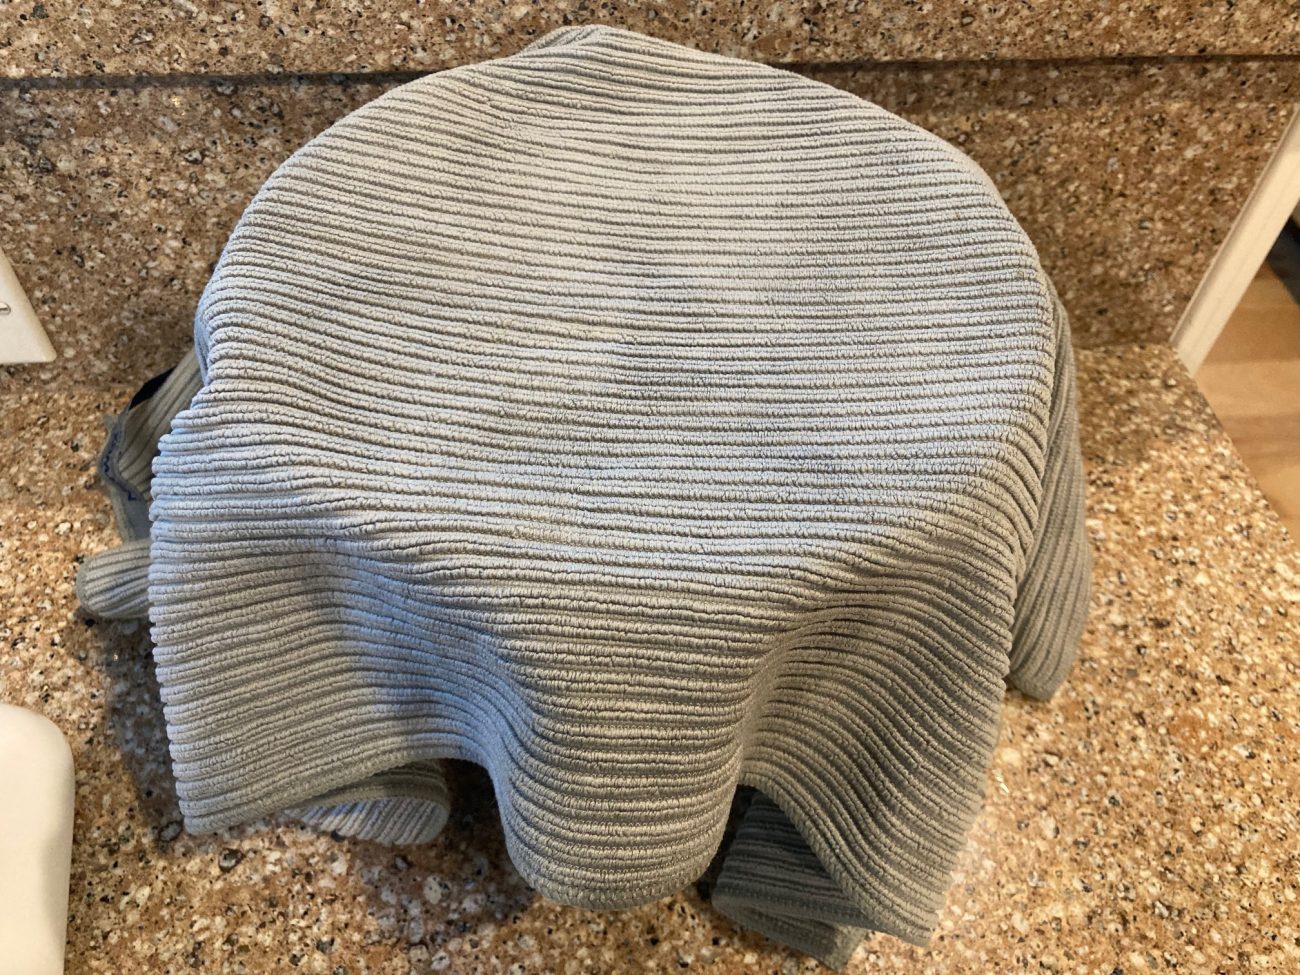
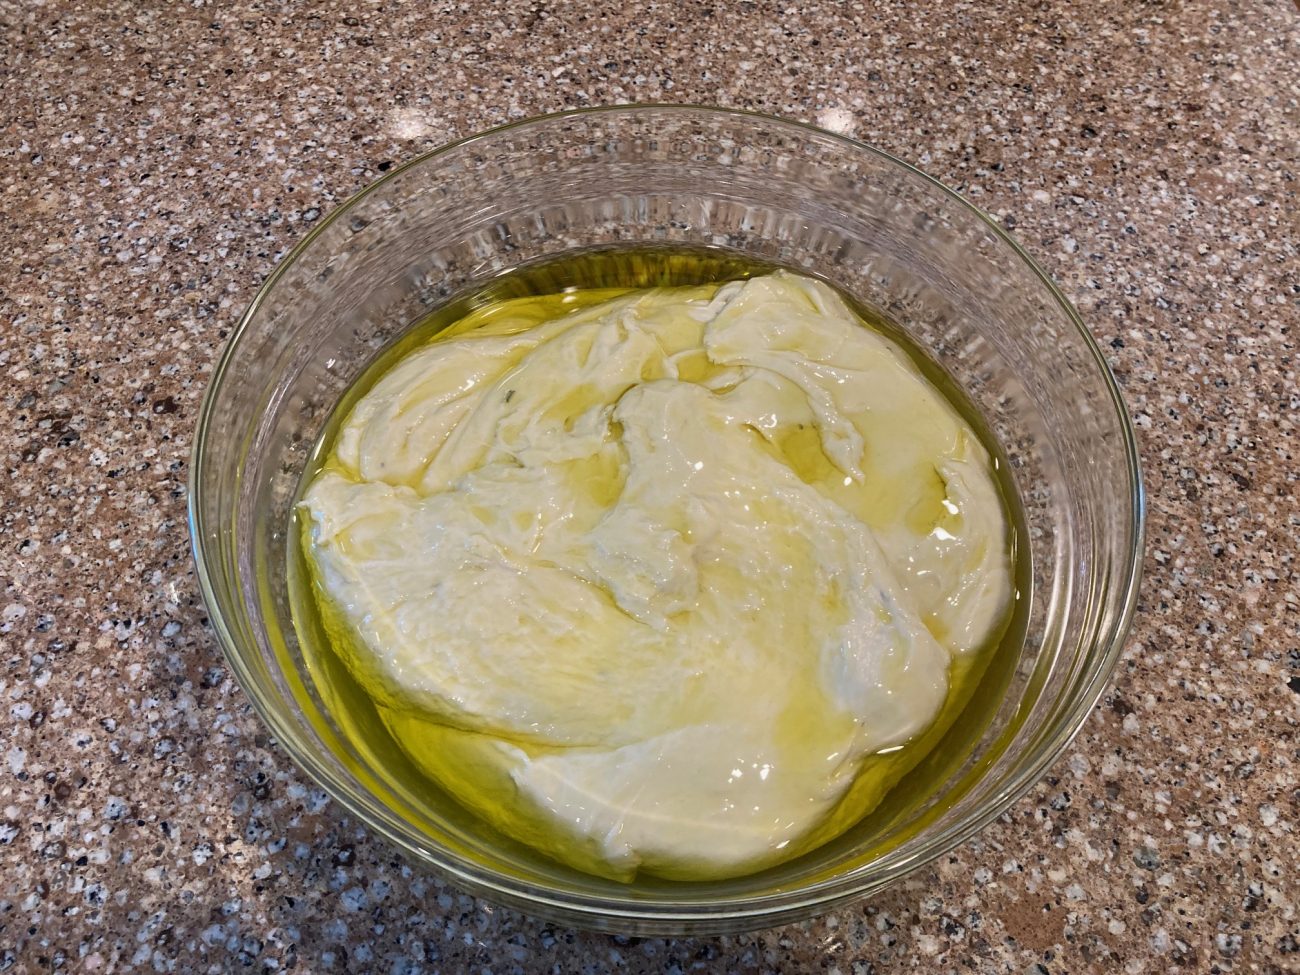
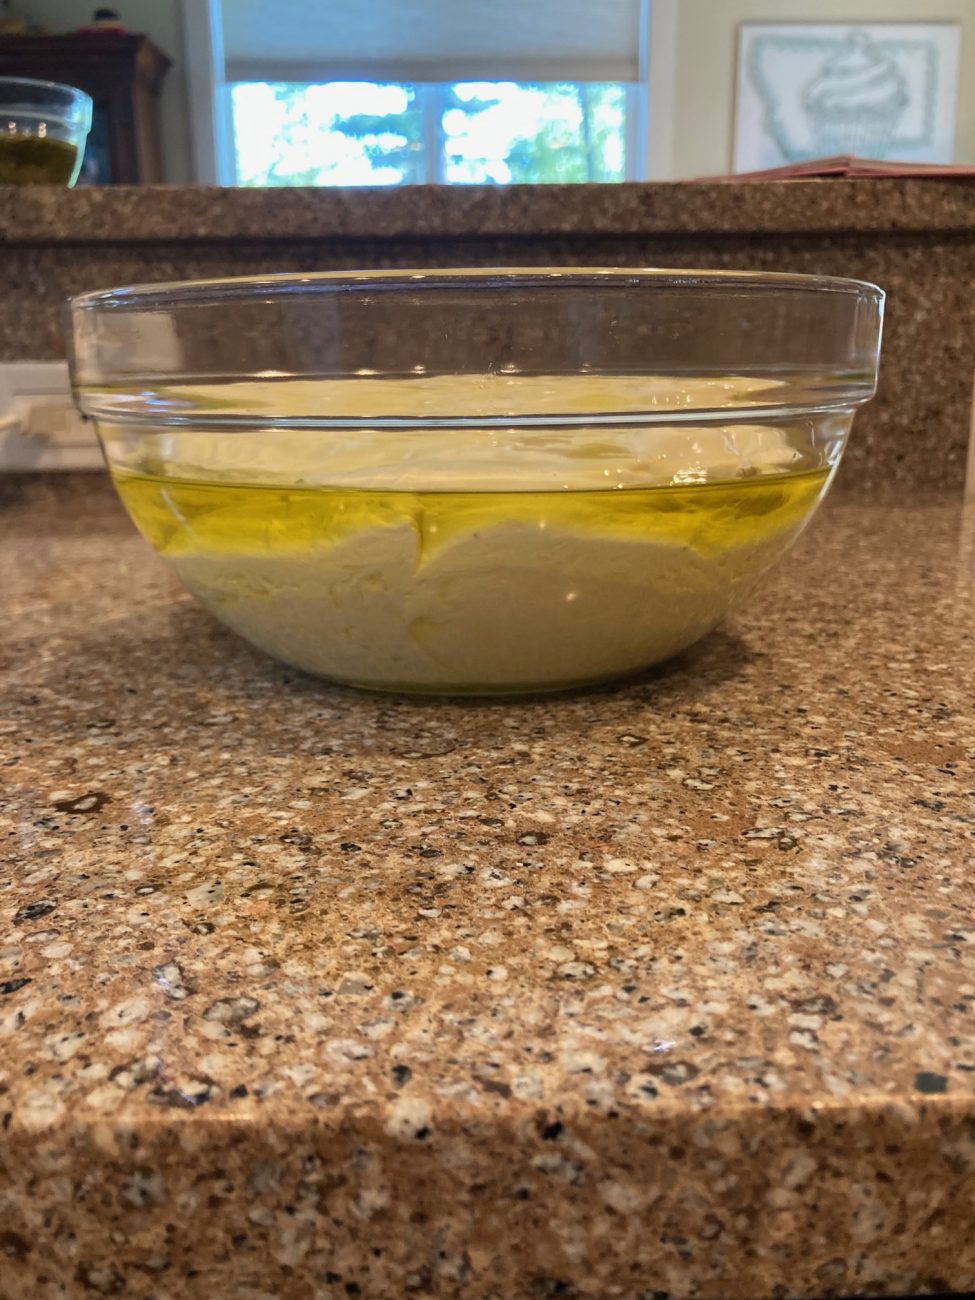
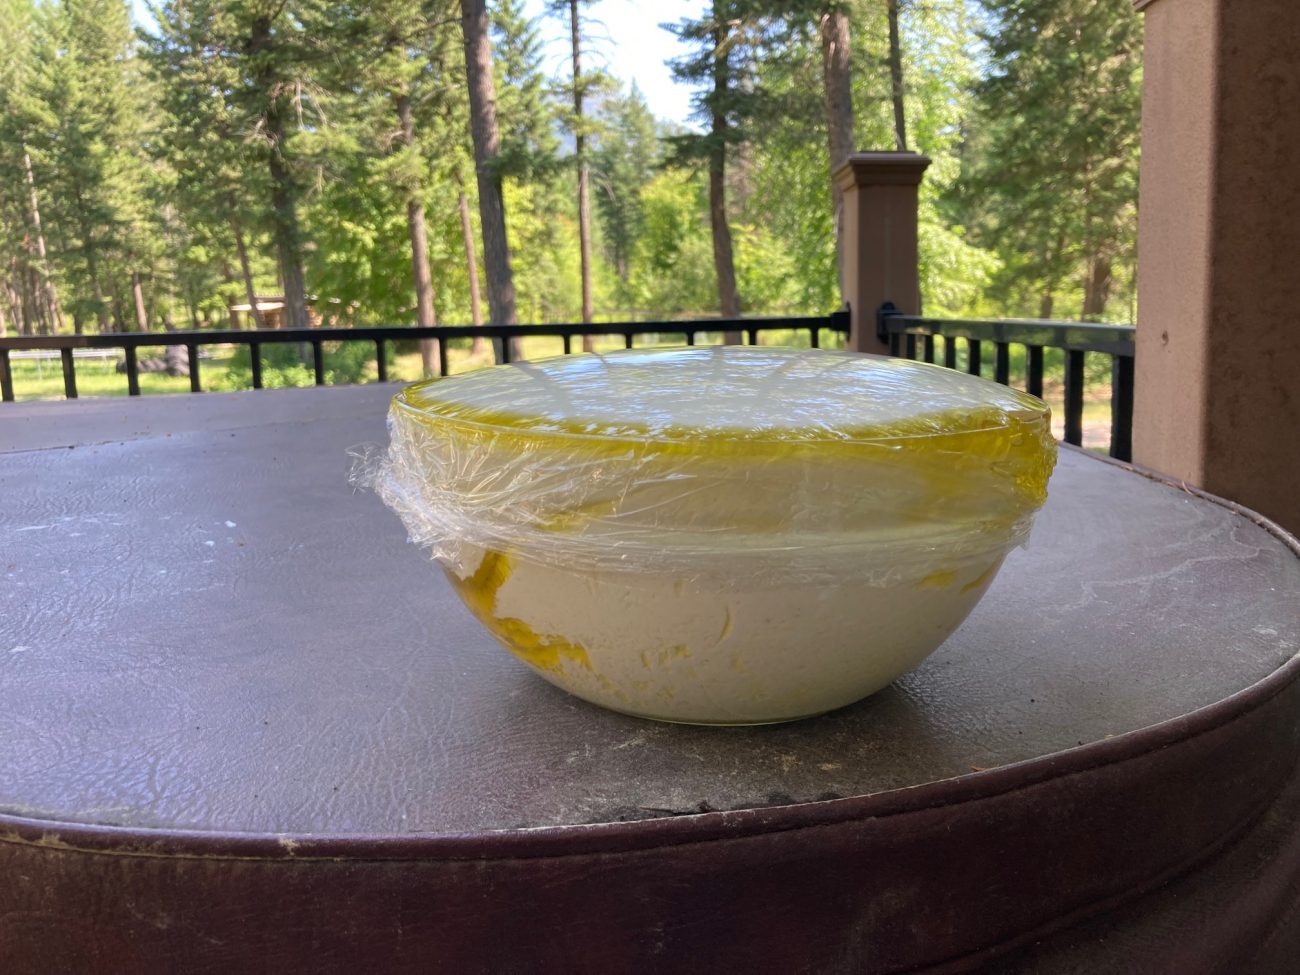
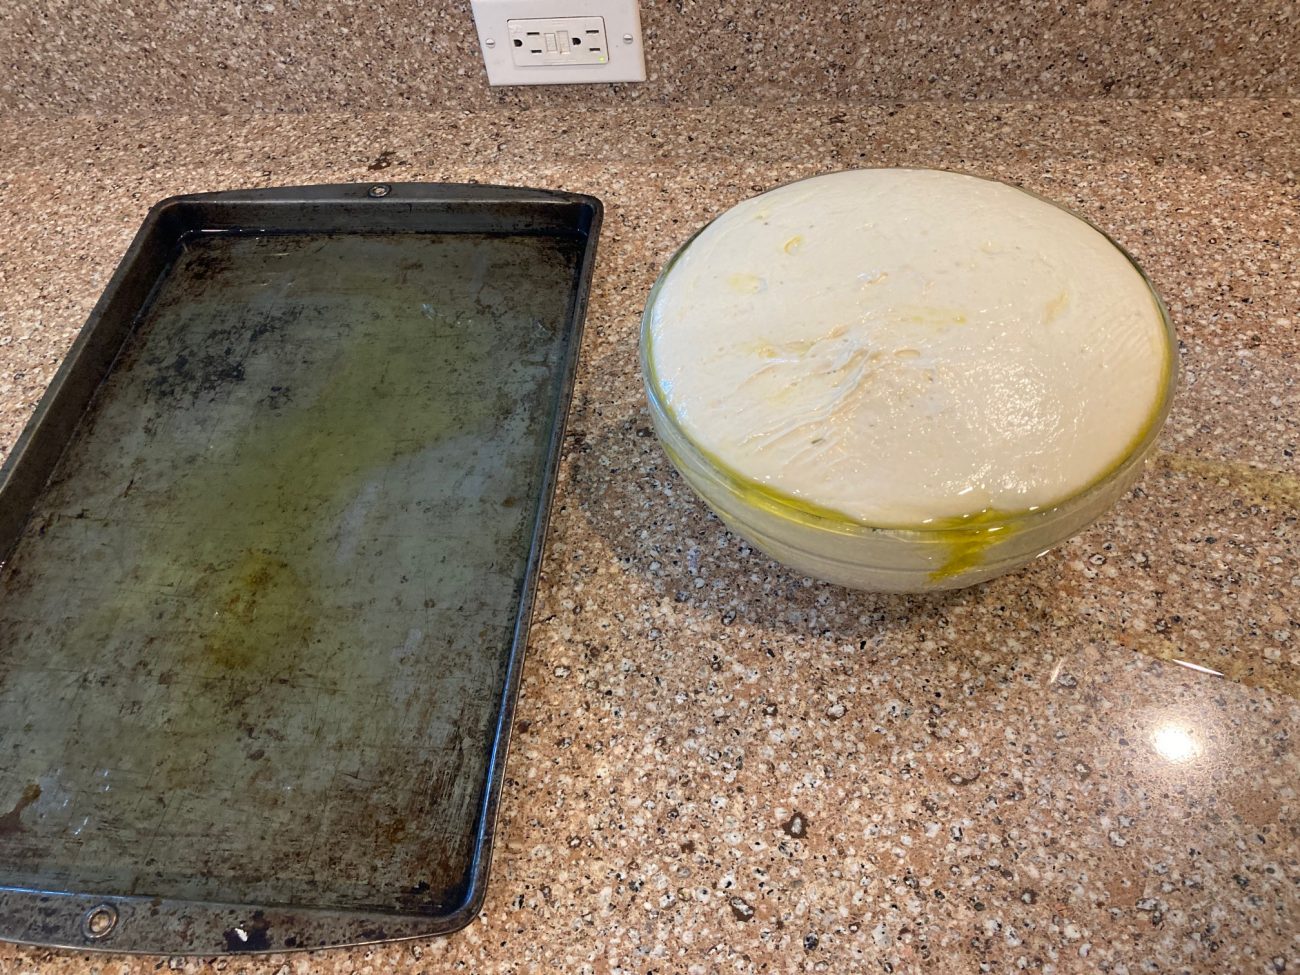
Pour 1/4 cup of the oil into a large bowl and swirl around the sides. Scrape the dough into the bowl, cover with plastic wrap, and leave to rise until doubled (1 to 1 1/2 hours). I like to take a picture of the dough before rising so it's easier to gauge when it has doubled. |
|
5
Done
|
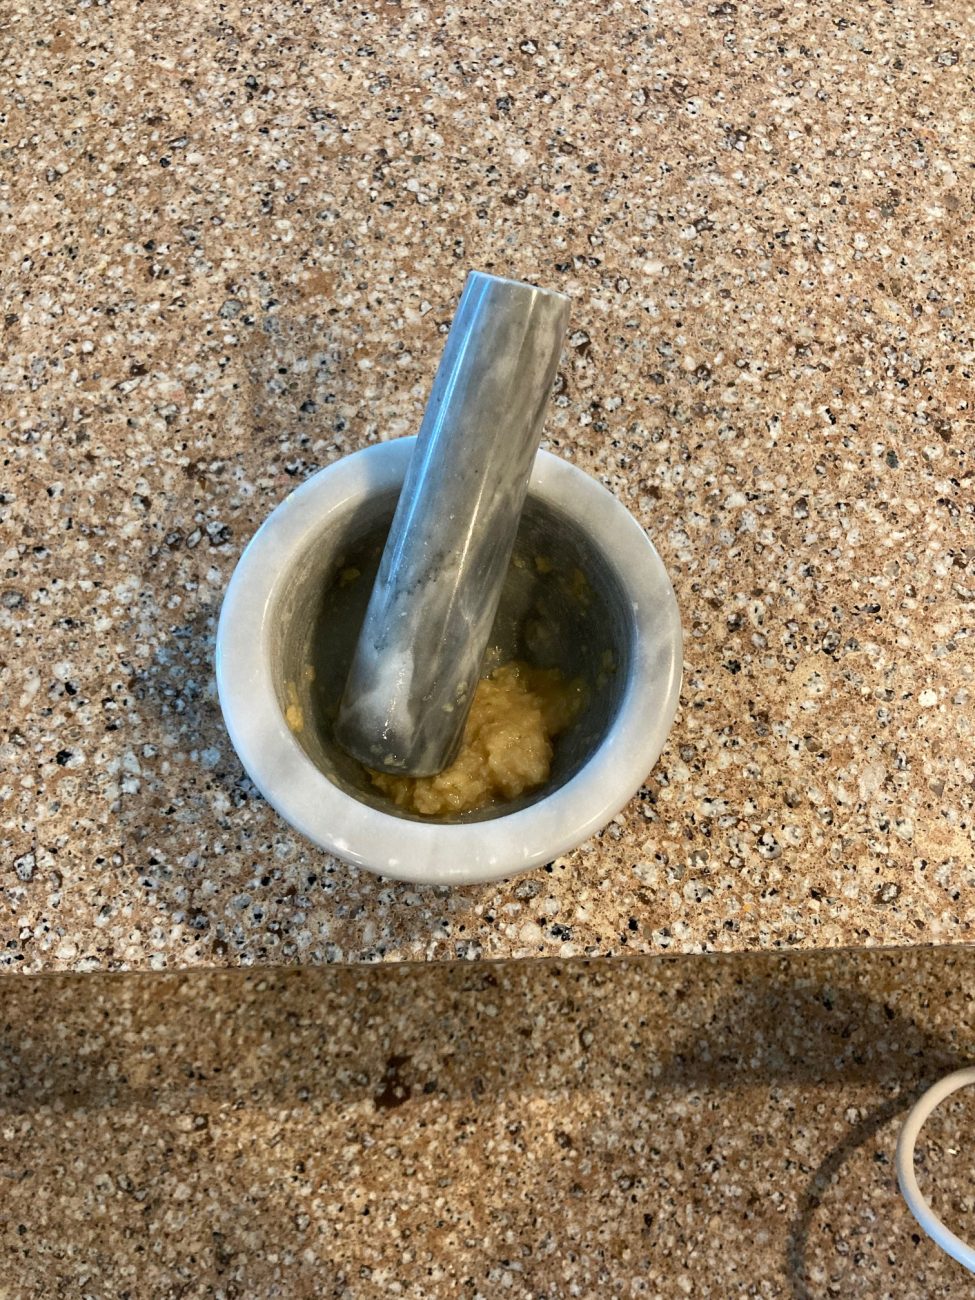
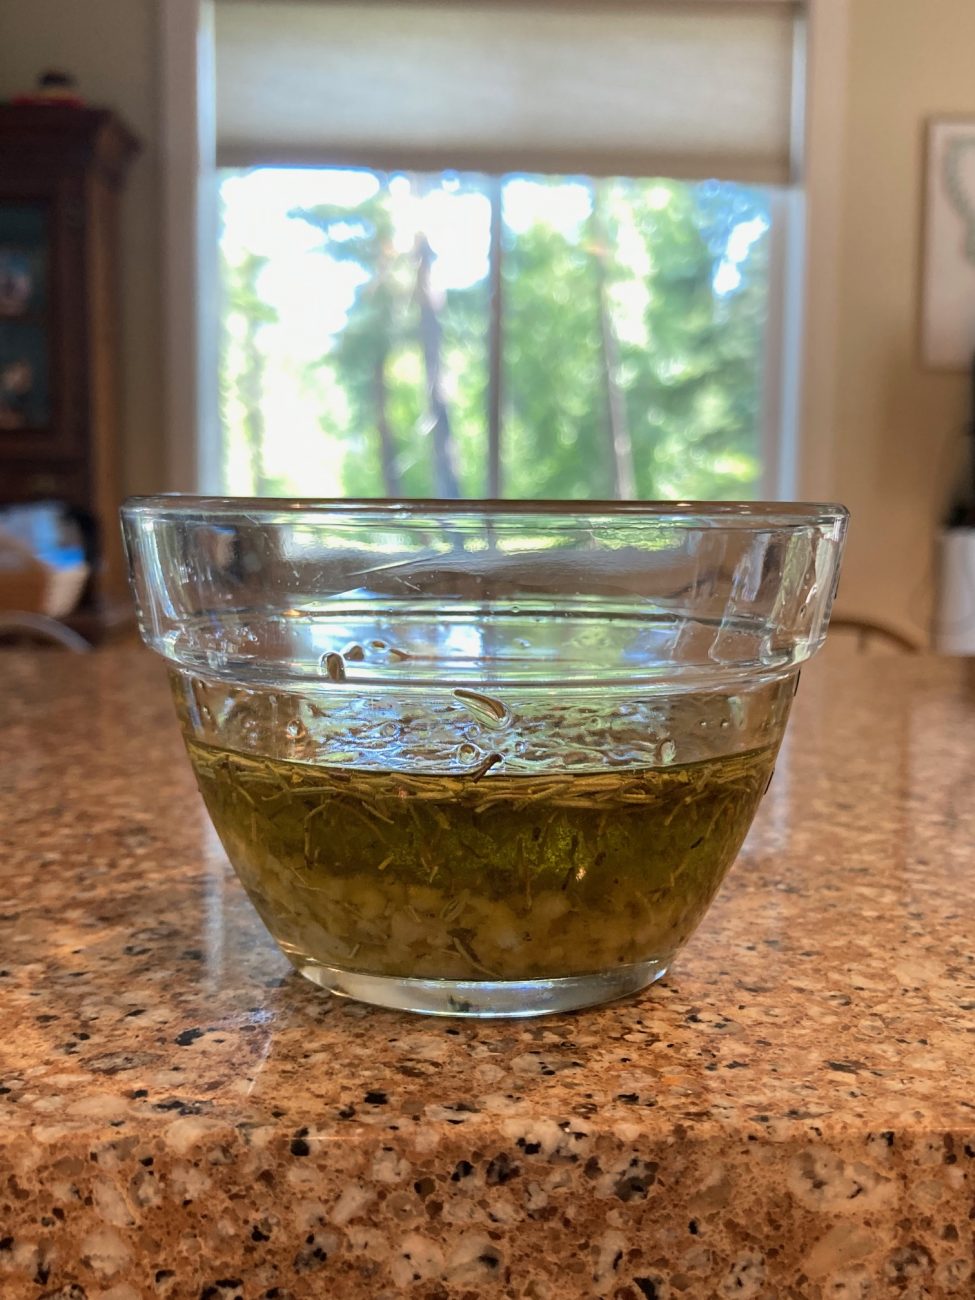
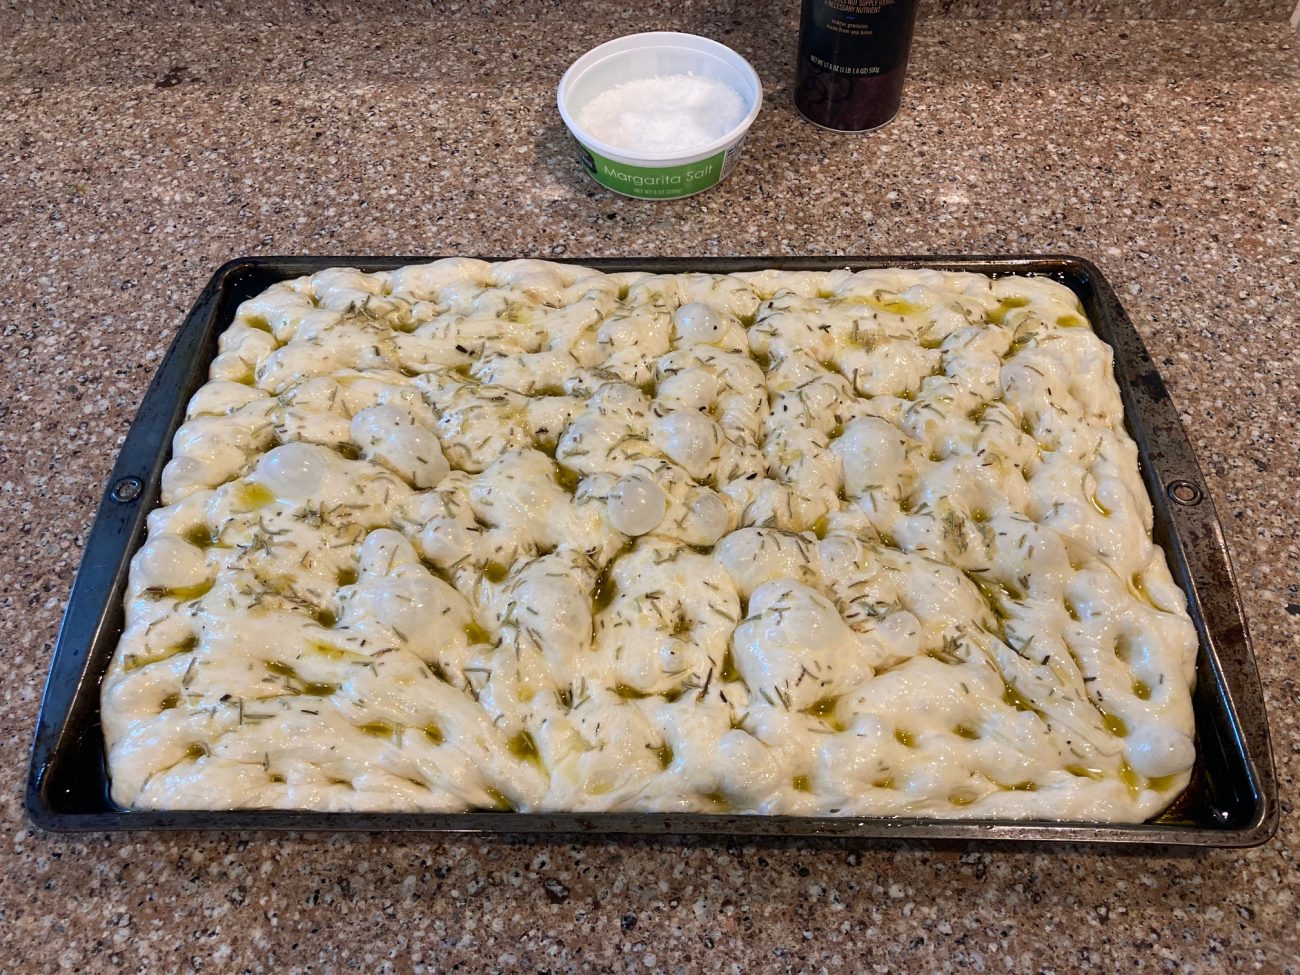
While the dough is rising, mix the topping oil, rosemary, and garlic so that the flavors can infuse. I used preminced garlic, so I pounded it in a mortar and pestle in order to get the flavor more evenly over the bread without the garlic pieces burning. You can also use fresh garlic minced or sliced. The sliced garlic is nice for punches of flavor and a extra crunch. |
|
6
Done
|
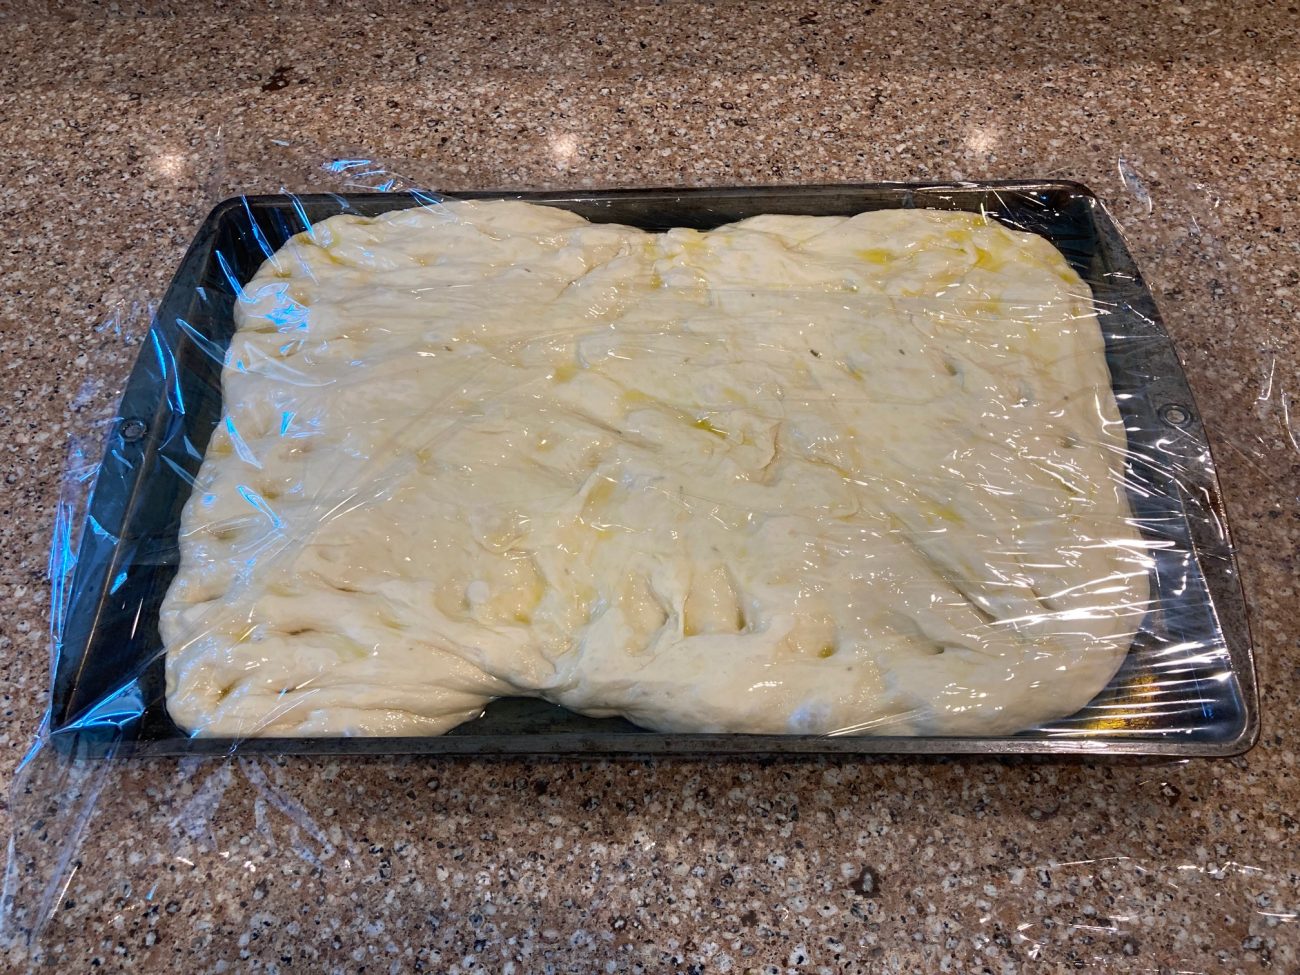
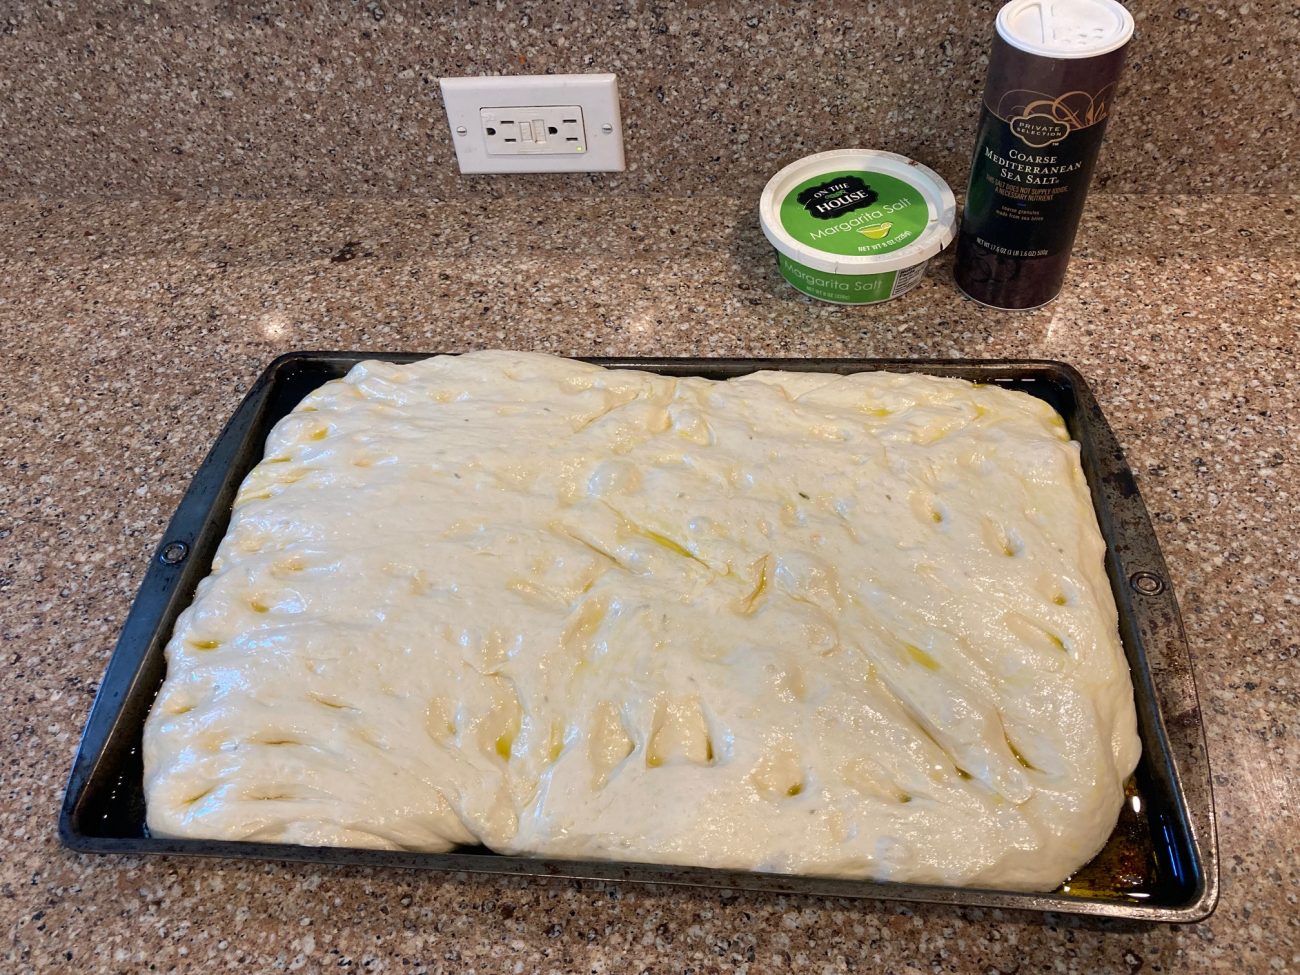
Drizzle the final 1/4 cup of oil over a half sheet pan, using your hands to make it coat the entire bottom. Instead of kneading the dough to develop gluten, this recipe uses a turning method. To do so, loosen the dough from the sides of the rising bowl, lift the dough out of the bowl, letting the weight of the dough pull itself downward, and return the dough to the bowl and turn it 90 degrees. Repeat 3 more times, but lay the dough on the half sheet after the final turn. Stretch the dough to fill the sheet pan. It will spring back and not fully fill the pan at this stage. Cover and rest for 15 minutes. |
|
7
Done
|
Uncover the dough and finish stretching the dough to the edges of the pan. Cover the dough once again and let rise for about 40-45 minutes until doubled in height. When the dough is almost done rising, arrange the oven racks in the highest and lowest positions, then preheat the oven to 450F. |
|
8
Done
|
Uncover the dough and dimple with oiled hands. Press all the way to the bottom of the pan. Drizzle the flavored oil topping over the bread, then sprinkle generously with the flaky salt. |
|
9
Done
|
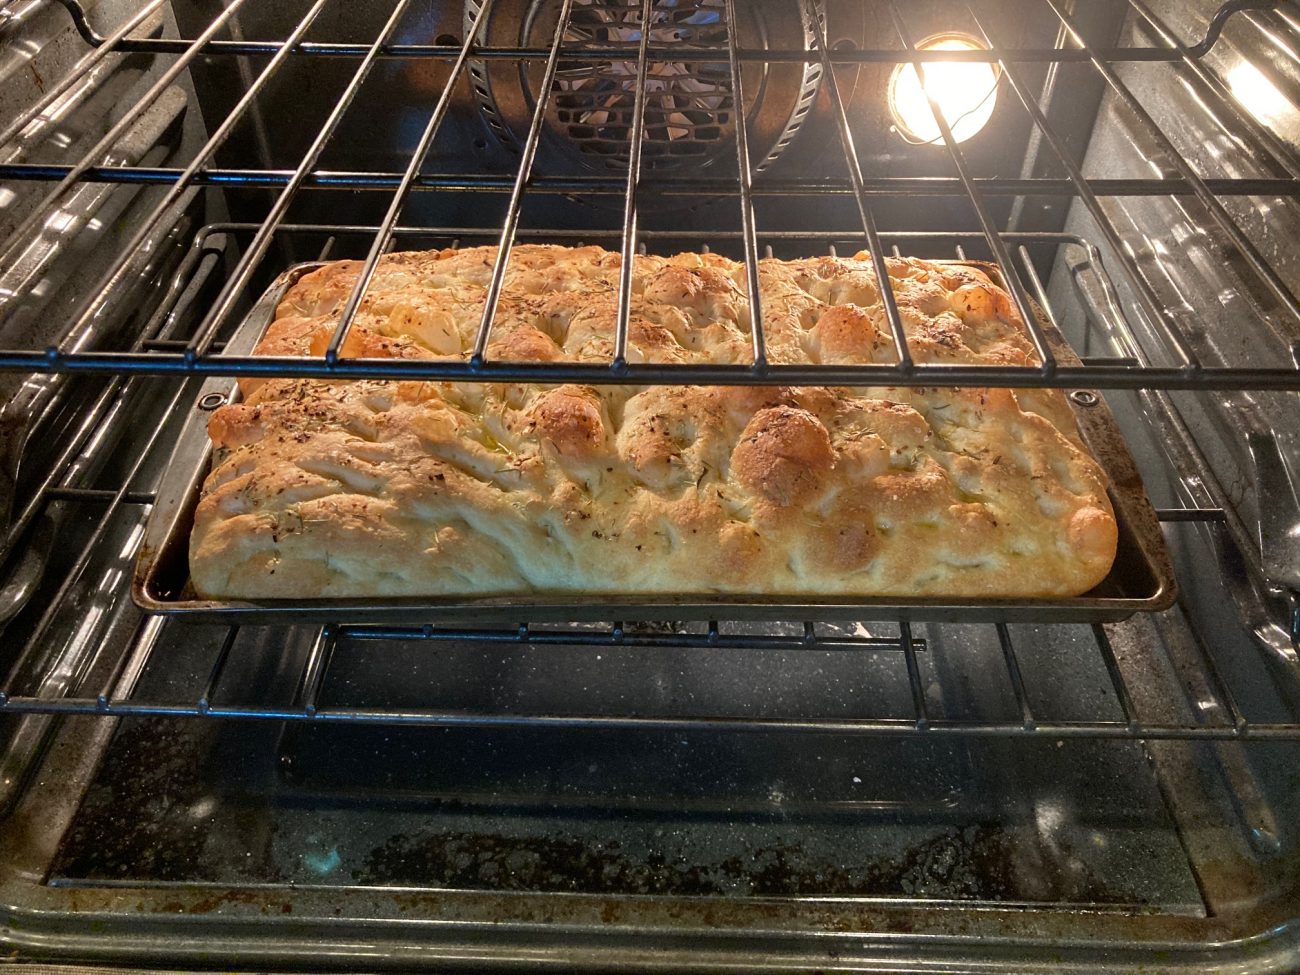
Bake on the lower rack until the dough pulls away from the sides of the sheet pan, about 20-25 min. Transfer the pan to the top rack and bake until the top is well browned (5 minutes). |
|
10
Done
|
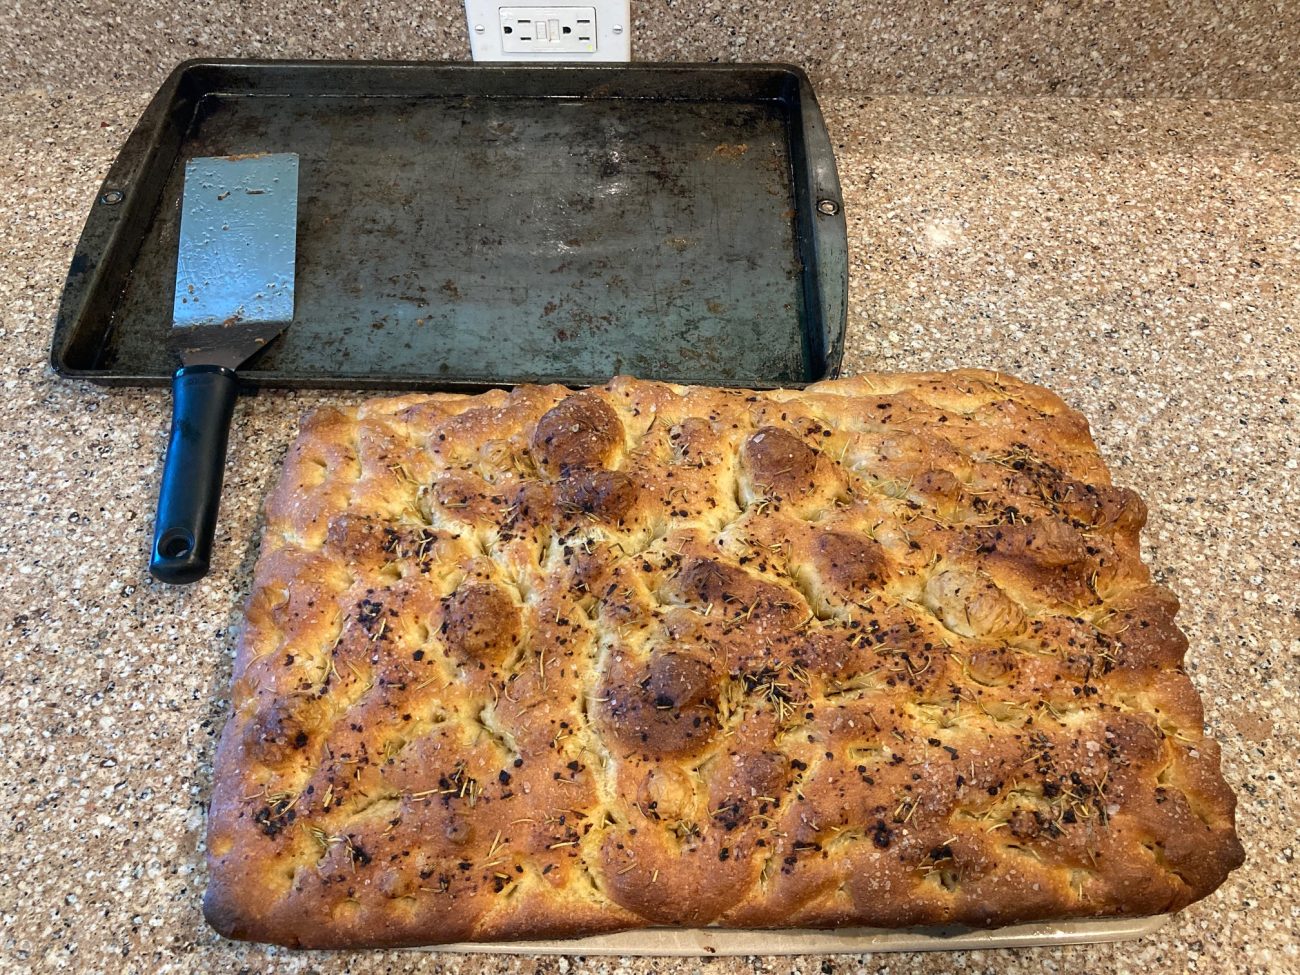
Let the focaccia cool in the pan for about 10 minutes, then use a spatula to remove from the pan onto a wire cooling rack. Let finish cooling then slice. The bread is best eaten the day it's made, before the bread absorbs moisture from the air and is no longer crisp. It can be reheated in the oven to crisp it back up if desired. |