Ingredients
-
Pastry Cream Filling
-
2 cups Whole Milk
-
1 1/2 tsp vanilla extract
-
1/2 tsp Diamond Crystal kosher saltCan be substituted with 1/4 tsp regular kosher salt
-
1/2 cup sugar
-
1/4 cup cornstarch
-
6 Tbsp butter, chilledcut into 1 Tbsp chunks
-
4 oz semisweet chocolatefinely copped
-
1 cup creme fraicheCan be substituted with sour cream
-
Craquelin
-
1 stick butter, room temperatureYou can use salted or unsalted butter for this recipe, it is personal preference
-
3/4 cup light brown sugar
-
1 cup all purpose flour
-
Pinch kosher salt
-
Choux Pastry
-
1/2 cup Whole Milk
-
1 Tbsp sugar
-
1/2 tsp Diamond Crystal kosher saltCan be substituted with 1/4 tsp regular kosher salt
-
7 Tbsp buttercut into pieces
-
1/2 cup water
-
1 cup all purpose flour
-
6 Large Eggs5 if using craquelin
-
Caramel
-
3/4 cup water
-
3 cups sugar
-
1 1/2 Tbsp light corn syrup
Directions

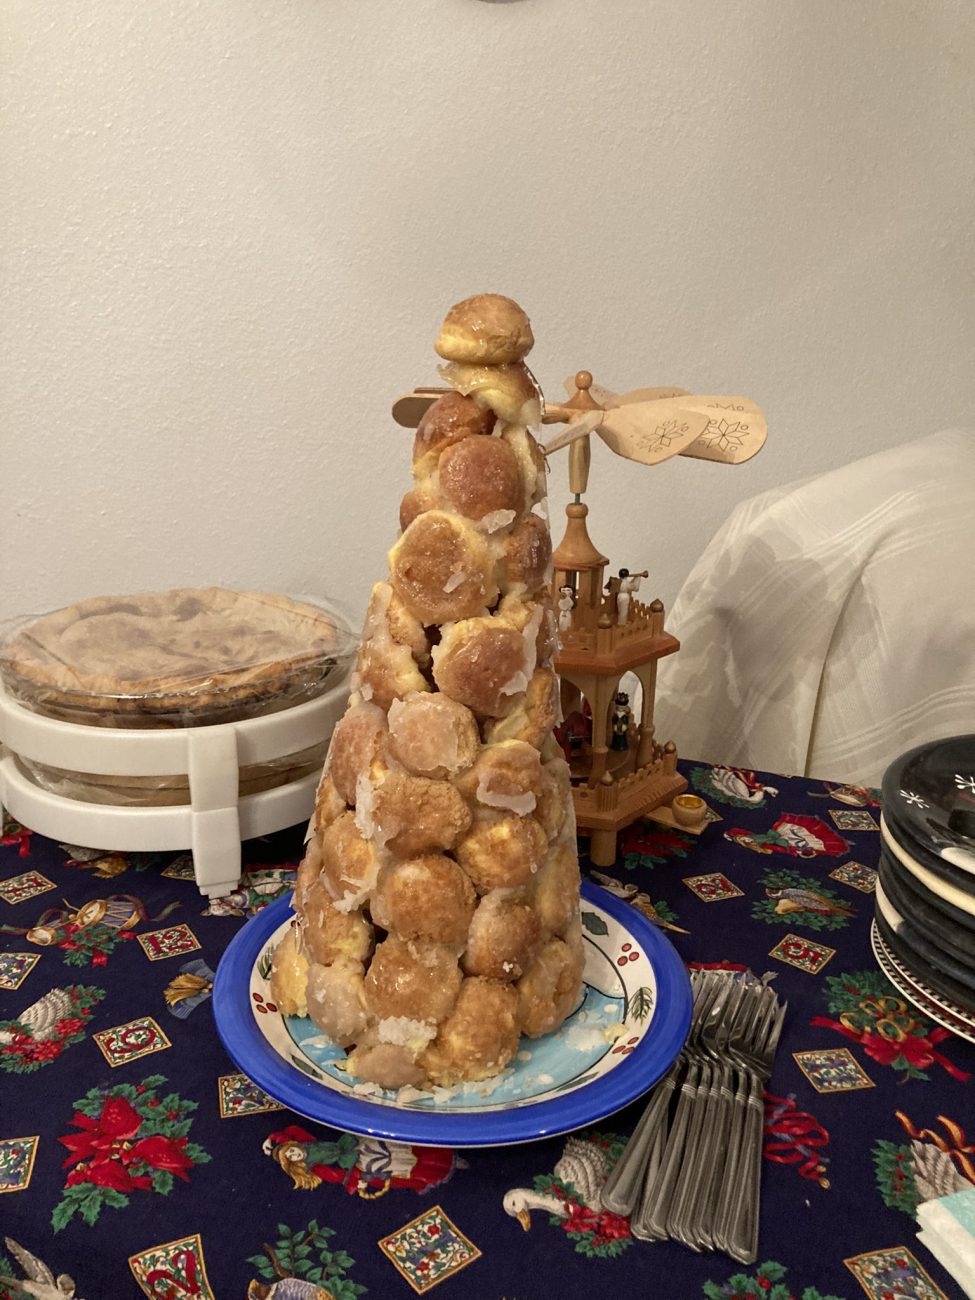
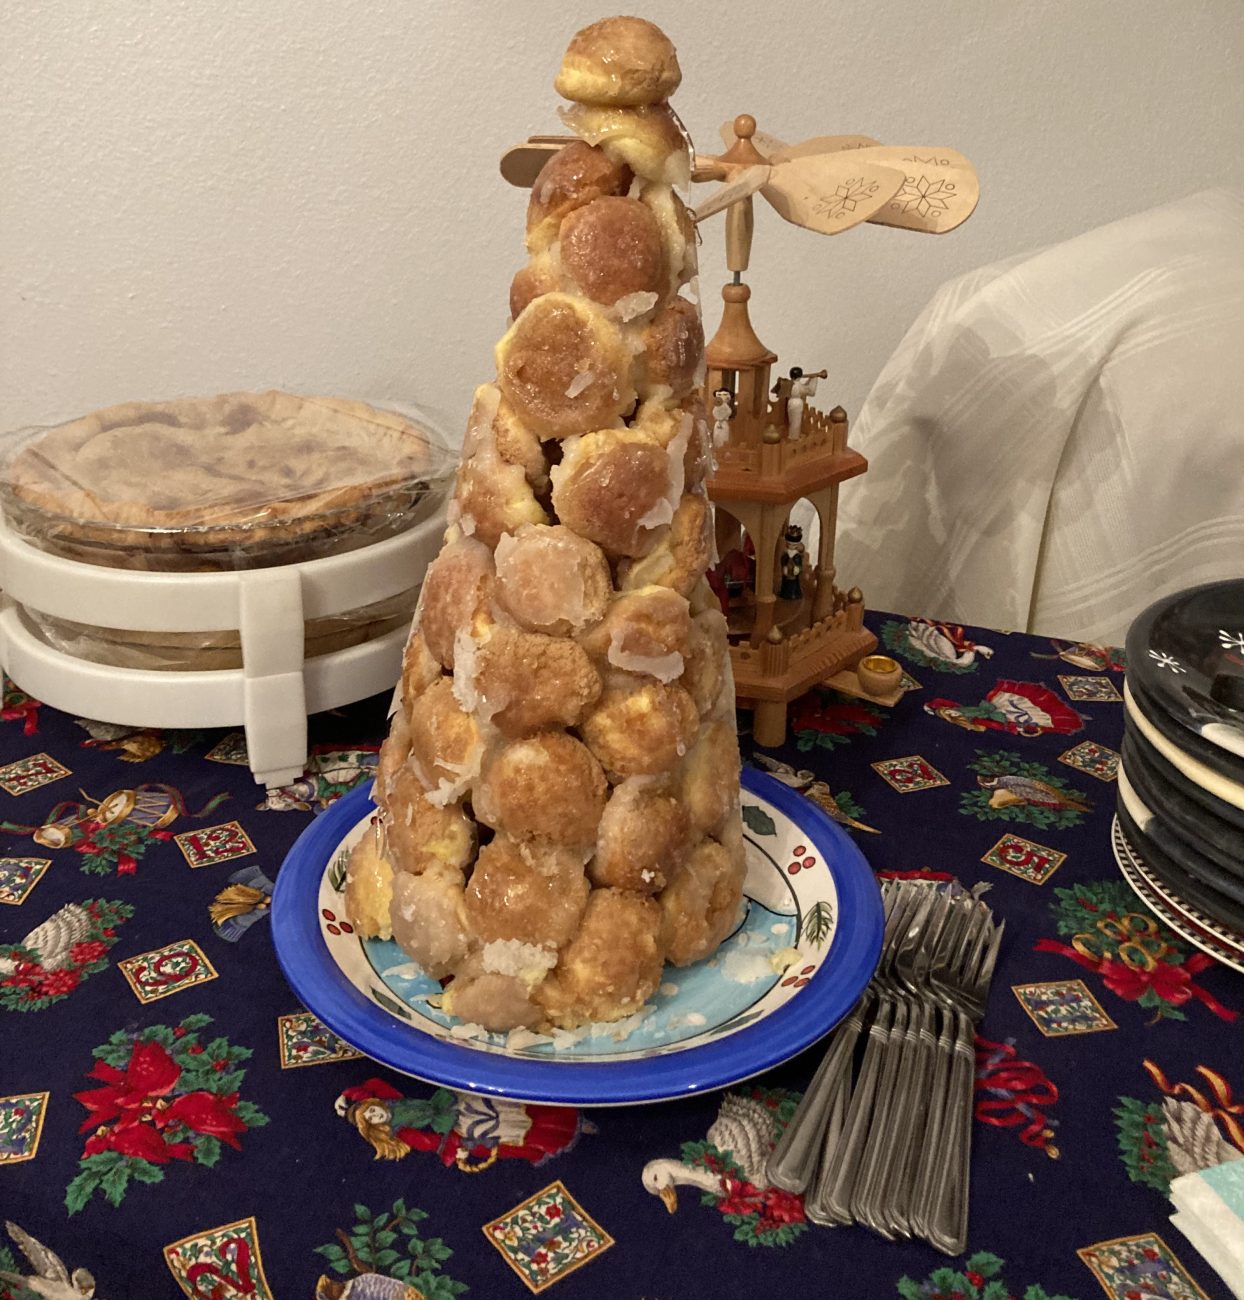
Croquembouche (pronounced croak-em-boosh) is a tall cone of cream puffs held together with caramelized sugar. This remarkably technical dessert is an impressive centerpiece on any table and quite an accomplishment. Be sure to check my ingredient notes! This recipe requires you to make pate a choux, a.k.a. choux pastry (pronounced “shoe”), which can be easy if you’ve made it before– however, if it is your first attempt I would recommend a practice run or watching some videos on how it’s made so that you have an idea of how to make it correctly. Having a baking buddy is also helpful, my grandma and I made this over 3 days. She’s made cream puffs a number of times and helped me with the pate a choux. I put a craquelin on my cream puffs, which adds flavor and makes them all look uniform, but this step is optional. The structure of this dessert is caramelized sugar; the sugar is the glue that holds the whole thing together. Personally, I have never had much luck with melting sugar, it always crystallizes on me. The recipe I used to make this for the first time was not very specific with how to make the sugar so my croquembouche ended up with crystallized sugar, for this post I am using another reference recipe that will hopefully give you better luck. If you’re going to give this recipe a try, I would recommend reading through all of the directions at least once before diving in. I made my croquembouche for Christmas because I thought it would be a fun mini tree for the table – I think it would be neat to coat some cranberries in the sugar and stick them on like ornaments, but I didn’t have any extra when I made mine. Although my croquembouche didn’t turn out as perfectly as I had hoped, my grandma and I still had a blast trying it out and I urge you to try it and challenge yourself!
Steps
|
1
Done
|
Pastry CreamPlace a fine mesh sieve over a large heatproof bowl and set aside. Combine milk, vanilla extract, and salt in a medium, heavy-bottomed saucepan. Heat the milk mixture over medium-low heat and let the mixture come to a simmer, whisking occasionally so the milk doesn't burn. |
|
2
Done
|
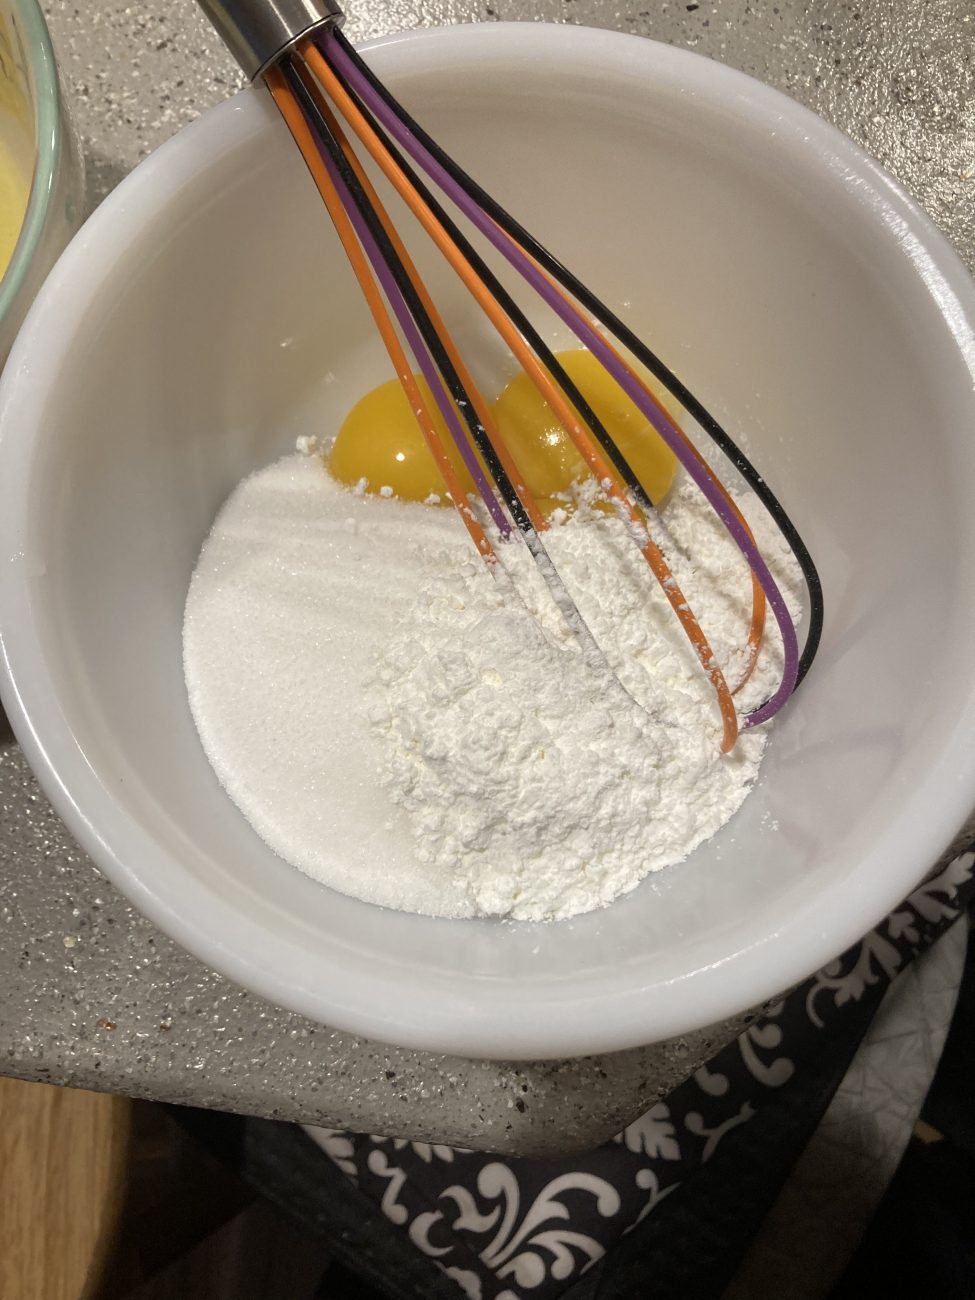
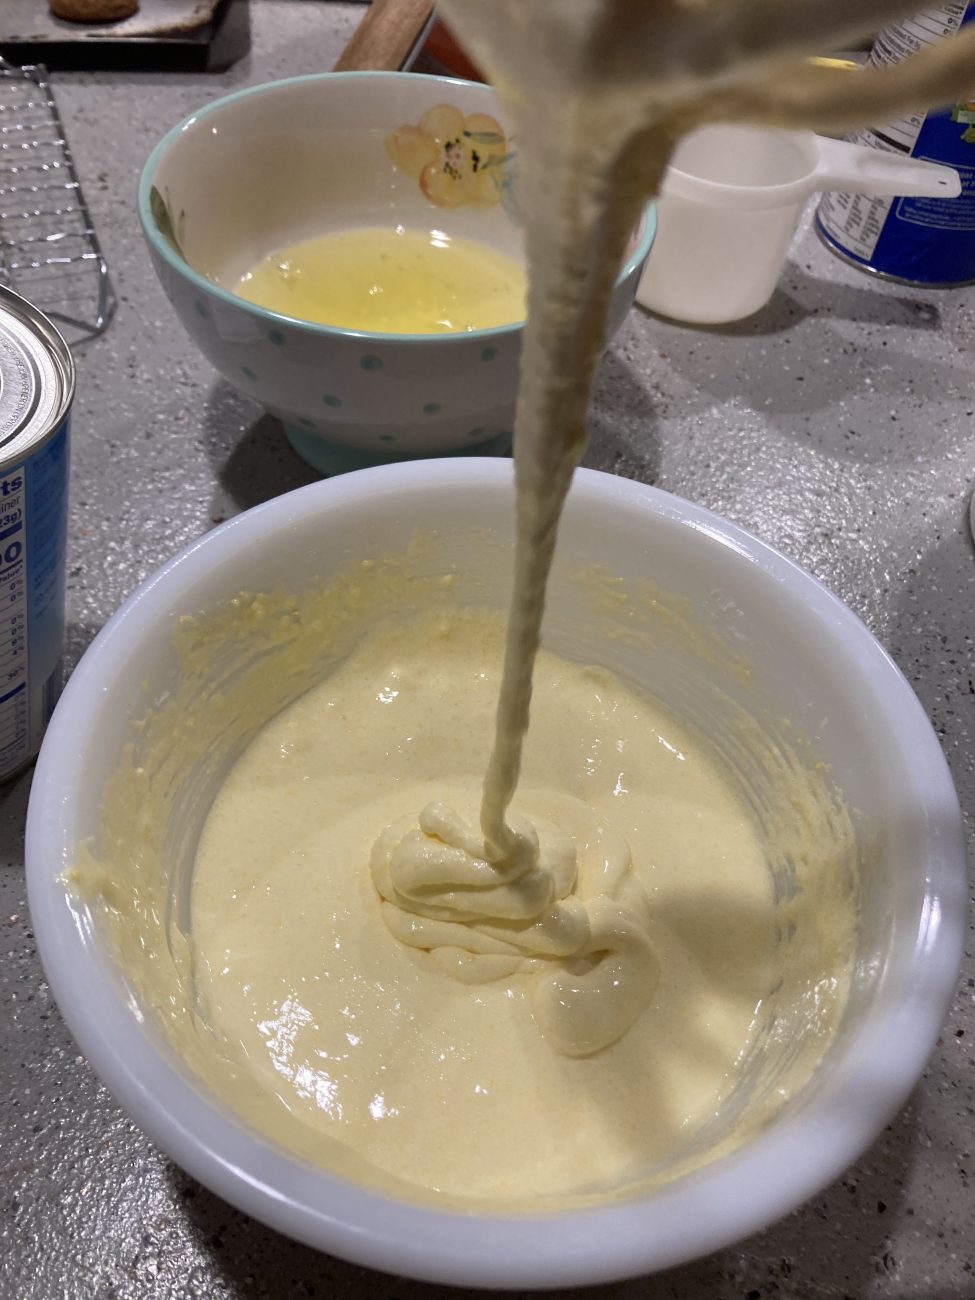
While the milk heats, combine the sugar, cornstarch, and egg yolks in a large bowl. Whist vigorously until the mixture is very pale, light in texture, and thick (2 minutes). Slowly stream about half of the hot milk into the bowl with the egg mixture (this is called tempering, so the eggs don't cook like scrambled eggs). Whisking constantly, stream the egg mixture back into the saucepan with the remaining milk. |
|
3
Done
|
Increase the heat to medium and continue to cook the pastry cream, whisking constantly until the foam has subsided and the pastry cream is thick like pudding and holds the marks of the whisk. The mixture needs to come to a boil in order to activate the cornstarch, but you don't want to overcook it. When you pause whisking for 5 seconds, a few thick bubbles should form and pop. If there are no bubbles or the cream isn't thickening, slightly increase the temperature and keep whisking, pausing about every 30 seconds to check if it's boiling. |
|
4
Done
|
Scrape the pastry cream into the sieve and use the whisk to press the mixture through the mesh into the bowl, discard any cooked egg caught by the sieve. Whisk the cold butter into the hot pastry cream one piece at a time until smooth. Press a sheet of plastic wrap onto the surface of the pastry cream (this prevents a skin from developing) and refrigerate until cold (4 hours) |
|
5
Done
|
After incorporating the butter, whisk 4 oz finely chopped semisweet chocolate into the hot pastry cream until melted and smooth. (optional) |
|
6
Done
|
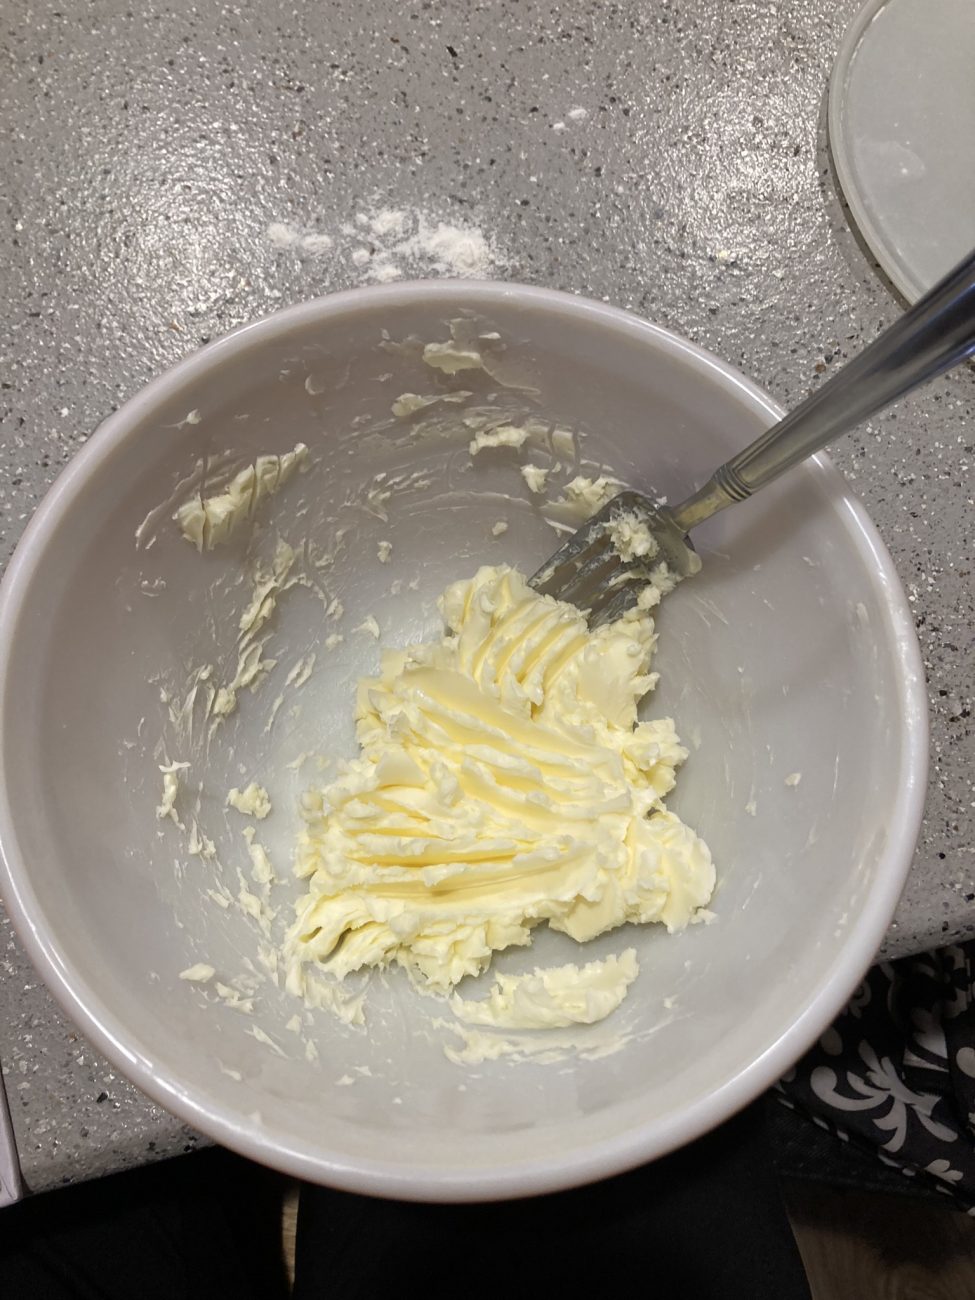
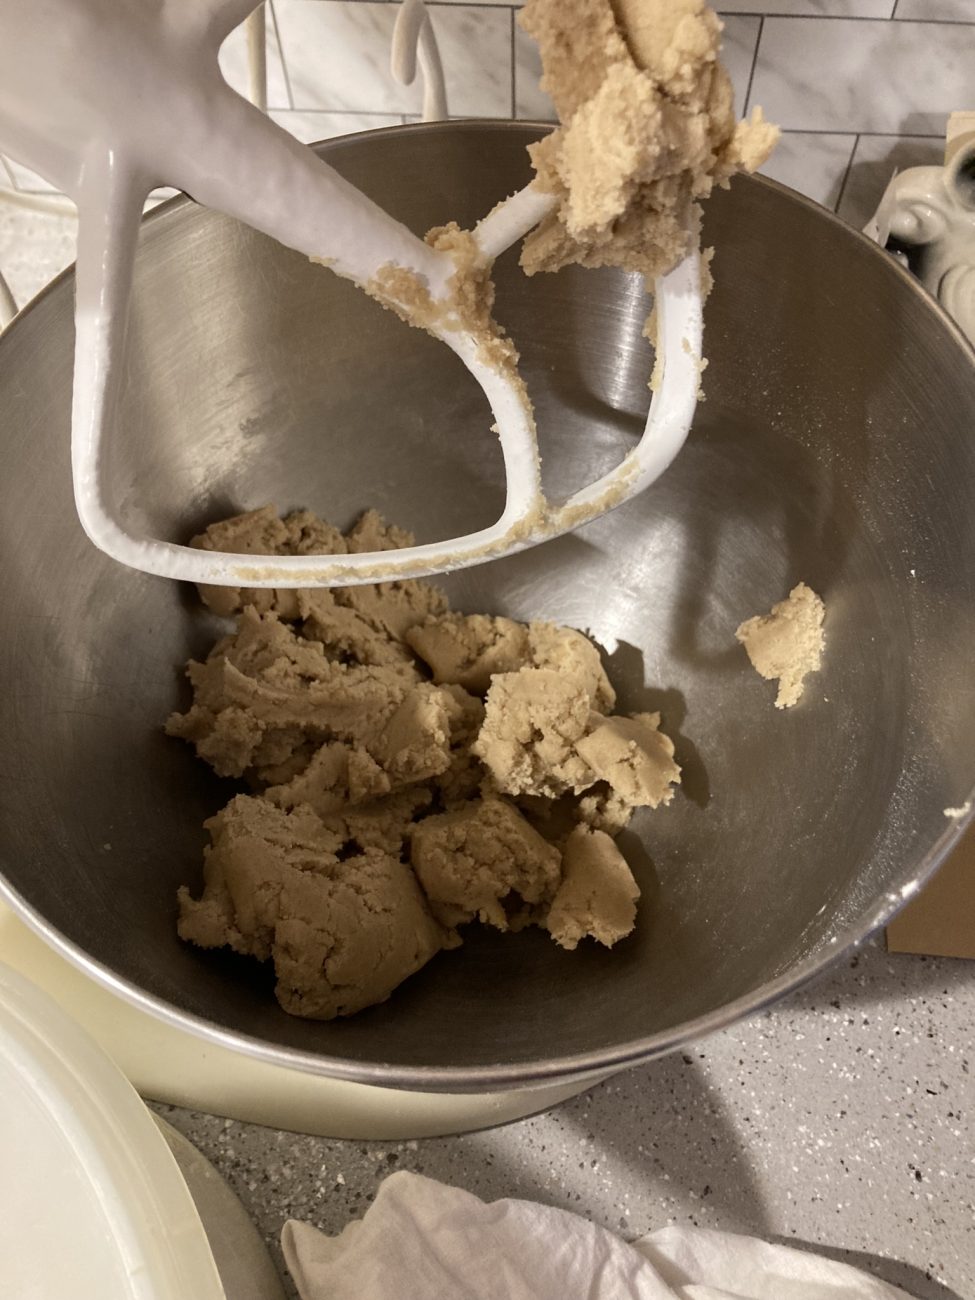
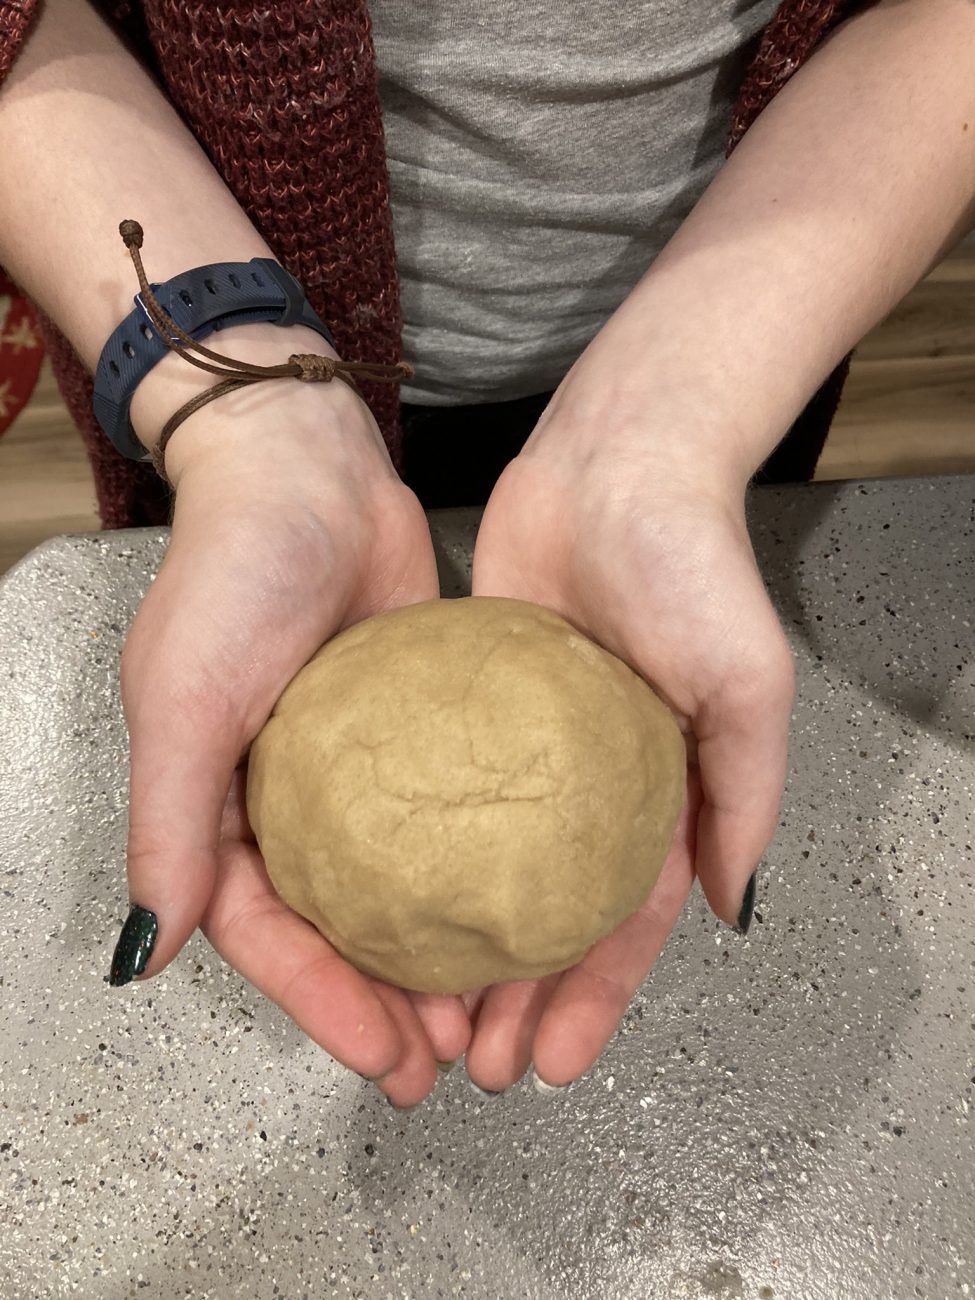
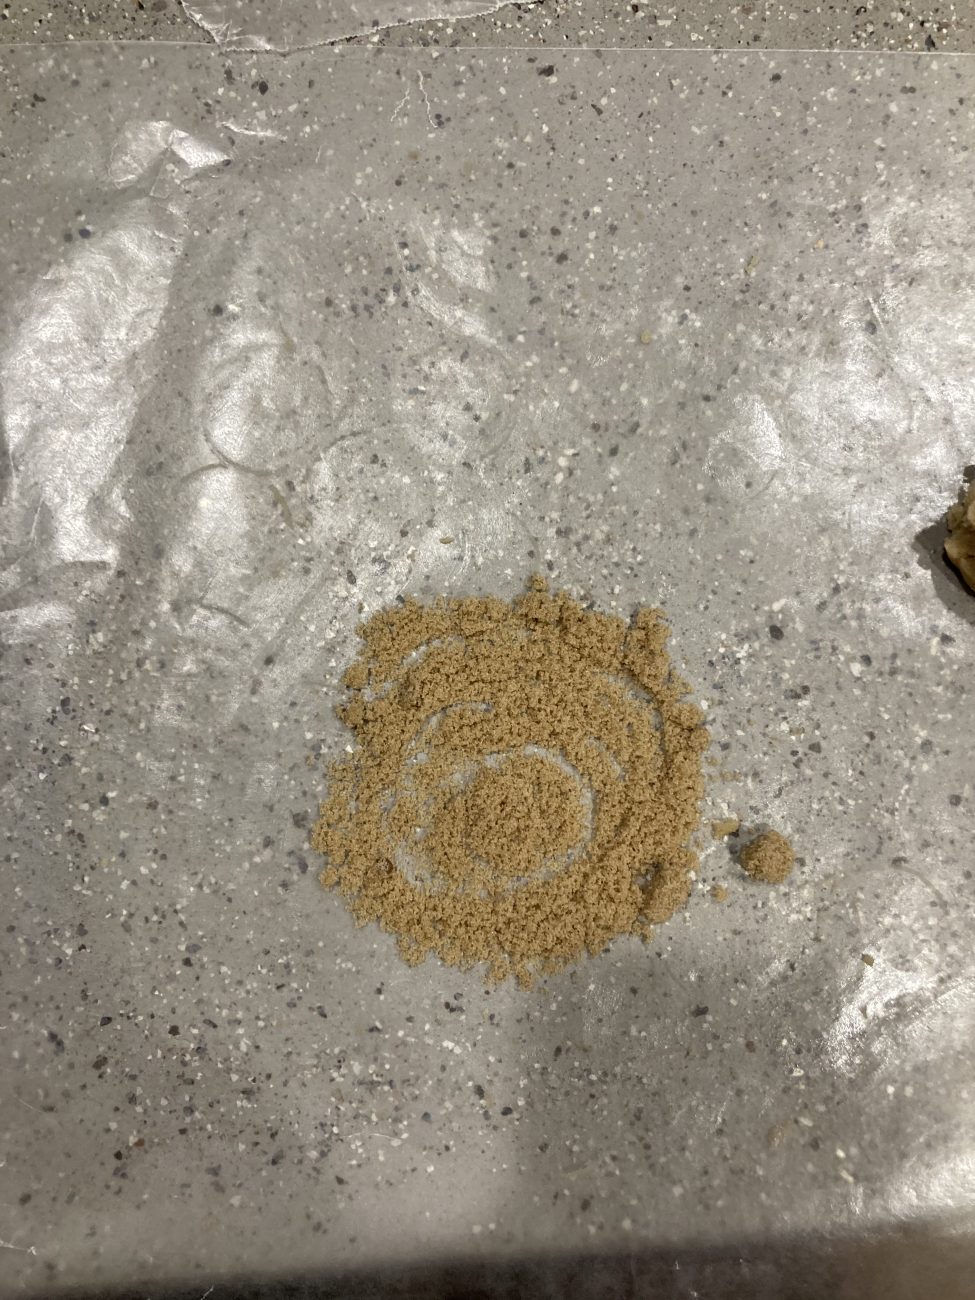
CraquelinIn a medium bowl combine butter and brown sugar until smooth and creamy. Add flour and salt, stirring until no flour clumps remain and you have a stiff dough. Divide dough in half. |
|
7
Done
|
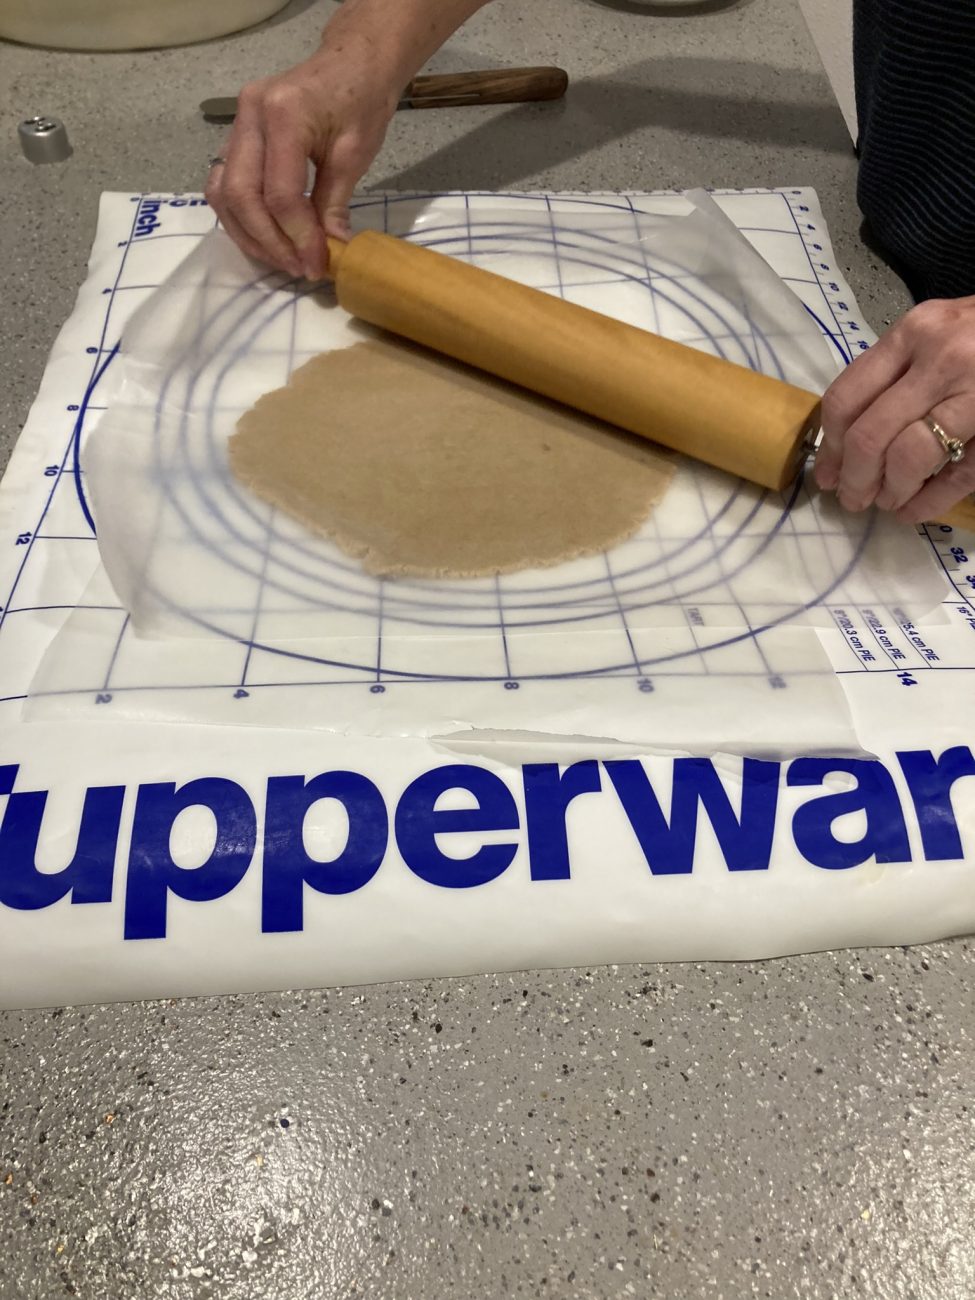
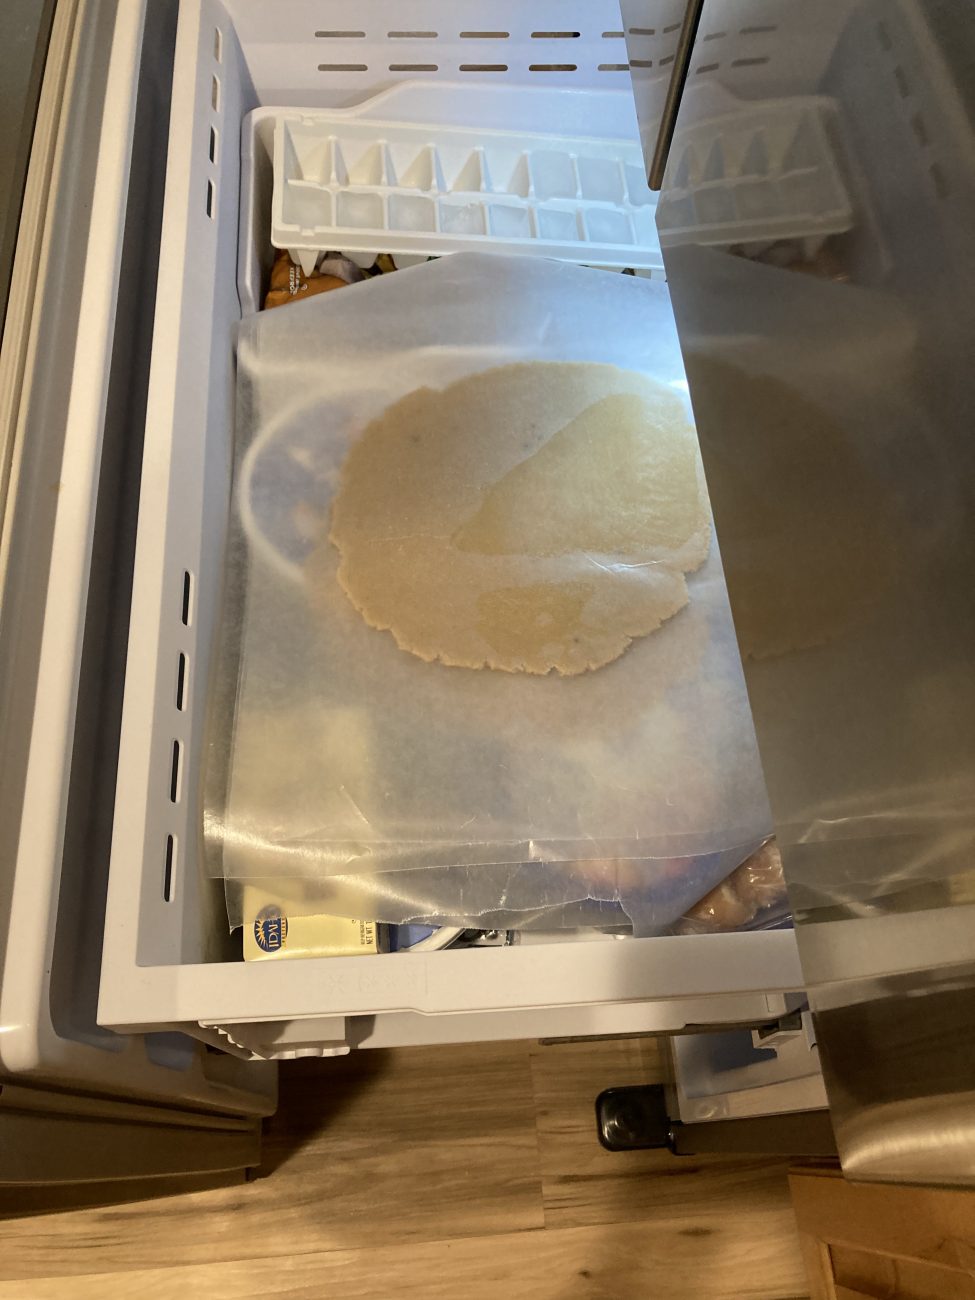
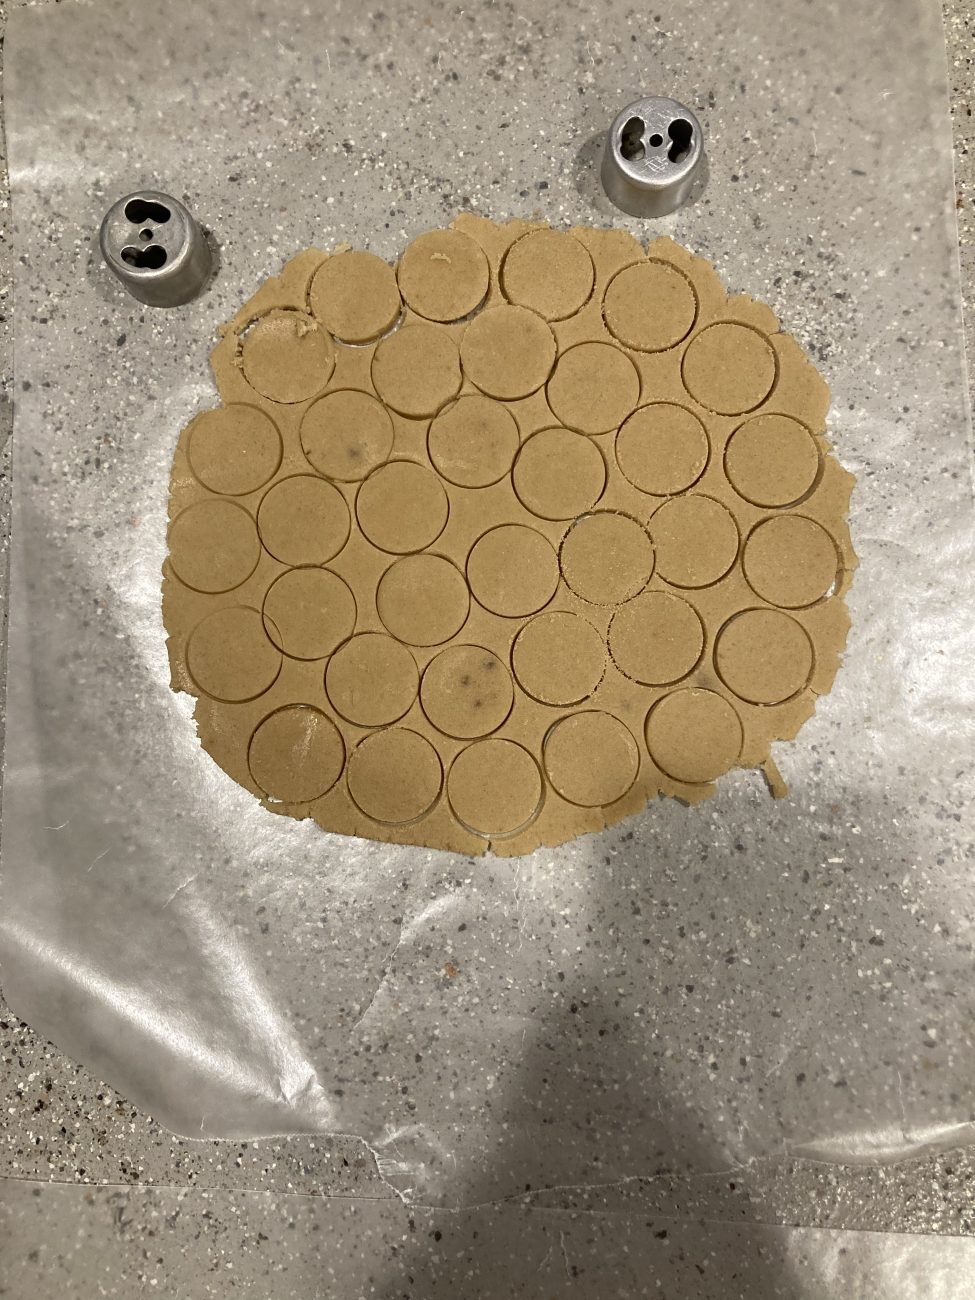
Roll out one half of the craquelin dough between two pieces of parchment paper to 1/4" thickness. Feel free to peel off and reposition the parchment paper if it wrinkles. Slide the parchment paper onto a baking sheet (optional) and refrigerate until firm, 10-15 min, and repeat with the other half of dough. My grandma and I put our craquelin in the freezer to expedite the process. |
|
8
Done
|
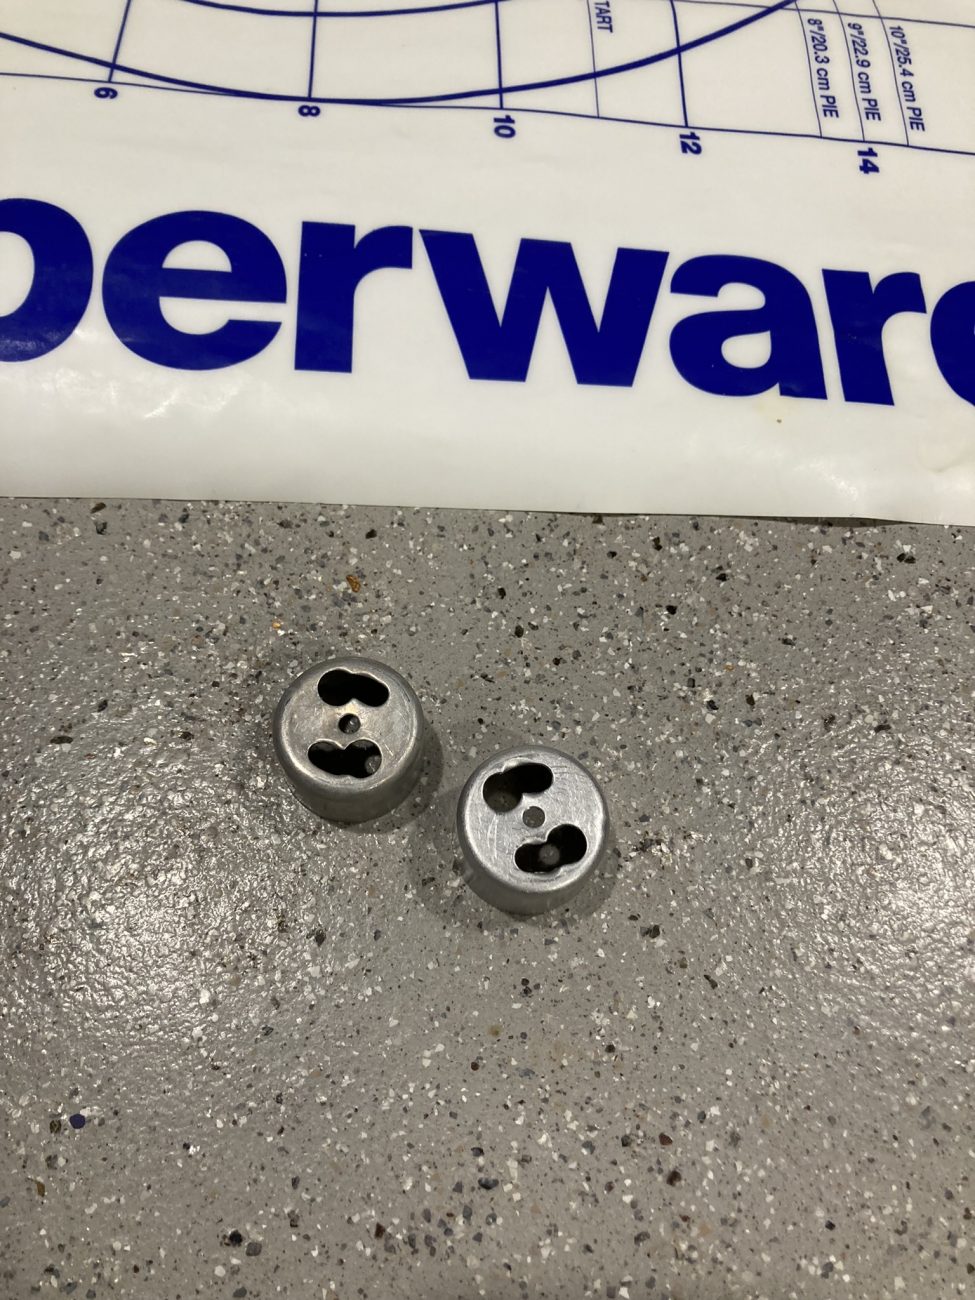
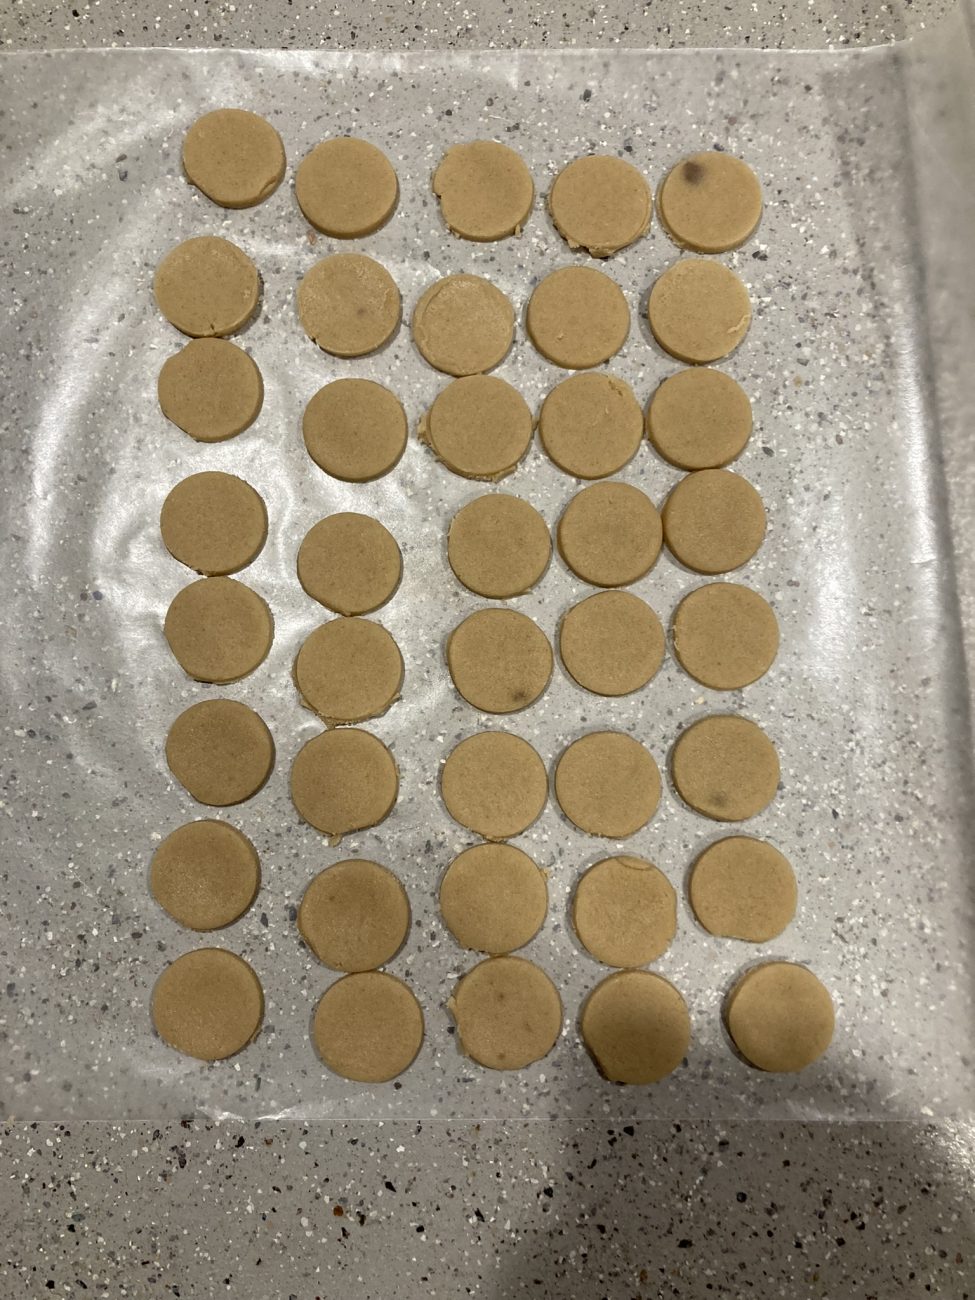
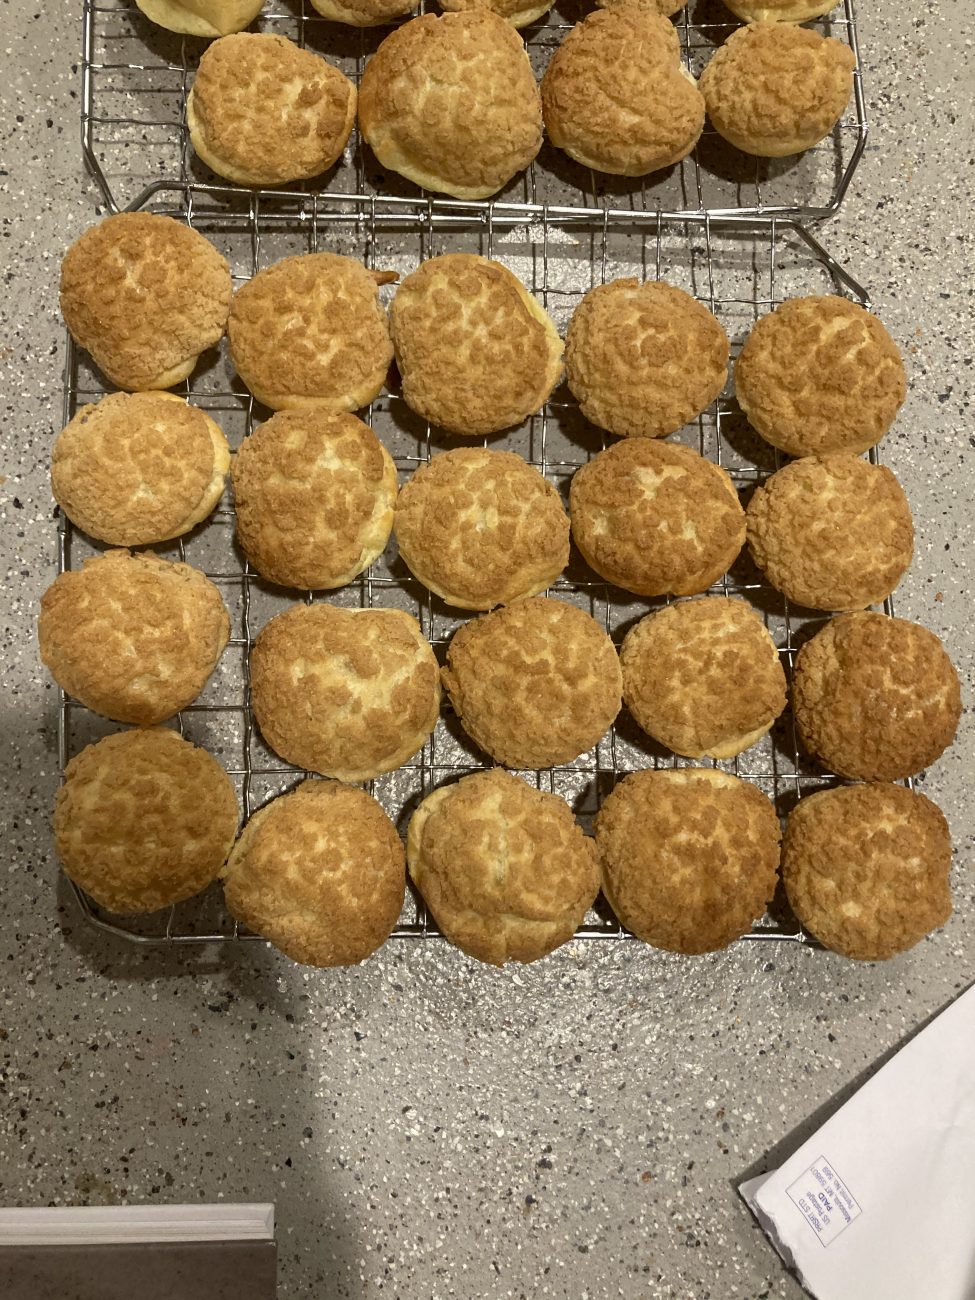
Once firm, place one sheet of dough on the counter and peel off the top layer of parchment paper. Use a 1 inch round cutter to punch out as many rounds as you can, transfer them onto a plate or baking tray and refrigerate. Re-roll the dough and place in the fridge to chill again, and get out the other sheet of craquelin dough. Repeat the rolling, chilling, and cutting process until you have around 70 rounds, keeping them covered and refrigerated. I'm sure not many people have a little 1" cookie cutter sitting around, so use whatever you have. My grandma and I used doughnut hole punches, and when I had to remake the craquelin (more on that later) I used the top of a little luster dust spray bottle. |
|
9
Done
|
Pate a ChouxCombine the milk, sugar, salt, butter, and water in a small saucepan. Bring to a simmer over medium-low heat and stir with a wooden spoon to melt the butter. |
|
10
Done
|
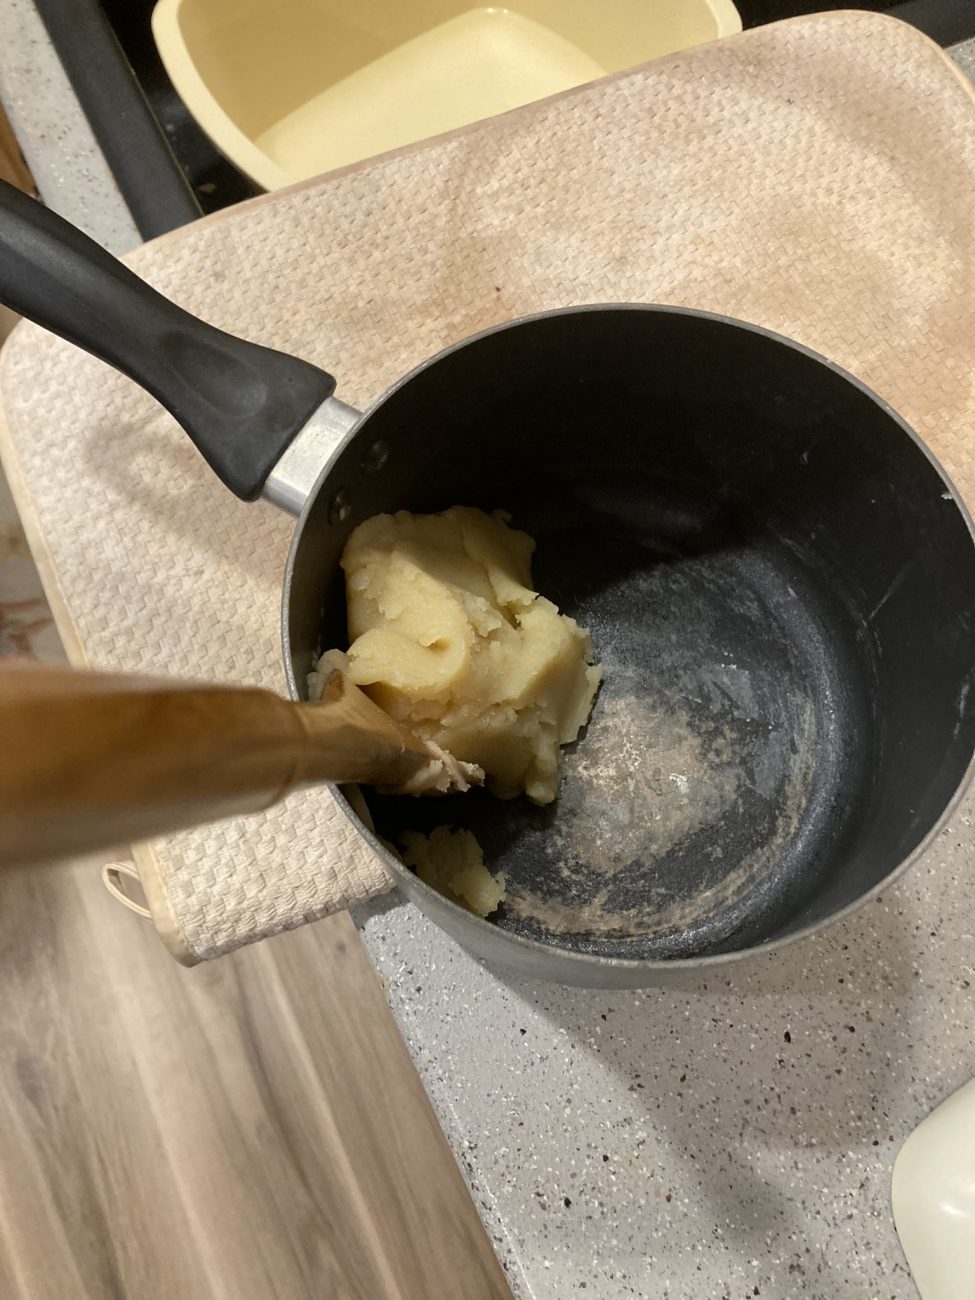
When the surface is actively bubbling, add the flour all at once and stir to incorporate it all. Once the flour disappears, stir vigorously until all the ingredients come together into a soft dough, continue to cook the dough and stir until the dough is smooth and forms a stiff ball (~3 minutes). |
|
11
Done
|
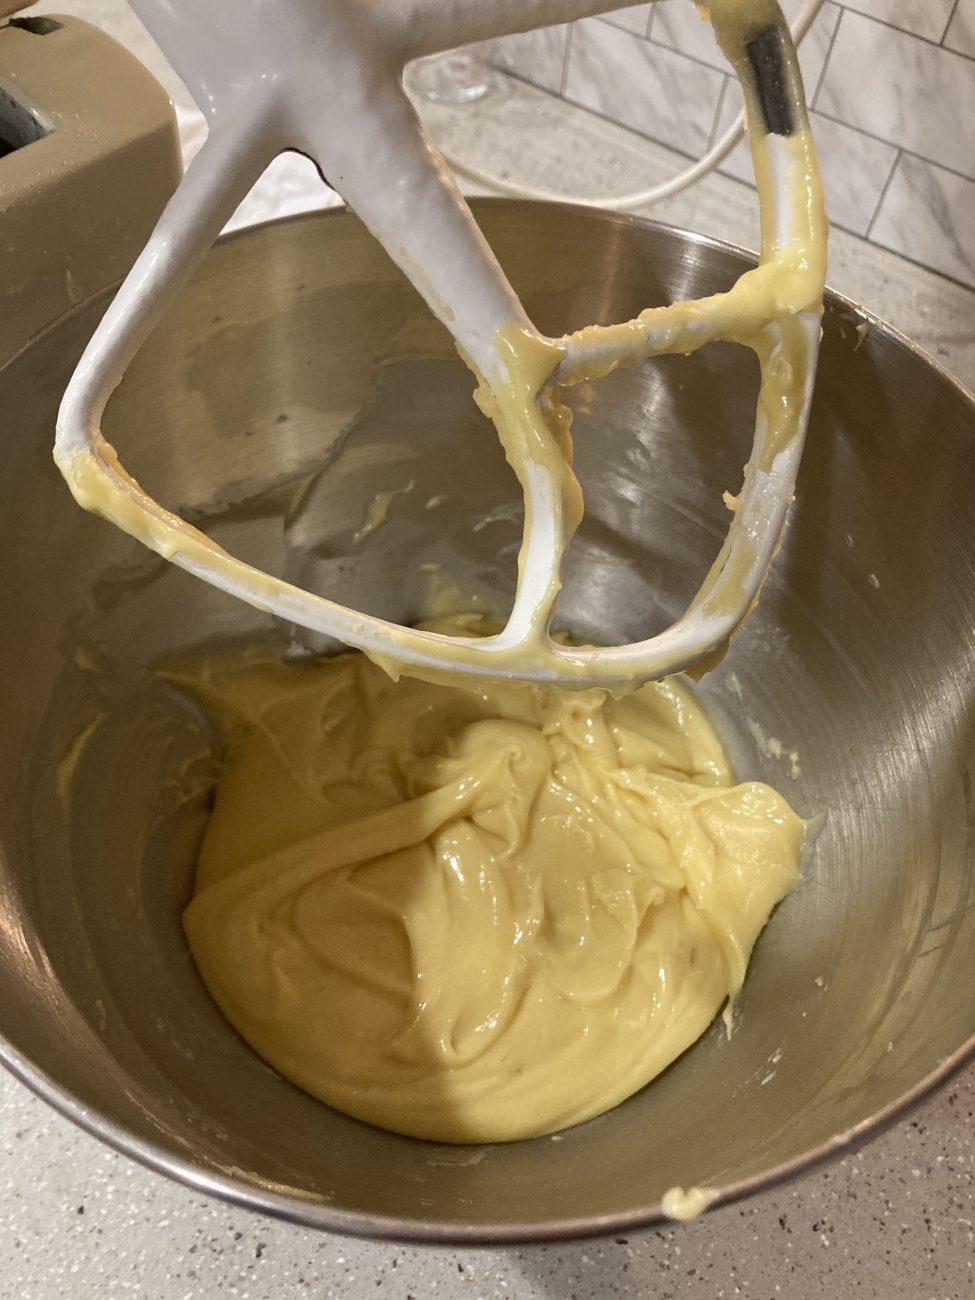
The original recipe I used recommends scraping the dough into a stand mixer fitted with a paddle attachment, letting it cool slightly, and then turning the mixer on medium speed and adding 5 of the eggs, one at a time, beating thoroughly after each egg. However, my grandma and I tried this way and it didn't work out for us, we ended up having to start over completely because our puffs were bowls, they didn't have a bottom so they were unfillable. We decided for our second attempt to just mix by hand, so remove the flour mixture from the heat and add 5 of the eggs, one at a time, stirring vigorously after each egg. Use a wooden spoon, or you can try electric beaters. After each addition the dough will separate and then smooth out, looking glossier and looser than before. Keep beating in the eggs one at a time until the batter is very glossy, smooth, and think enough to hold it's shape but loose enough to leave a v-shaped trail as it drips off the end of the paddle. You might not need all 5 eggs, so stop when it reaches this consistency. I forgot to get pictures of the batter we made by hand because we didn't have a lot of time and were too focused on getting the pate a choux baked. |
|
12
Done
|
Transfer the batter to a pastry bag or plastic bag, twist/seal the bag closed while squeezing out as much air as possible. Arrange two oven racks in the upper and lower thirds of the oven, and preheat to 425F. Line two large rimmed baking sheets with parchment paper and trace around a 1" diameter cutter to make rows of circles spaced 1 1/2 inches apart (optional). Try to get about 35 circles per sheet. Flip the ink side down on the baking sheets. |
|
13
Done
|
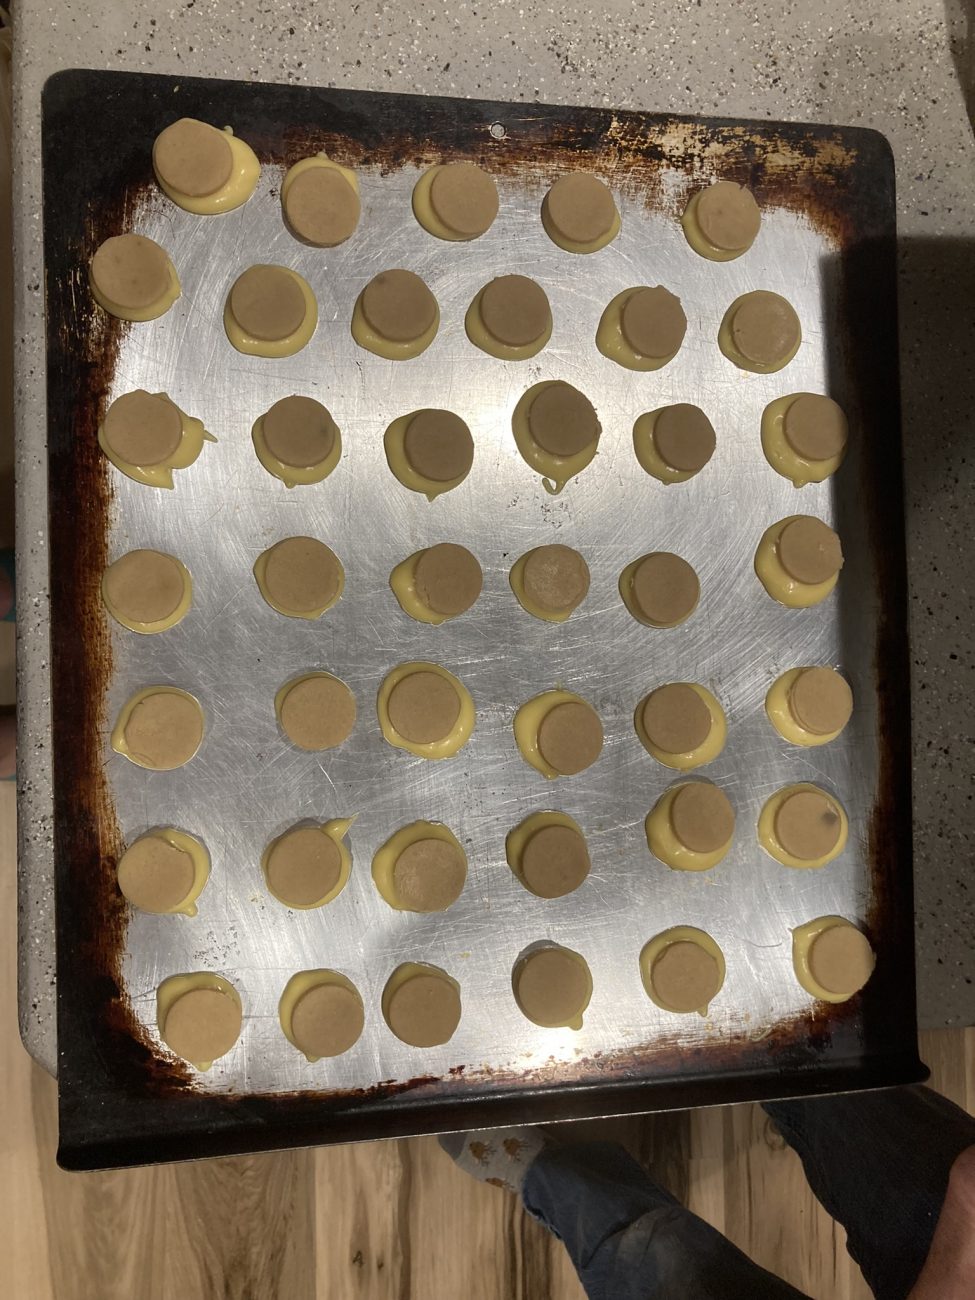
Snip off about a 1/2" opening on the pastry bag filled with pate a choux dough. Pipe about 35 1" dollops of dough on each baking sheet. Place a round of craquelin on the top of each puff if using. If not using the craquelin, beat the last egg in a small bowl and use a pastry brush to gently dab the egg wash on all the rounds. |
|
14
Done
|
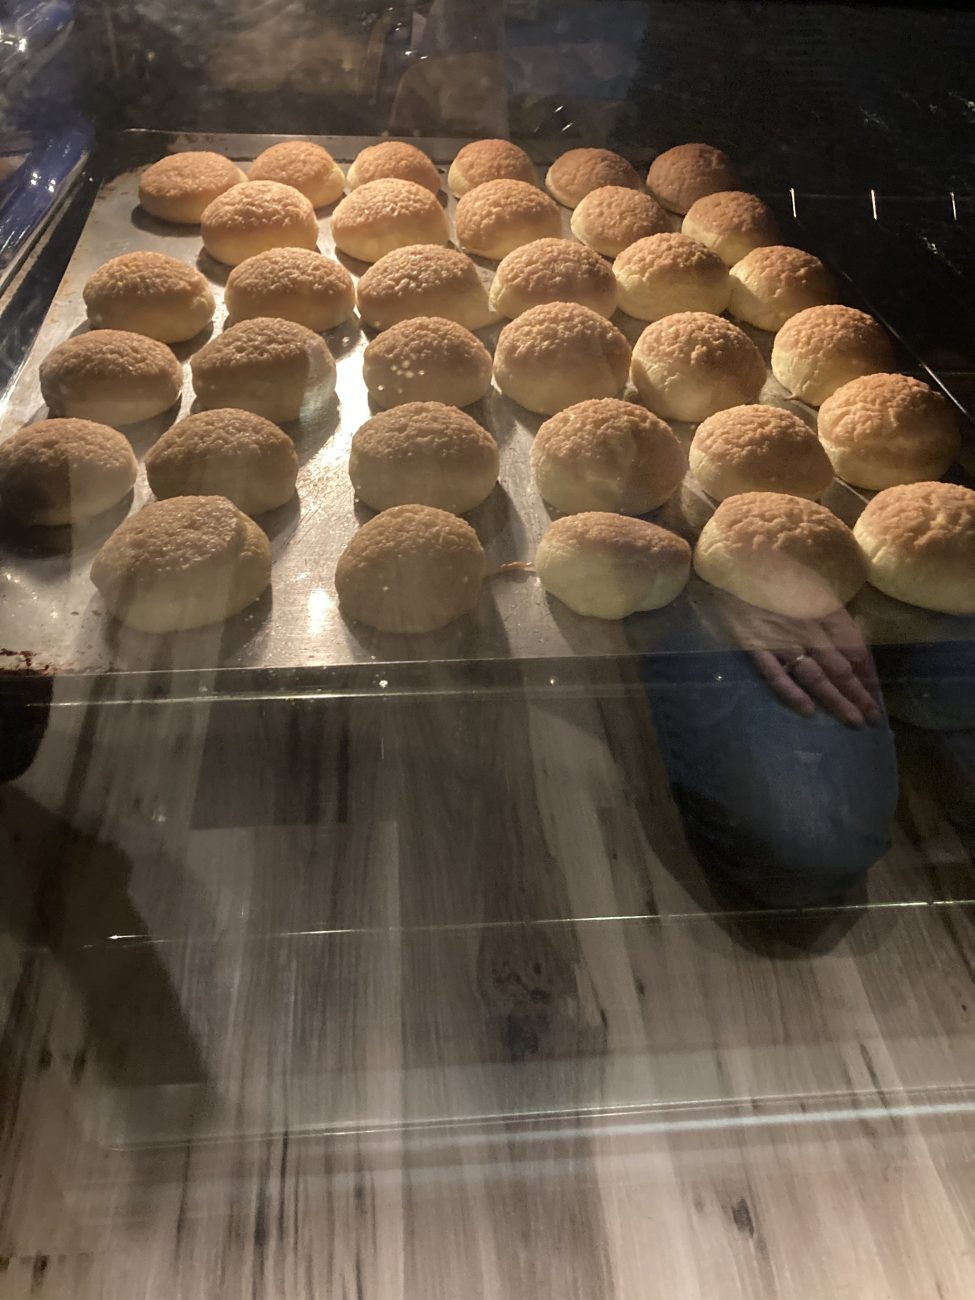
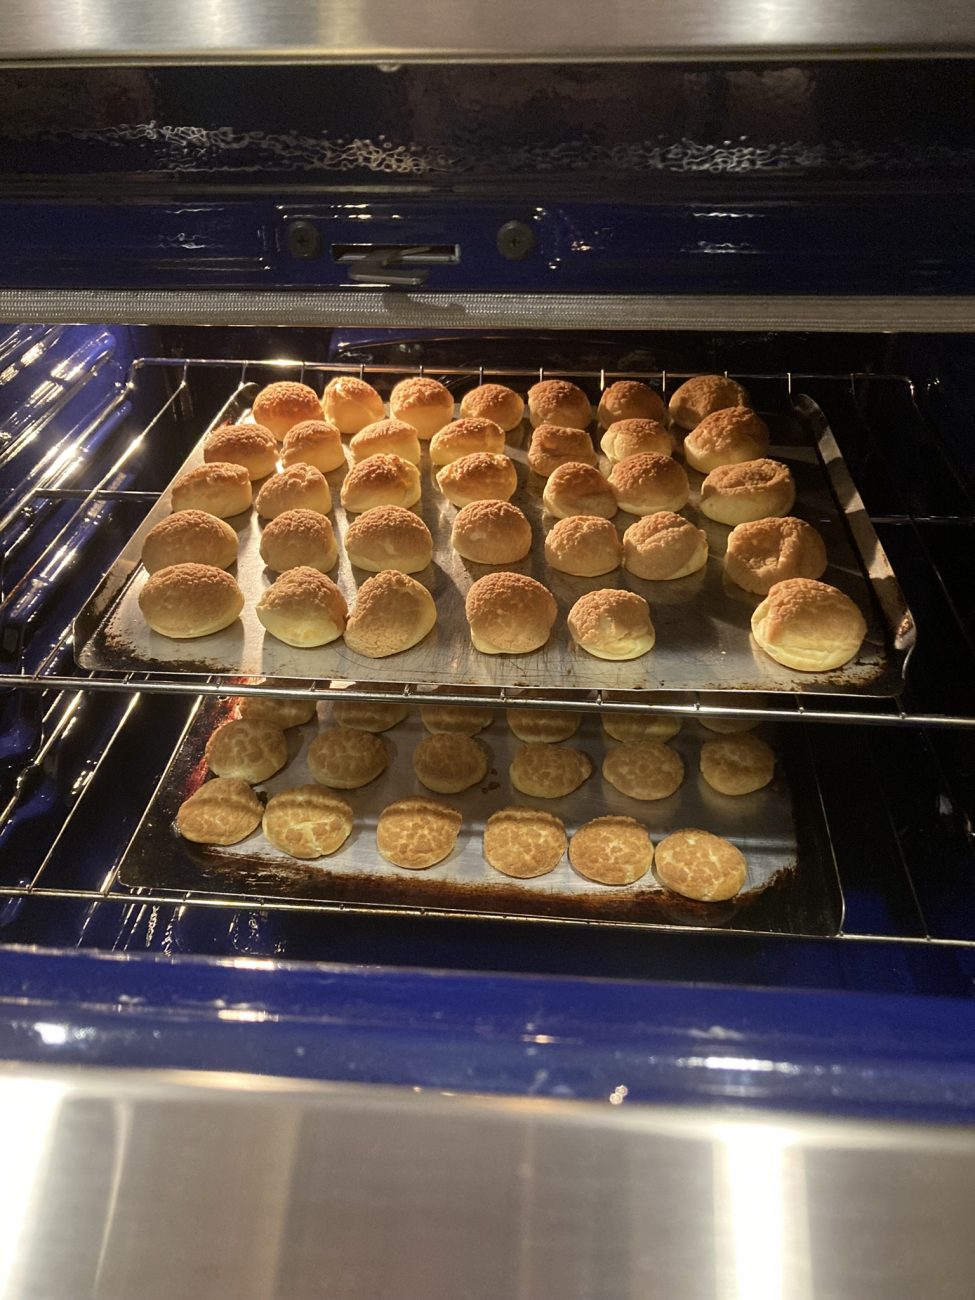
Put the baking sheets in the preheated oven on the upper and lower racks. Immediately reduce the oven temp to 375F. Bake the puffs until they are risen and deep golden brown (30-35 minutes). Switch racks and rotate the pans after about 20 minutes. Turn off the oven and let the puffs cool inside with the oven door cracked open for about 15 minutes. Remove the pans from the oven and use the tip of a paring knife to poke a small hole in the bottom of each puff to let steam escape. Let the puffs cool completely. |
|
15
Done
|
While the puffs are baking or cooling, prepare your cone base. Cover something round with a 9" diameter with tin foil, this could be a cake round, inverted cake pan, cardboard cutout, bottom of a springform pan, etc. Place on a larger serving plate or cake stand and set it next to your work surface. OR, you can do what my grandma and I did. We cheated a little bit and made a giant paper cone with a 9" open bottom and lined it with parchment paper. The cone method is much easier and has less chance of failure, but don't be afraid to challenge yourself and try the traditional method. |
|
16
Done
|
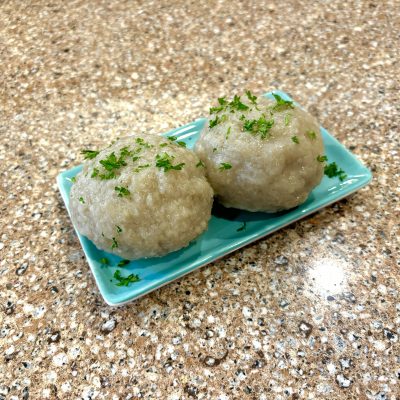
Filling the PuffsCombine the pastry cream and creme friache in a large bowl, whisk until smooth. Transfer the cream to a large pastry bag fitted with a 1/4" round tip. Twist the bag closed, pressing out any air. Insert the pastry tip into the bottom of each puff (you can use the hole poked earlier) and squeeze cream in until they're full but not to the point where they break or filling spills out the bottom. For this croquembouche with a base of 11 puffs, you need around 66 puffs give or take a few. Arrange the filled puffs on two wire racks and line two large rimmed baking sheets with parchment paper, set the racks inside the baking sheets. |
|
17
Done
|
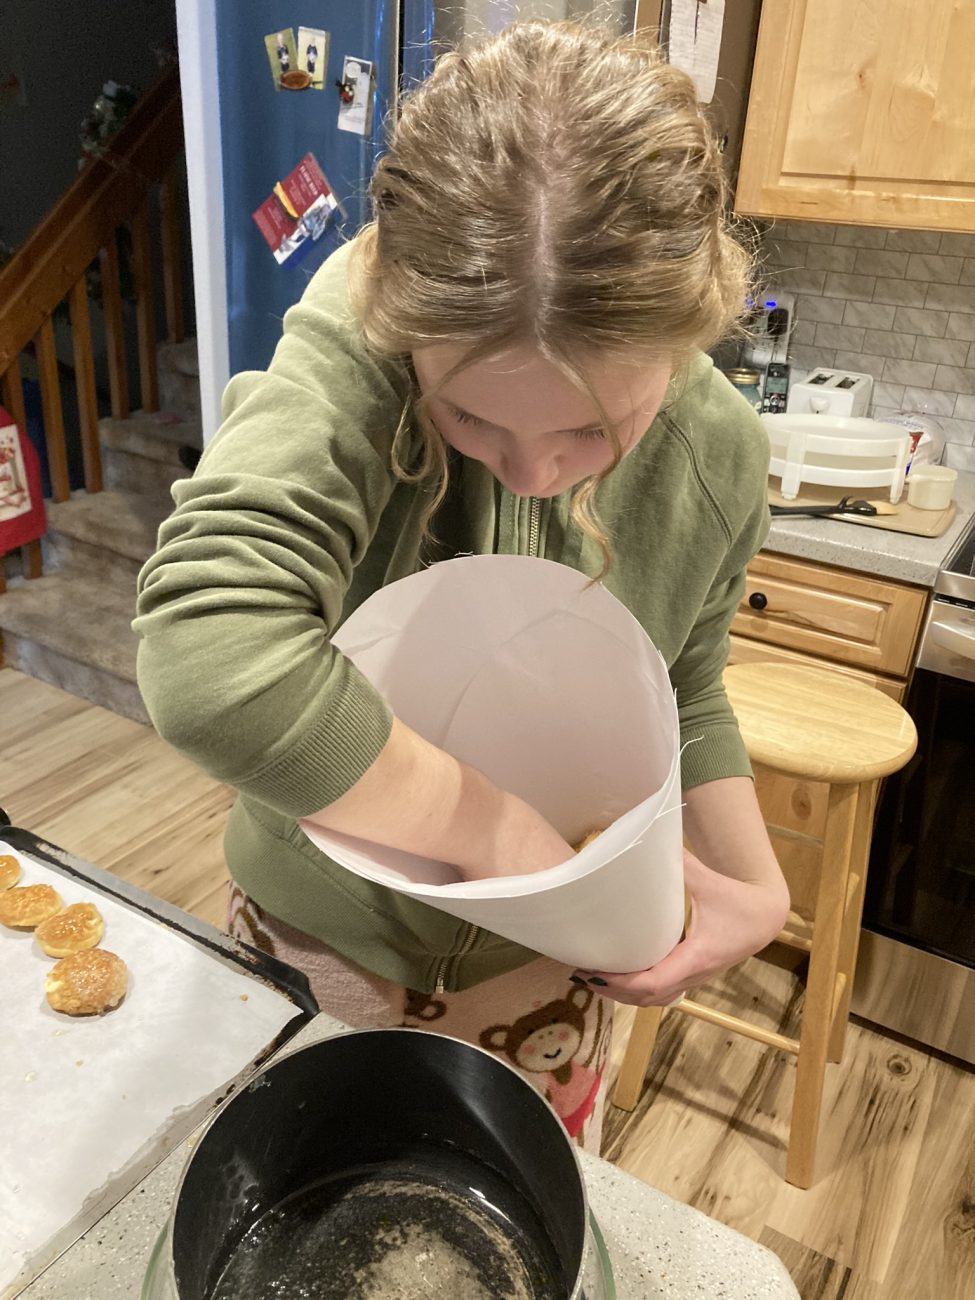
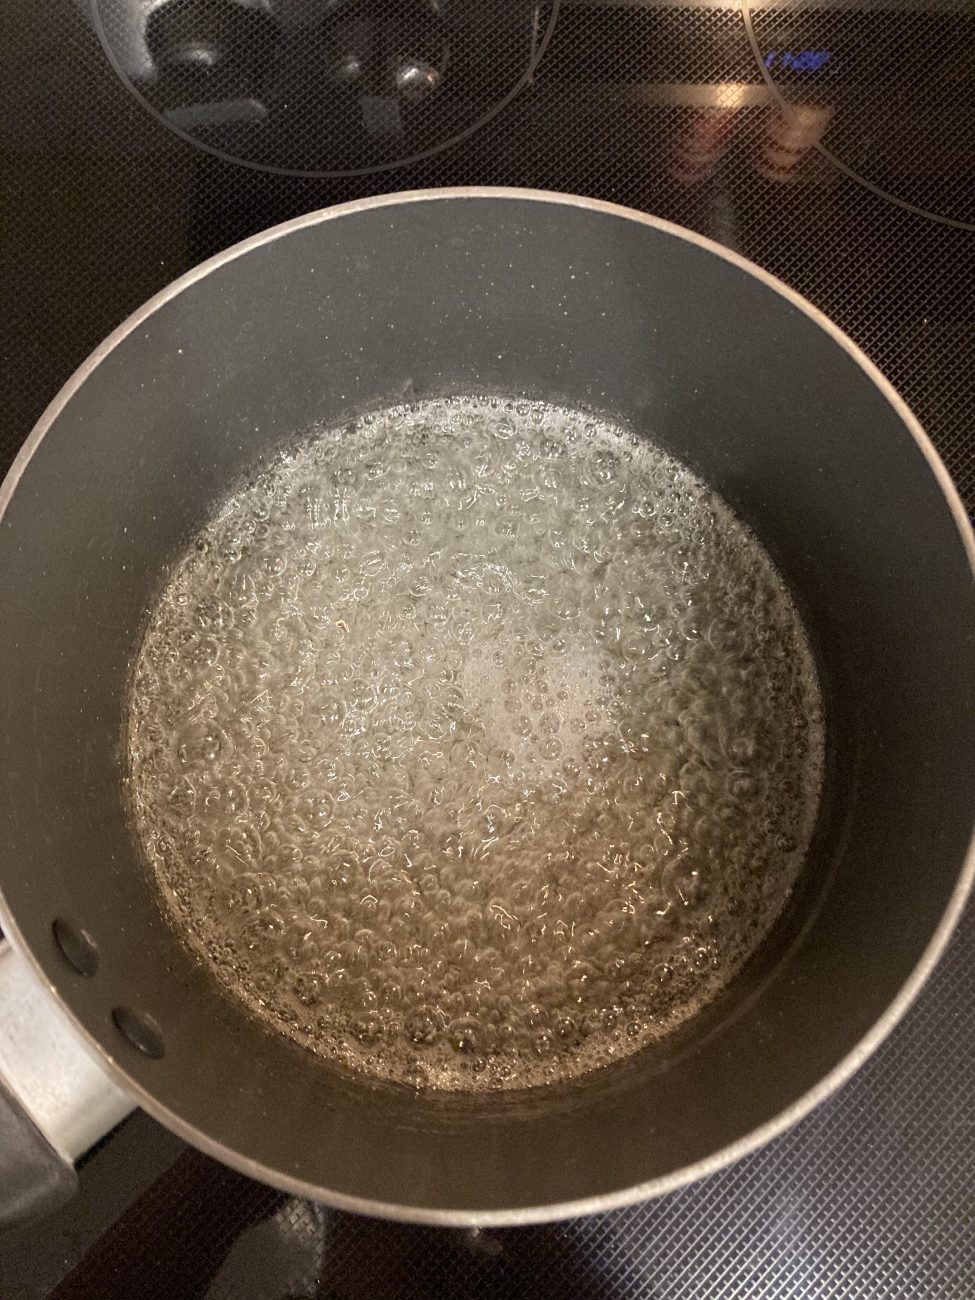
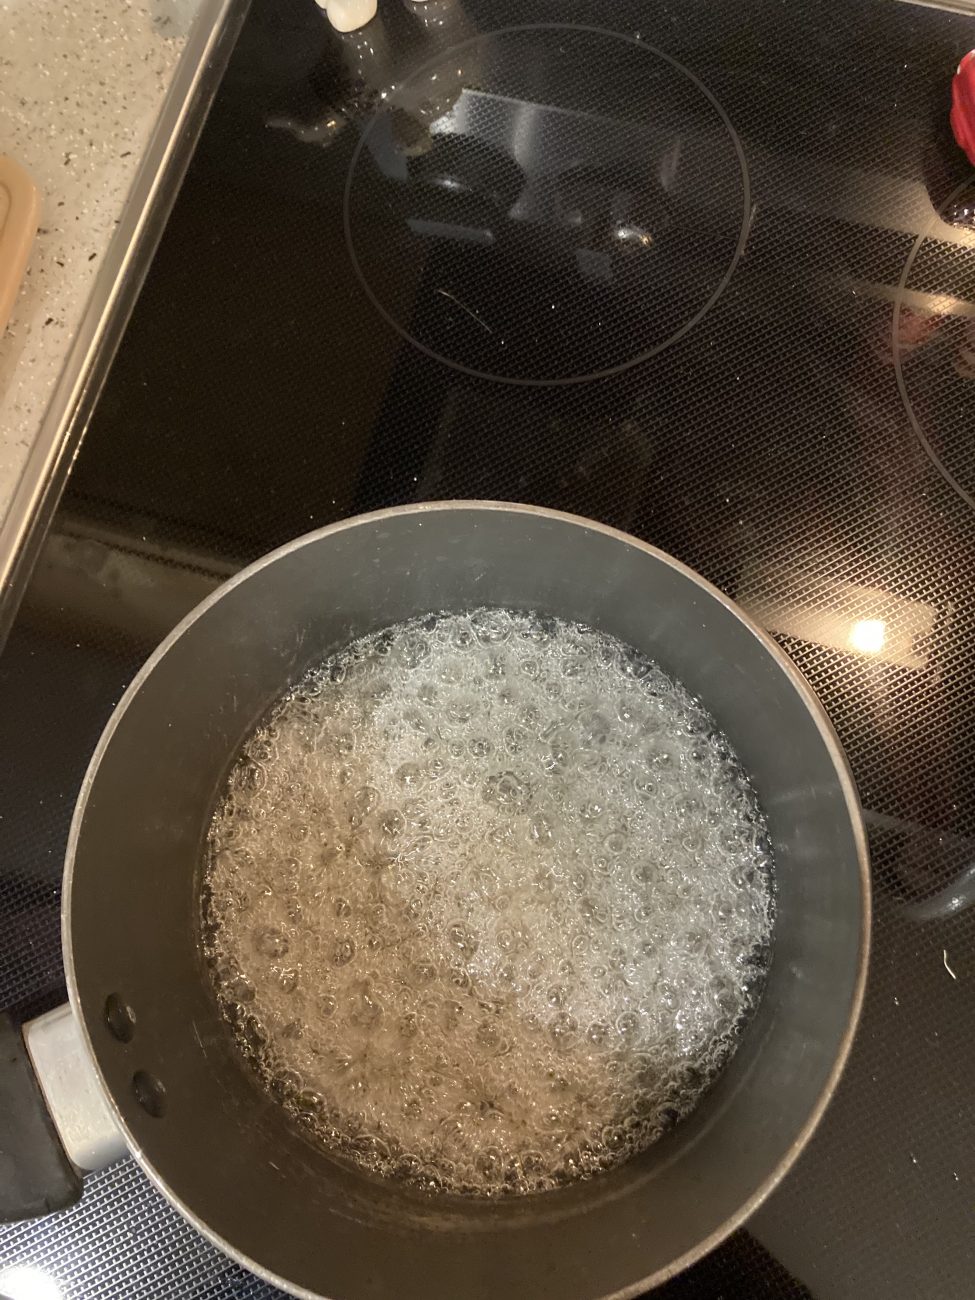
CaramelPlace a clean, dry, heatproof, 2 cup liquid measuring cup or similar sized bowl next to the stovetop (optional). In a small saucepan, combine the sugar, water, and glucose syrup (if you are doing the traditional assembly, only make half a batch of caramel to start). Place over high heat and stir until sugar is dissolved. Wash down the sides of the pan with a wet pastry brush (this will get rid of any stray sugar crystals and prevent crystallizing). Leave the sugar bubbling over high heat unstirred for about 6 minutes or until it just starts to go golden. Watch carefully from 4 minutes on as it can turn from golden to burned very quickly. Remove the caramel from the heat and carefully pour a spoonful of caramel into a glass of cold water and check that it sets solid. If it is still soft or can be squished, put the pan back over the heat for another minute and repeat the process. Be careful because the caramel is hotter than boiling water. When the caramel is ready, pour it into the measuring cup or leave it in the pot. |
|
18
Done
|
Traditional AssemblyTake one puff at a time and dip it, very carefully, rounded (top) side down into the caramel, covering the craquelin covered surface of the puff. Let the excess drip off then carefully place the puff caramel side up back on the baking rack to cool and harden. Repeat with all the puffs, working quickly. |
|
19
Done
|
Once all of the puffs are half coated, make the second batch of caramel the same way as the first. If you used a measuring cup for dipping, rinse it out with lots of hot water to get rid of any remaining sugar crystals and dry well. |
|
20
Done
|
Arrange 11 filled and dipped puffs around the foil lined base in a ring so that they are touching. One at a time, dip the other half of each puff in the fresh caramel and stick it on the base craquelin side out, pressing the dipped edge on the base so it sticks. Hold it in place until the caramel hardens. Repeat with all the puffs to make the first ring of the croquembouche. The puffs should all touch and stick together. |
|
21
Done
|
Repeat the dipping process, building successive rings of cream puffs, decreasing the number of puffs in each layer to create a tall, hollow cone. Try to position each puff in the space between the two puffs below it, angling it slightly inward to create an even slope building to a peak. Set aside some smaller puffs to fill any small gaps. Finish the croquembouche with a single puff on top. |
|
22
Done
|
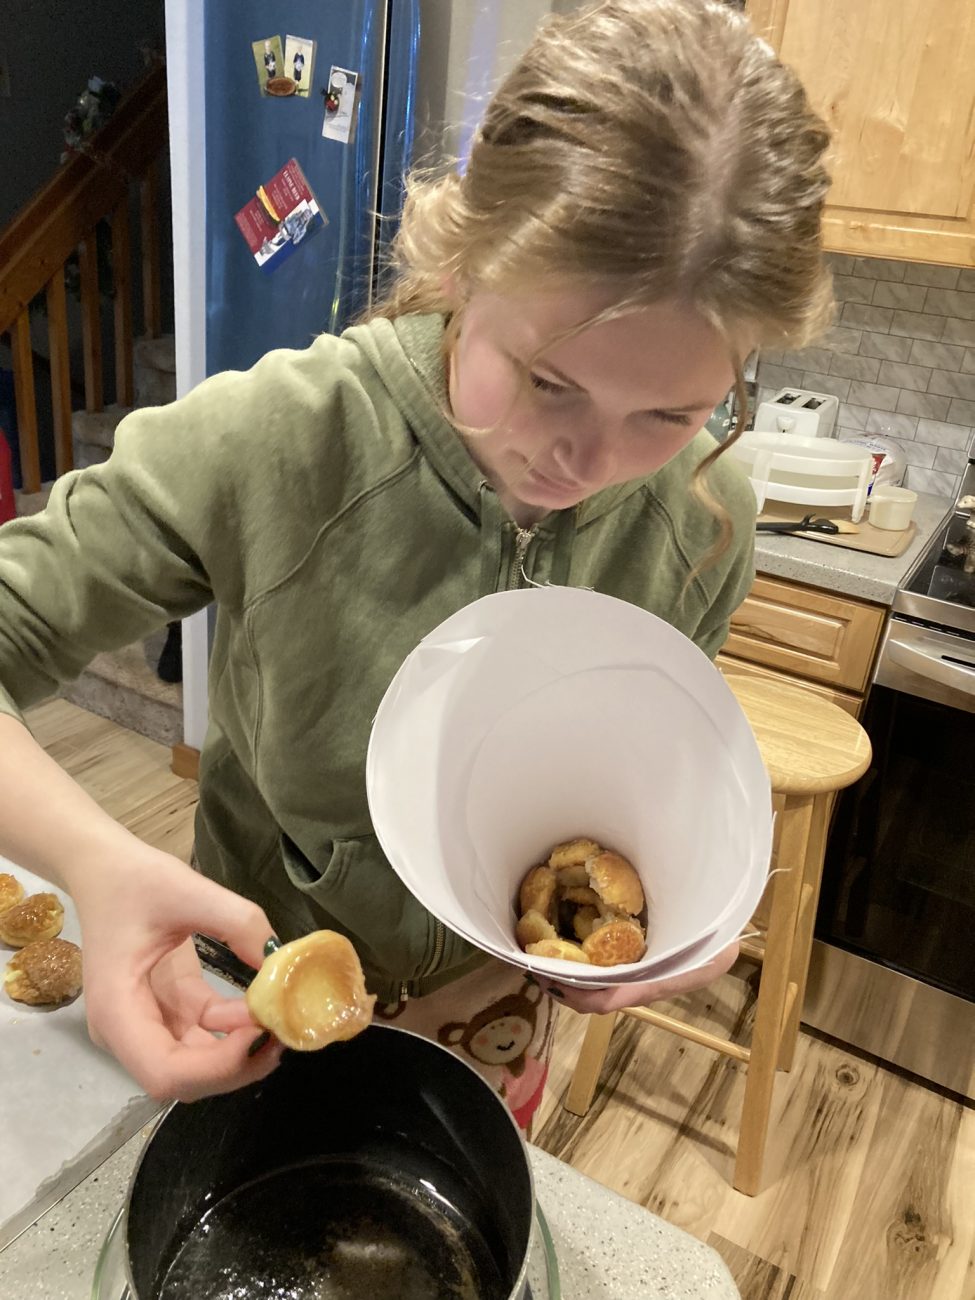
Paper Cone AssemblyTake one puff at a time and dip it, very carefully, rounded (top) side down into the caramel, covering the craquelin covered surface of the puff. Let the excess caramel drip off, then carefully place the puff in the pointy end of the cone. Continue placing caramel dipped puffs around all the edges of the cone until you reach the top. Try to make the final ring even so that the cone will sit flat. |
|
23
Done
|
Allow it to cool for 10 minutes, then place your serving plate or cake stand on top and flip the cone so that it is now sitting upright. Remove the paper cone and parchment, leaving the cream puff cone. |
|
24
Done
|
Caramel Threads (optional)If your caramel hasn't full set, dip a fork in the measuring cup and let the caramel drip off back into the cup until it falls in a thin thread. Move the fork in a circle around the croquembouche, wrapping the threads around it from top to bottom. Repeat this process until the caramel is too hard to drizzle or you like how it looks. OR, place some baking paper over a deep container so that the paper goes up over the sides and down the middle. Cut the loops off a cheap wire whisk so that the progs are left (or use two forks). Dip the prongs into the slightly cooled caramel and run the tool back and forth across the container to make fine strands of caramel, almost like cotton candy. If the caramel has set too firm, reheat it on the stovetop or make a fresh batch. Once you have a good amount of pulled sugar, wrap it around the croquembouche. Repeat as you like. |
|
25
Done
|
ServingOnce the pulled sugar is on, serve immediately. The caramel will absorb moisture from the air and soften after not too long. Invite your guests to pull puffs off with their hands, and enjoy! |
|
26
Done
|
NotesThe croquembouche should be assembled within a few hours of serving so that the caramel is hard and the puffs are still crisp. Keep it uncovered. |