Ingredients
-
2 tsp yeast
-
1 1/2 cups warm water105-115F
-
1 tsp white sugar
-
3 cups flourBread or all purpose flour
-
2 tsp kosher saltFeel free to use another type of salt, kosher is just recommended
-
1/2 tsp balsamic vinegaroptional
Directions

Hi!
I wanted to share a simple bread recipe that I’ve been making: white artisan bread. Artisan bread is a homemade yeast bread that is crusty and rustic looking, it’s best eaten the day it’s baked because the crust softens within a few hours of baking (see step 8 for tips). Yeast bread uses yeast as a leavening agent instead of a chemical leavener, like baking soda or baking powder (a bread made using a chemical leavener is called a “quick bread”, think muffins or corn bread). I have not had a chance to make a bread from a starter yet (though I would love to), so a fast bread like this doesn’t have a chance for bacteria and wild yeasts to interact and give the bread that sourdough taste. In order to mimic a sourdough bread taste (I think acidity benefits the flavor of the bread), I’ve added a little bit of balsamic vinegar to the dough; red wine vinegar also works. This step is optional, but the flavor isn’t very strong and I recommend at least trying it. I also specify kosher salt for this recipe, there are tons of different types of salt out there and they each have different weights and “saltiness”, therefore using a different type of salt in the same teaspoon amount will lead to a different flavor.
Brief Bread Science:
How can something like bread be created out of such simple ingredients: flour, salt, yeast, water. Baking bread, like most baking, involves chemistry. This starts with reactivating the yeast, warm water wakes up the yeast, and sugar kickstarts fermentation (this is why foam forms on top of the yeast/water mixture). Flour is made up of proteins called gluten, when combined with water these proteins bind together to form a web-like network that traps the gasses released by yeast. Salt not only gives bread flavor, but it slows down yeast fermentation. This gives the gluten a chance to gain structure before rising too much. When bread is then mixed or kneaded the starch in the flour is broken down into simple sugars (glucose), that the yeast can use for more fermentation. These sugars are also involved in the maillard reaction: this is what causes the crust to brown and contributes more flavors to the bread. Yeast is a fungus that converts sugar in the bread to carbon dioxide, the co2 bubbles are trapped by the gluten network and cause the bread to rise. Baking bread at a high temperature lets the yeast ferment (organisms are more active in a warm environment), the bread gets a faster rise (often called oven spring) before the gluten in the bread has a chance to set. It also benefits the maillard reaction.
Steps
|
1
Done
|
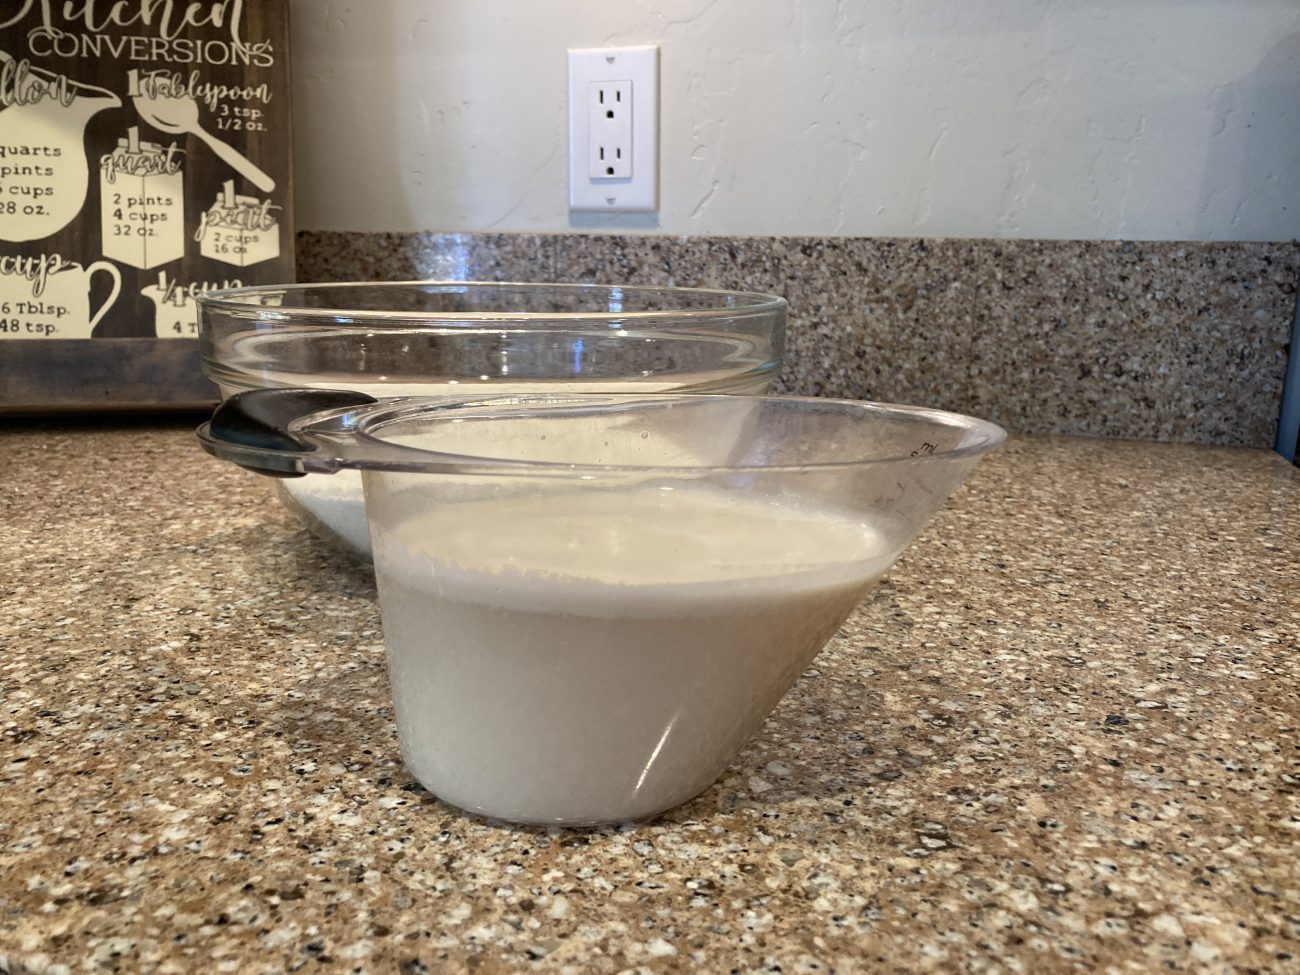
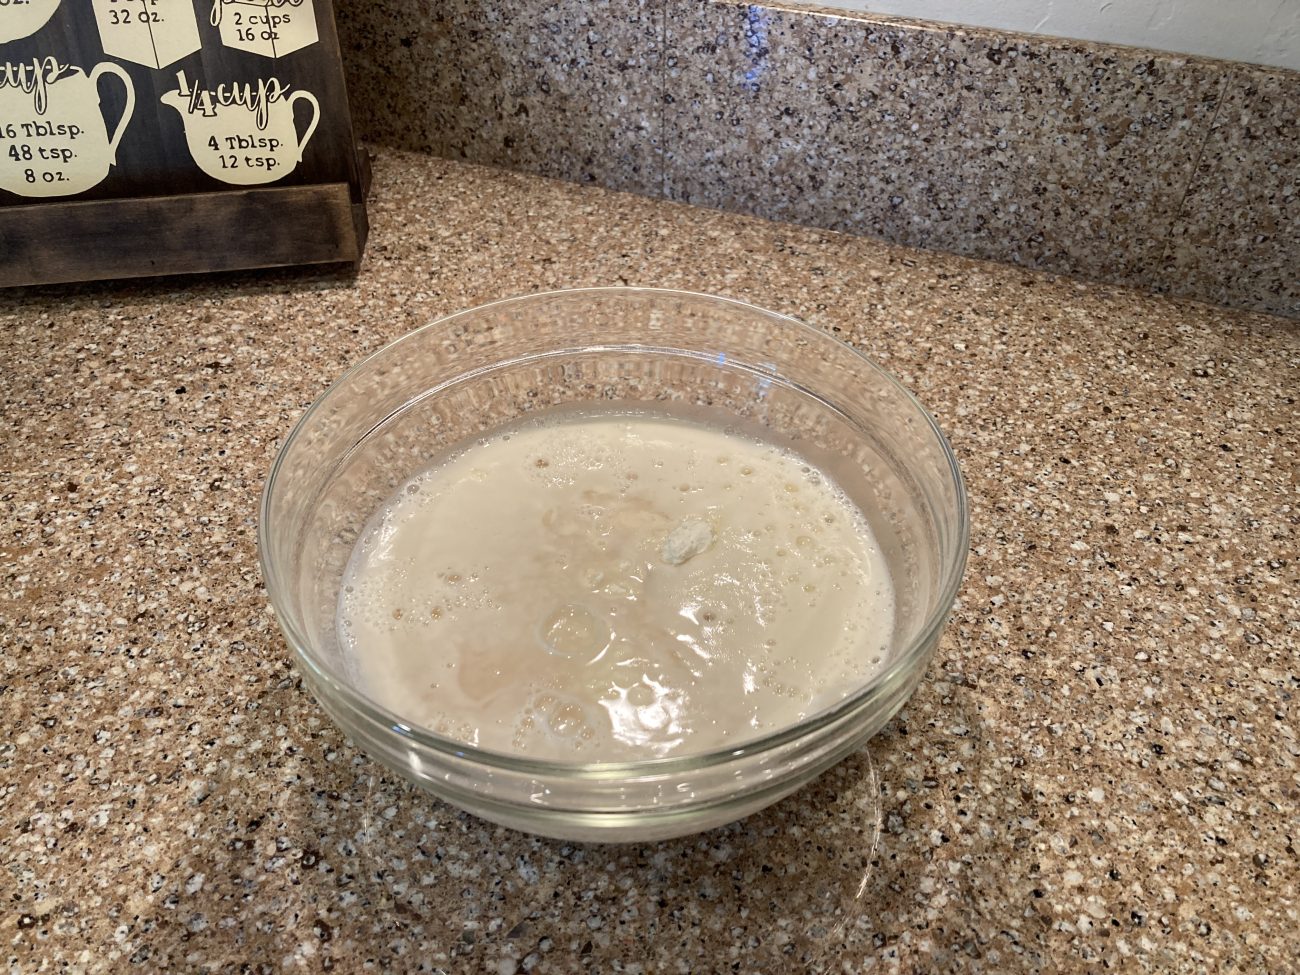
Heat water to between 105-115F and stir in the yeast and sugar, leave to foam. Don’t add yeast if the water is over 115F, this will kill the yeast and your bread will not rise. |
|
2
Done
|
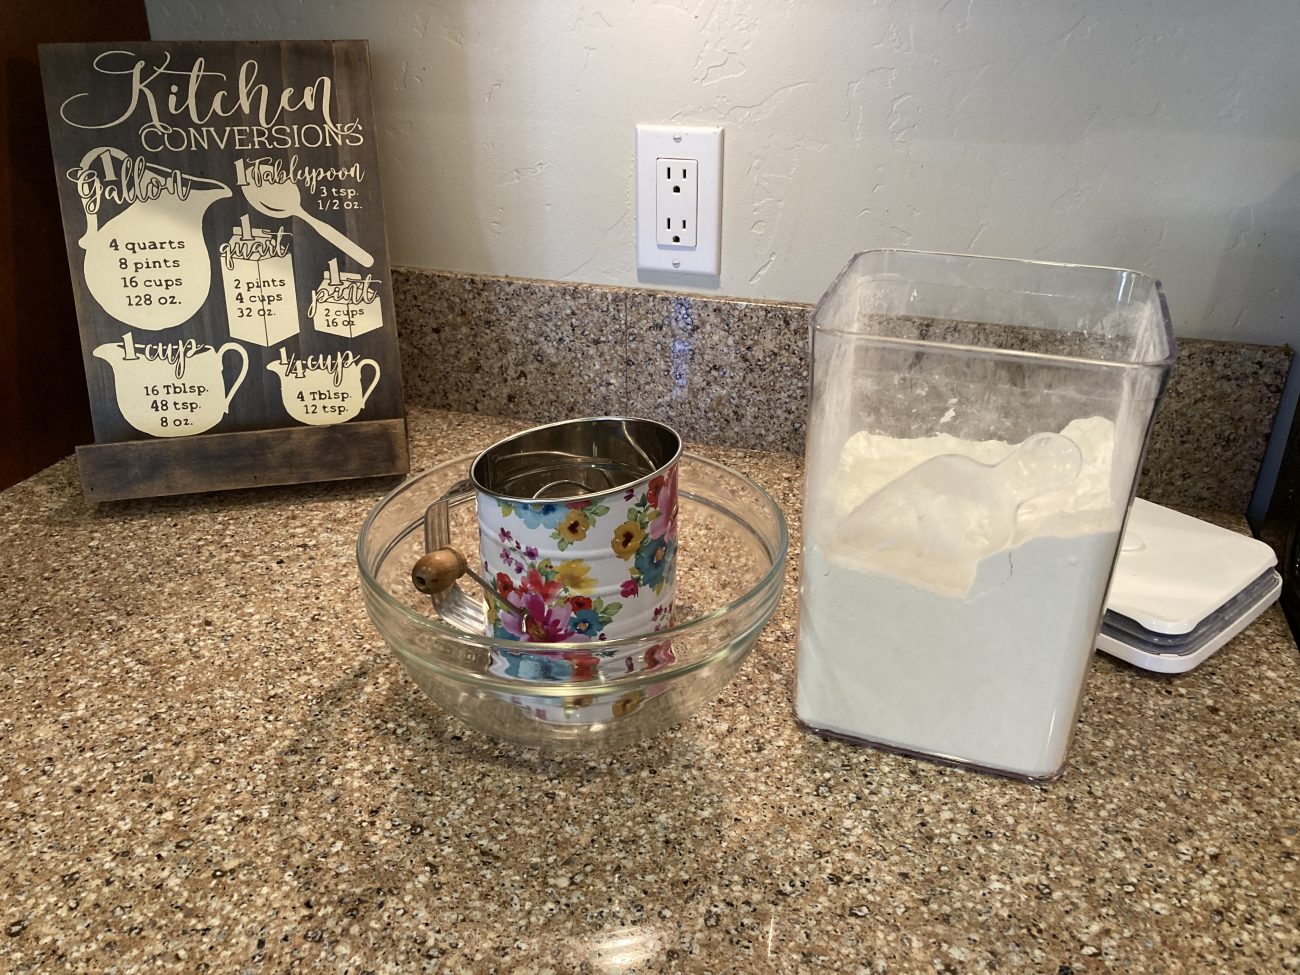
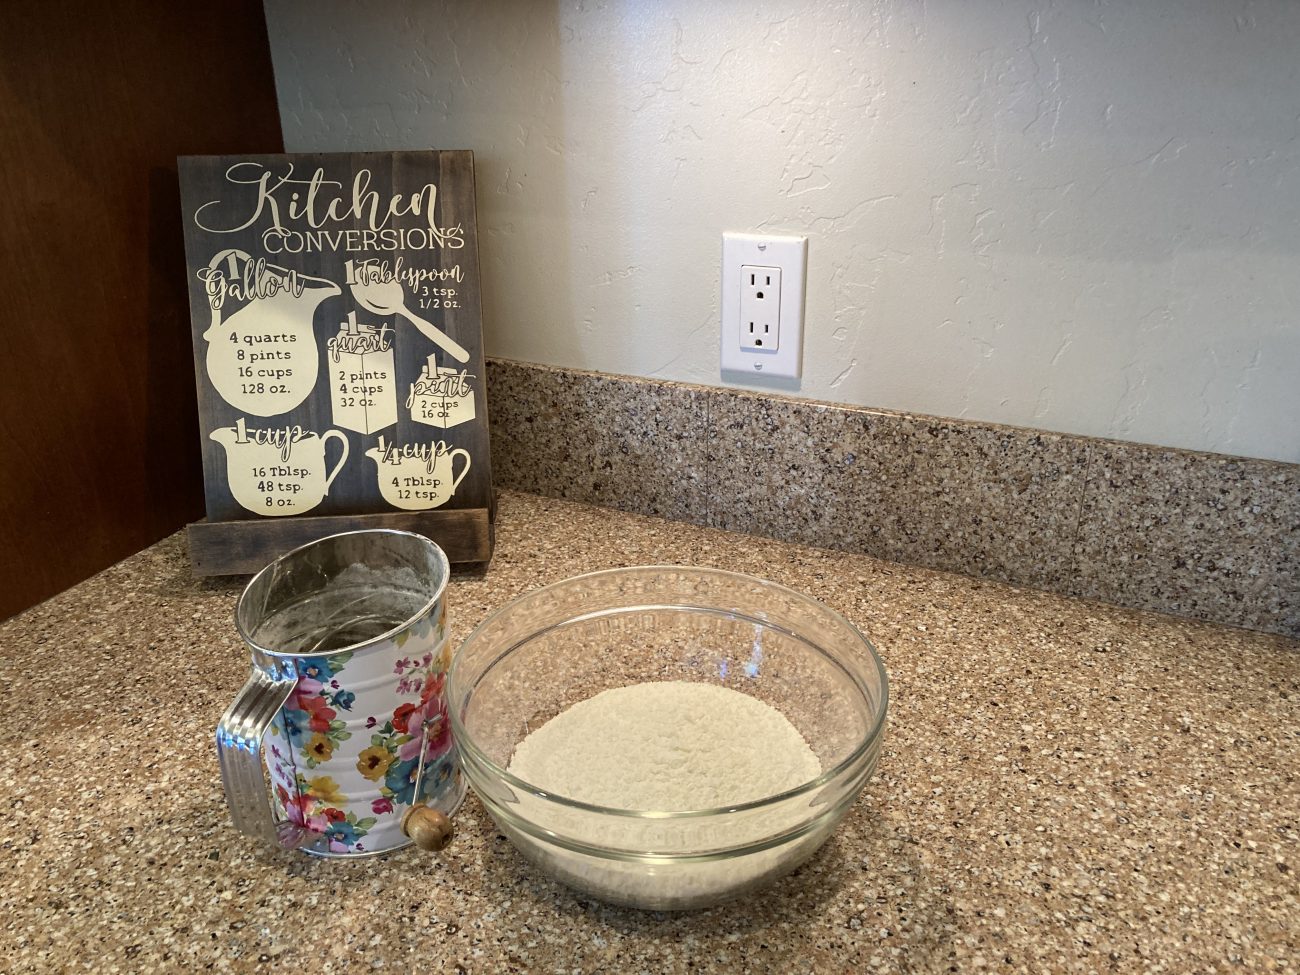
Sift or whist together flour and salt while yeast foams. |
|
3
Done
|
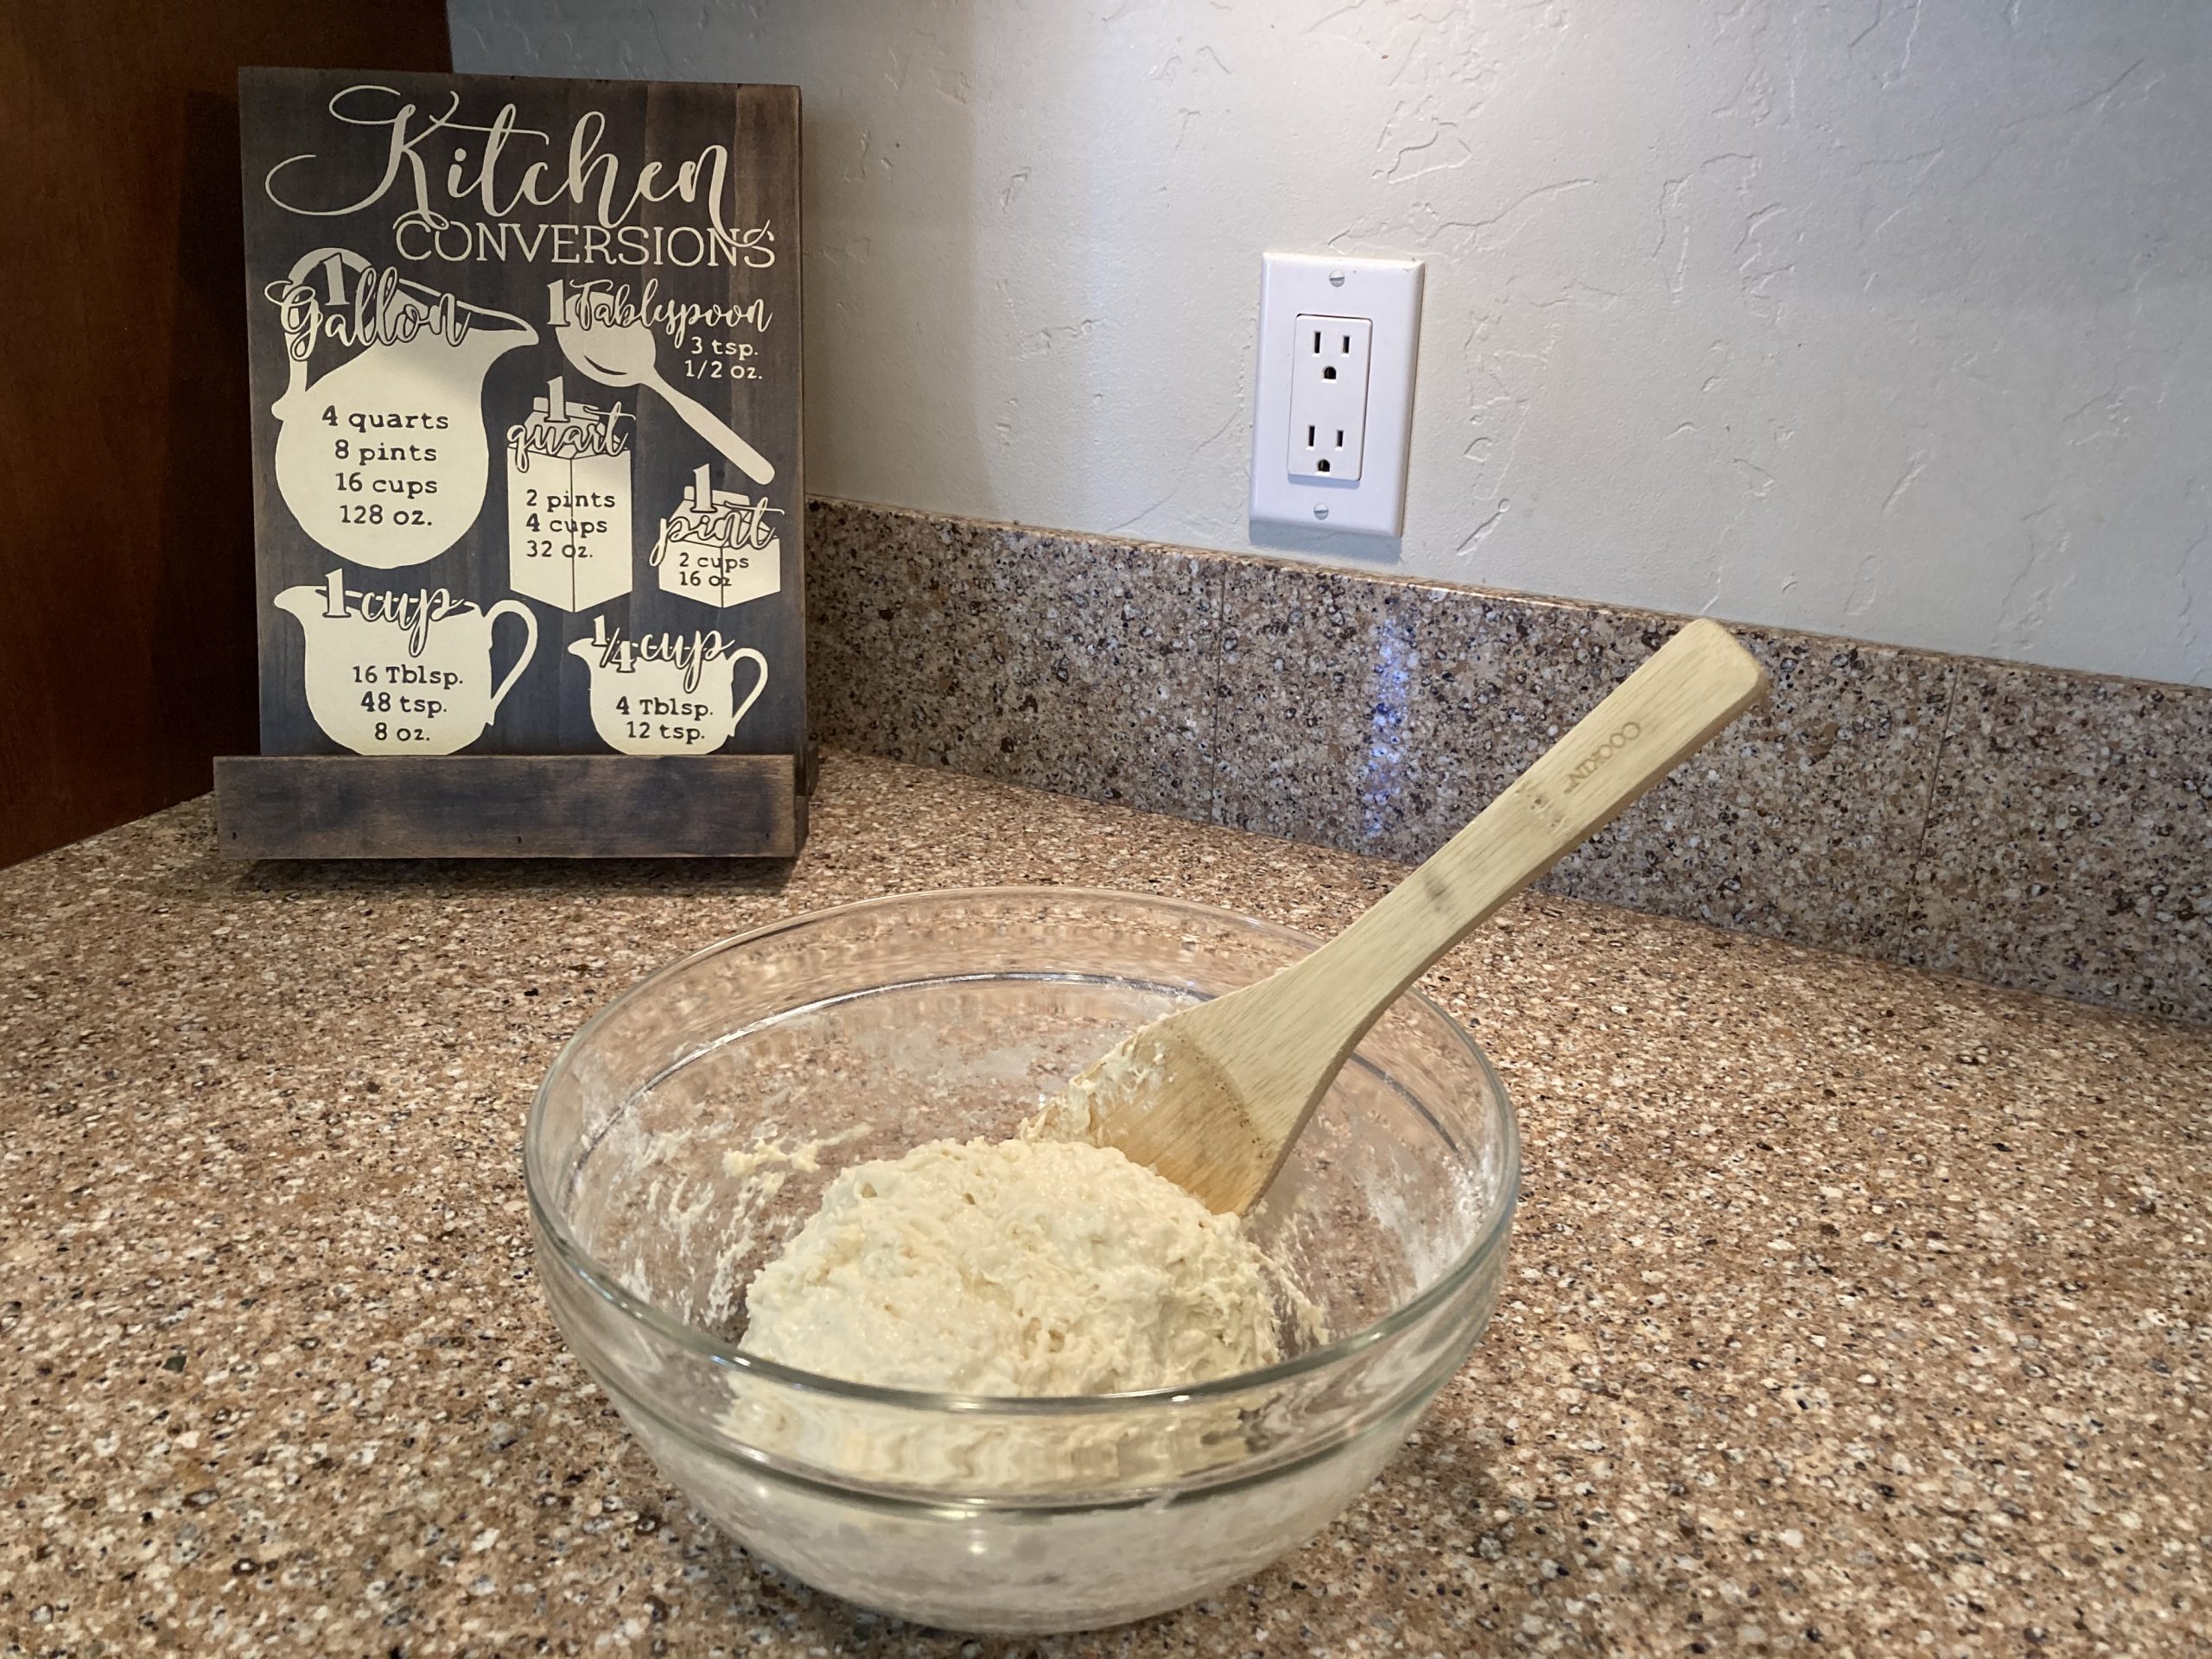
Add yeast mixture and balsamic vinegar to the dry ingredients, mix with a wooden spoon until combined— the dough will not be kneadable. |
|
4
Done
|
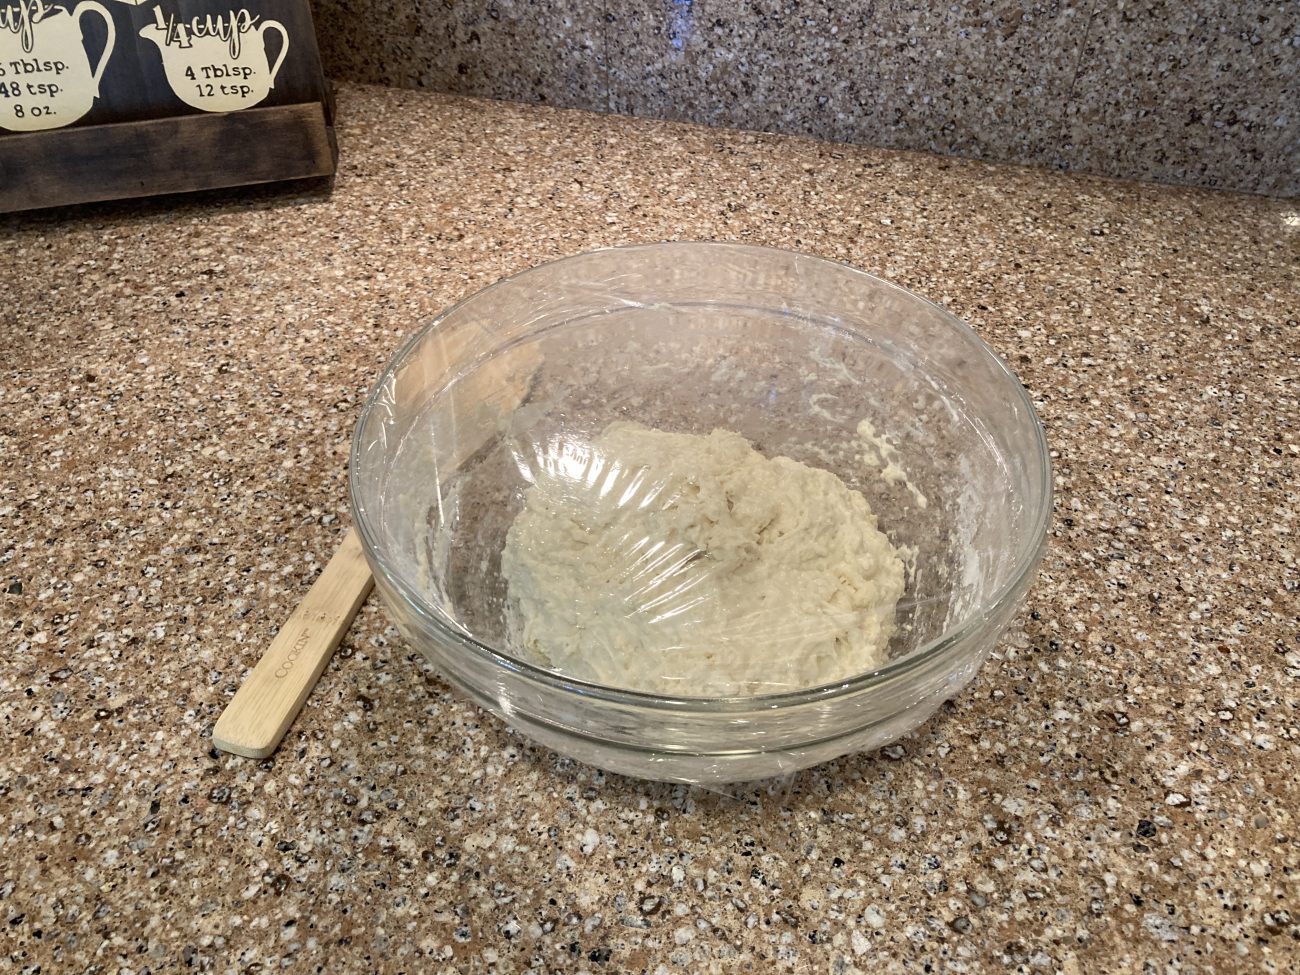
Cover with plastic wrap or a damp towel and leave in a warm place to rise for 2-3 hours or until doubled in size. Taking a picture at this step can be helpful in determining when your bread is risen. |
|
5
Done
|
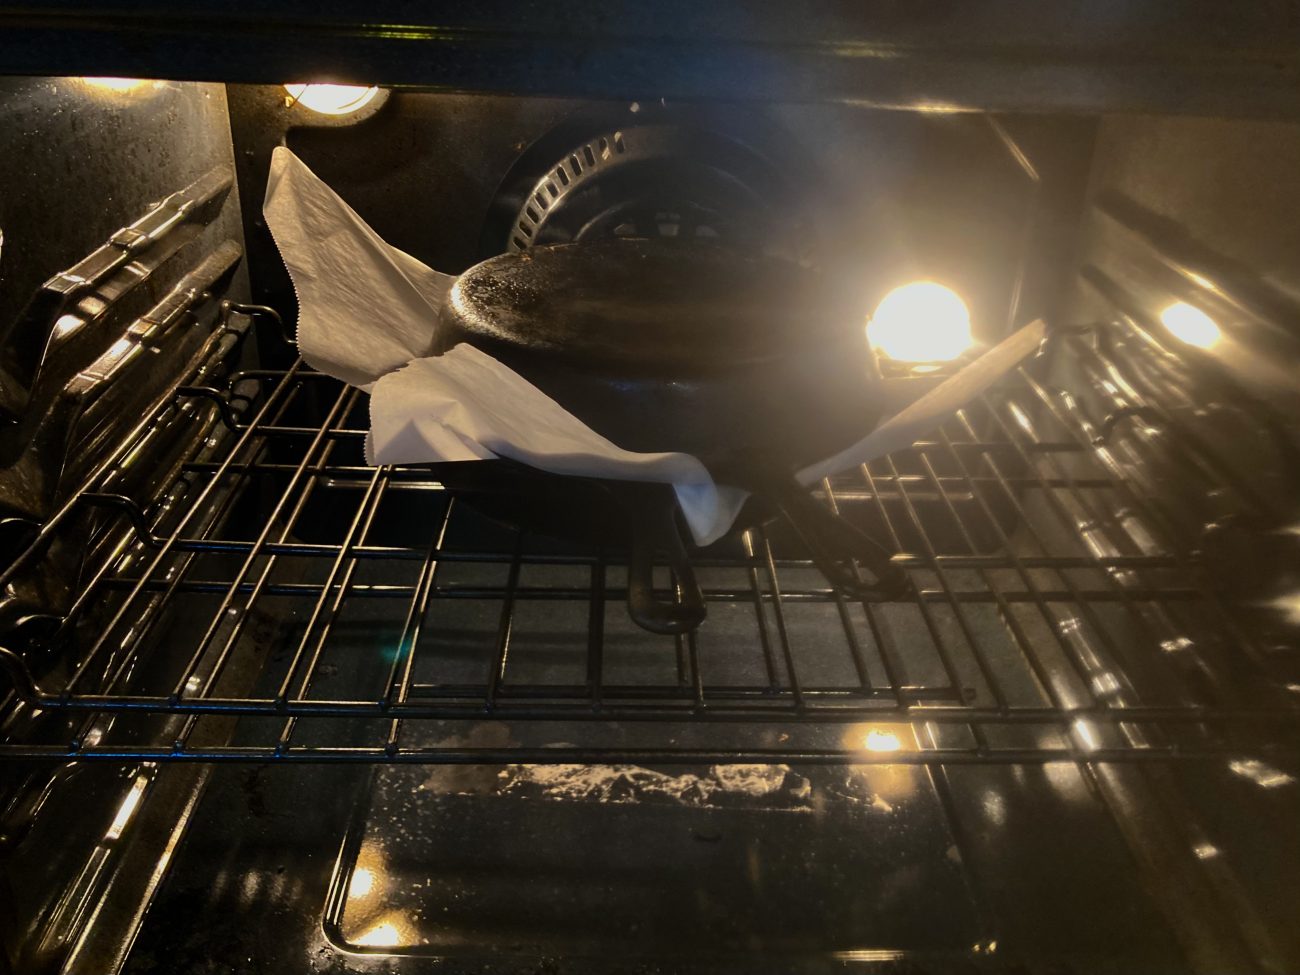
When bread has risen, place a Dutch oven or two large cast iron skillets in the oven and preheat to 425F. |
|
6
Done
|
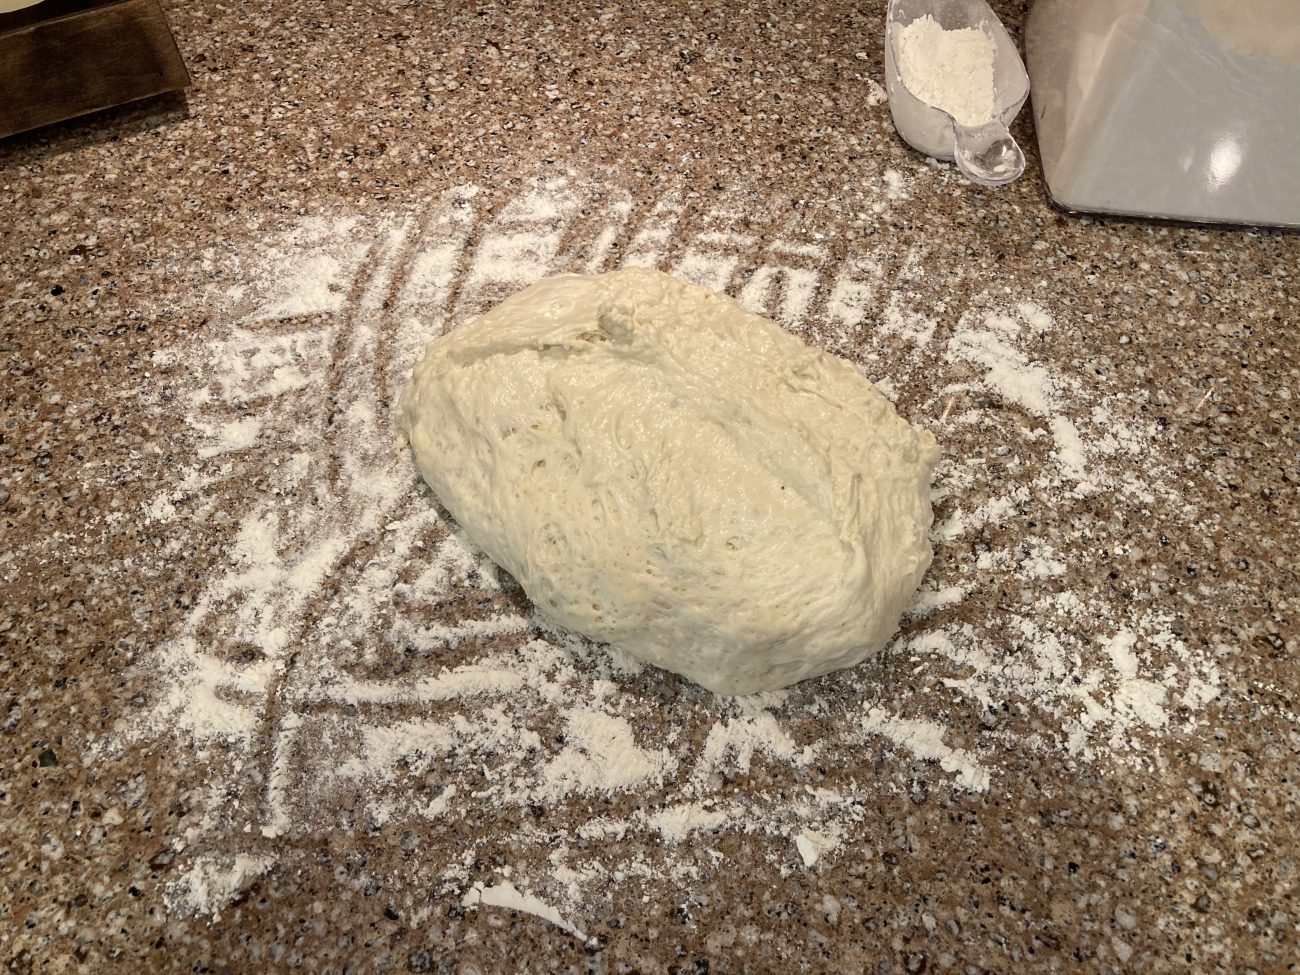
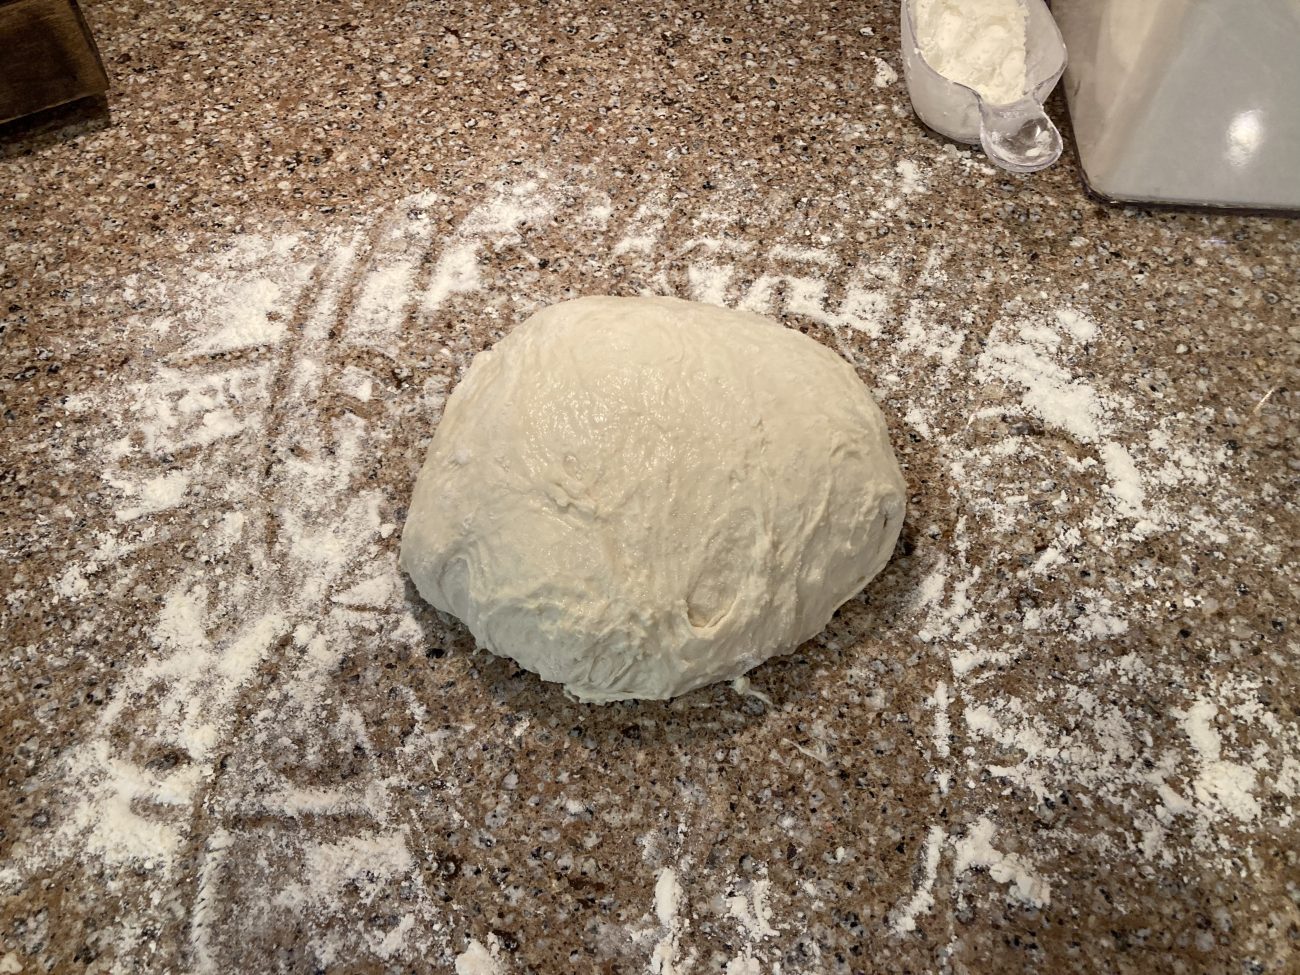
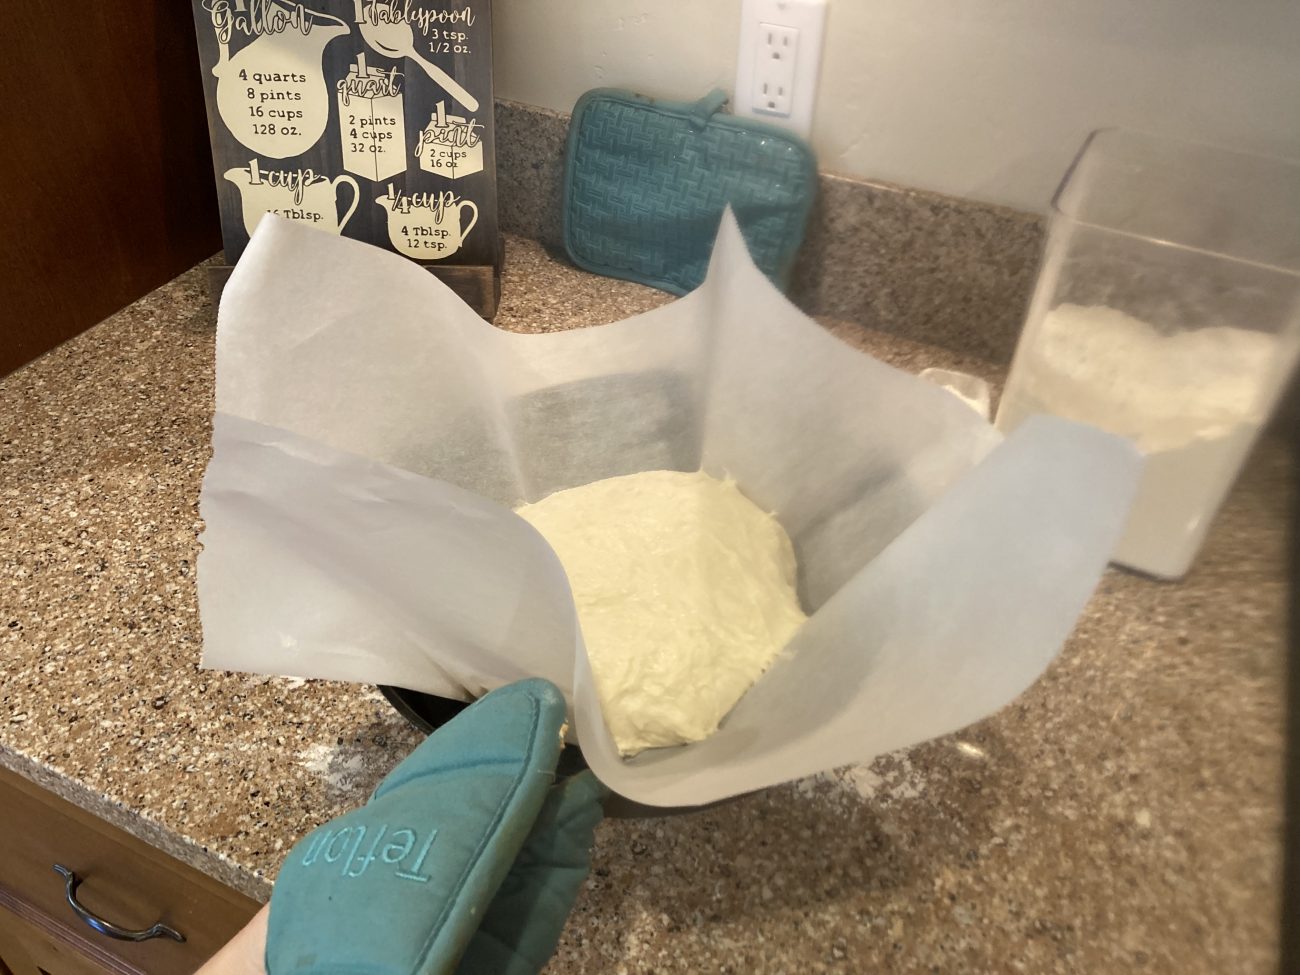
Tip risen dough onto a floured surface and shape into a round loaf. “Stitch” the bottom, flip the dough, then create tension in the top of the dough by turning it and tucking the dough under itself (a bench scraper can be helpful with this step). It does not need to be perfect. Place the dough on a piece of parchment paper, smooth side up, and then into the preheated cookware after the oven has come to temperature. |
|
7
Done
|
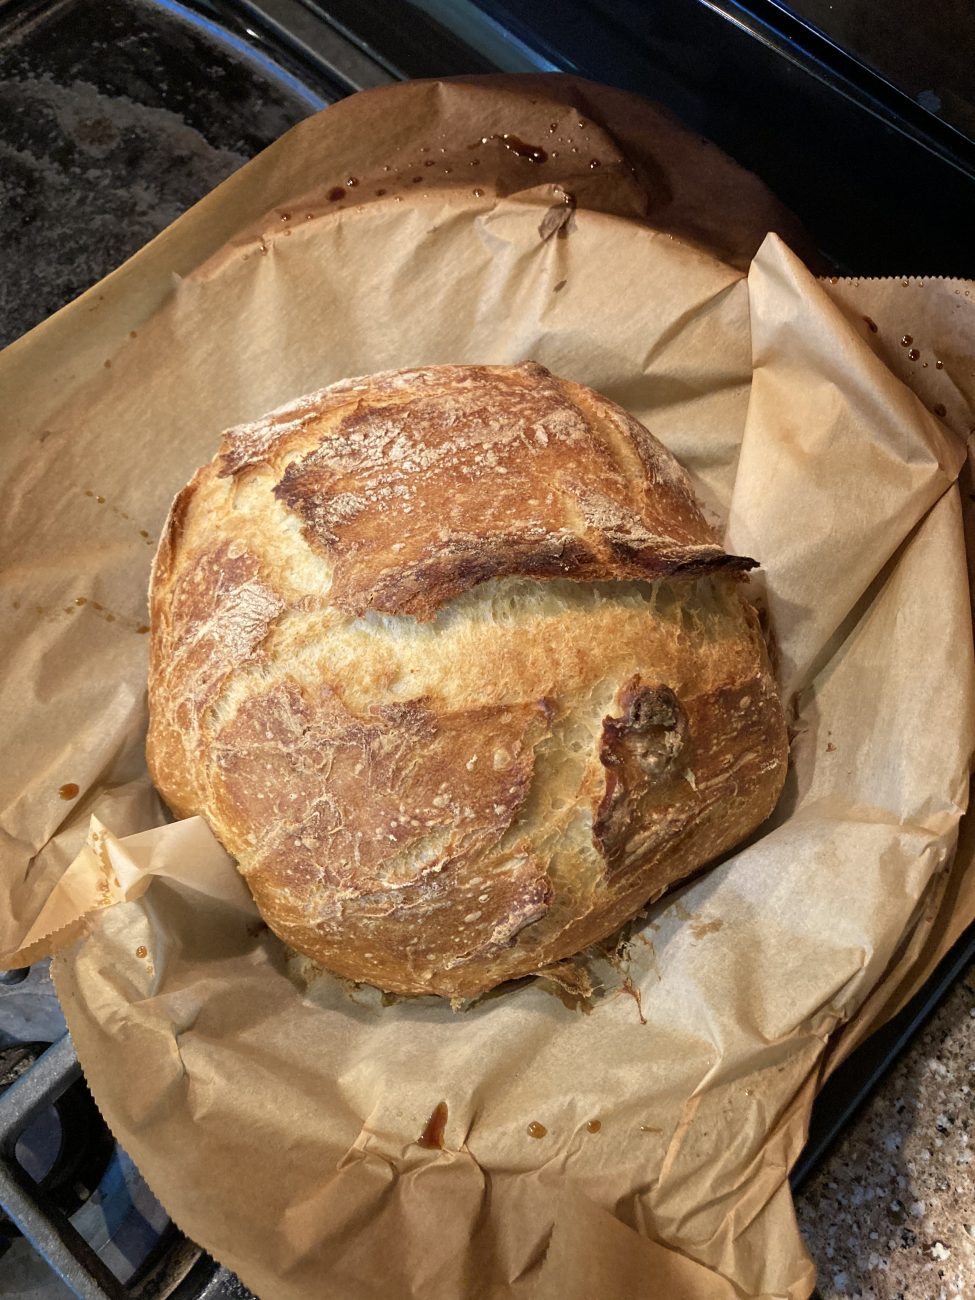
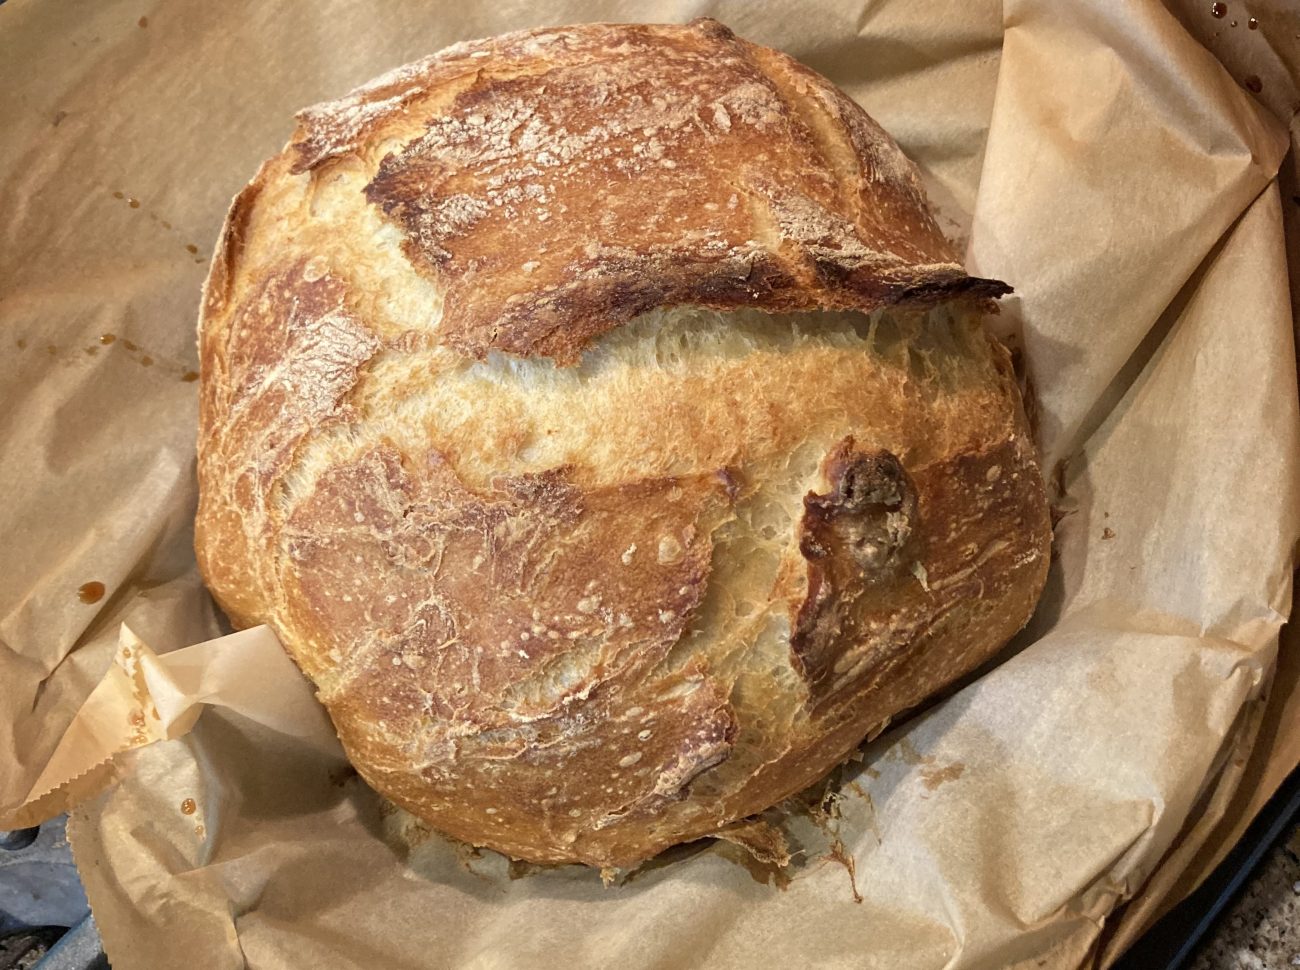
Cover and bake for 30 minutes, then bake uncovered for 12 minutes or until golden and crispy. |
|
8
Done
|
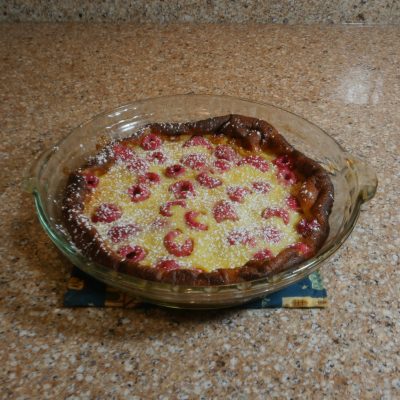
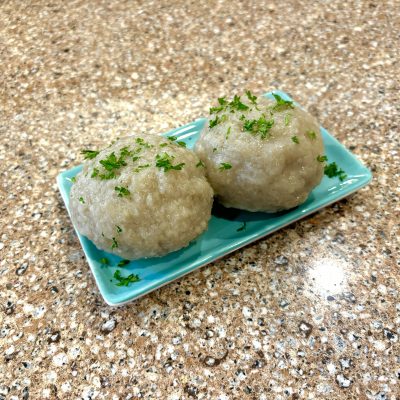
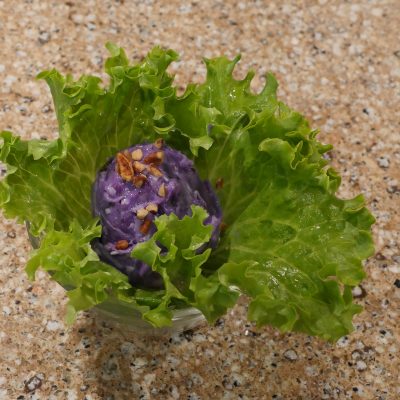
Allow to cool for 10 minutes before slicing, and enjoy! This bread is best eaten same day because the crust softens quickly, but it can be rated second day as well (I recommend storing in a paper bag or tin foil). To re-crisp the crust, preheat oven to 350F, then turn off the oven and let the bread sit inside while the oven cools. I forgot to take a picture of the particular loaf I used for this recipe’s process photos, but I’ve included some pictures of previous loaves. |